Cases screen
The Cases screen lists all the cases that you are monitoring with real-time updates of their location. If you want to track phones on a per case basis then you should use this screen to select the case before you open the Analysis Center map screen. In this scenario, opening the map screen via the Cases screen has two advantages:
-
it allows you to view a larger time period of data for the phones of interest. Opening the map screen through the Cases menu, allows you to view up to 6 months of data per phone, whereas opening the map screen, through the Sentinel menu, only allows up to 1 week of data per phone.
-
you can view the field unit location and breadcrumb data for all the field units assigned to the case. Opening the map screen through the Sentinel menu, only allows you to view your own breadcrumb trail.
For each case, this screen:
-
allows you to open the case on the Analysis Center map screen.
-
displays the names and phone numbers that you are monitoring.
-
displays the date/time range of the case's real-time data.
-
allows you to add and remove a case from the Favorites tab.
-
allows you to tap a case name to open the Case Info screen. The Case Info screen then allows you to select which of the case's phones you want displayed on the Analysis Center map screen, and view and filter each phone's events.
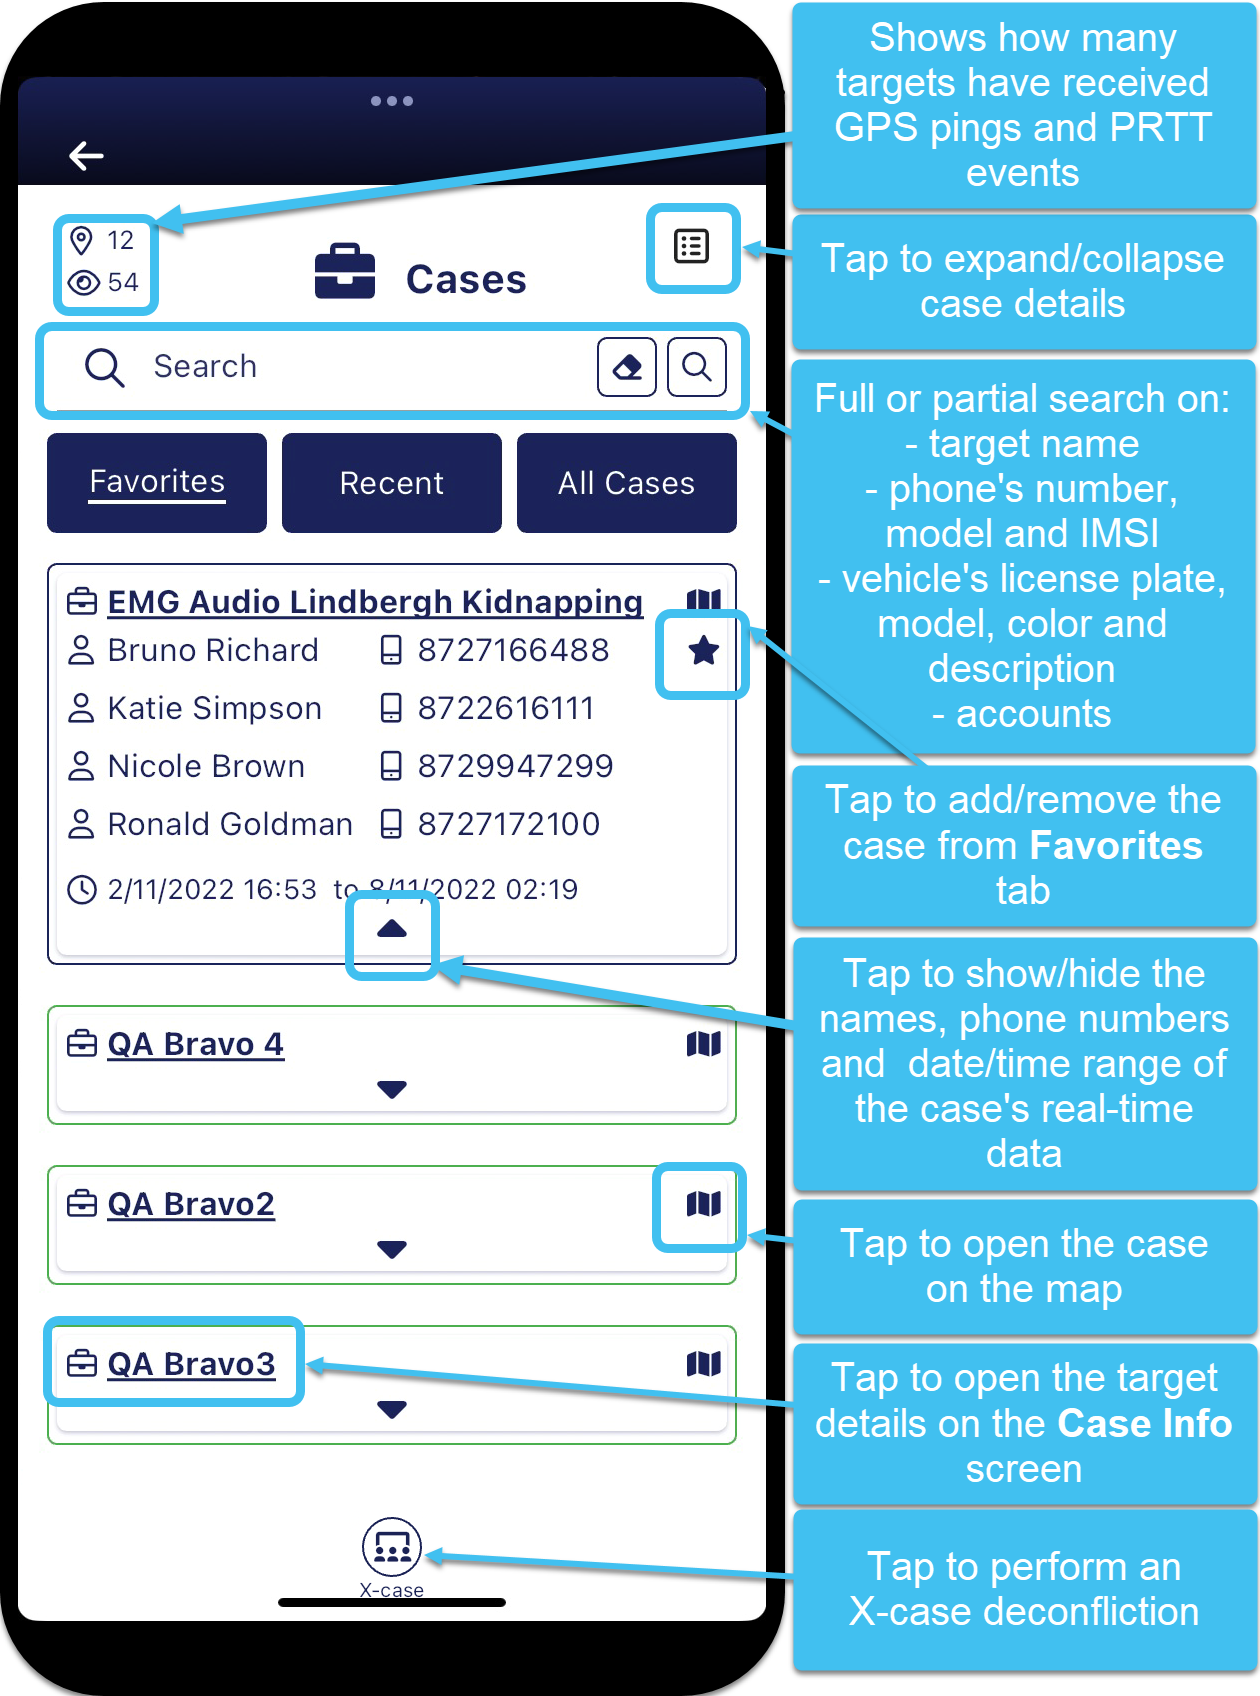
A summary at the top-left of the screen indicates how much data is available. It details how many of your targets have received GPS pings and PRTT events.
The search bar allows you to quickly locate a case using a full or partial search on the:
-
target name
-
phone's number, model and IMSI
-
vehicle's license plate, model, color and description
-
accounts
There are three tabs on the screen which allow you to display either your favorite, recent or all your cases.
-
The Favorites tab only list those cases you have added as a favorite as described in Quickly view cases of interest by marking them a favorite.
-
The Recent tab lists all your real-time monitoring cases ordered by those with the most recent events.
-
The All Cases tab lists all your real-time monitoring cases in alphabetical order.
The color of the outline around each case indicates how recently the last event occurred. The timings used for each color are those you have set on your User preferences panel in Green/Yellow/Red the data arrived in the last (Minutes). For further information refer to Set the amount of data loaded and the timing color codes.
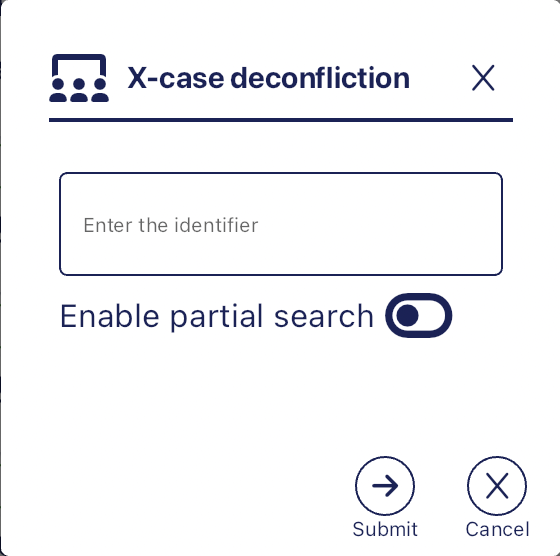
The Cases screen also allows you to perform an X-case deconfliction which is a powerful query that allows you to search for phone numbers on the OSS-ESPA account your G-Scout App is connected to. You can search for phone numbers to find any full or partial matches in other OSS-ESPA cases. If you want to search for multiple phone numbers then you can enter them as a comma-separated list. Shortly after submitting your query, you will receive an email titled "IQ X-Case report completed successfully ". This typically takes a few minutes to generate and it is recommended that you check both your email's Inbox and Junk folders. For further information refer to How to run an X-Case deconfliction.
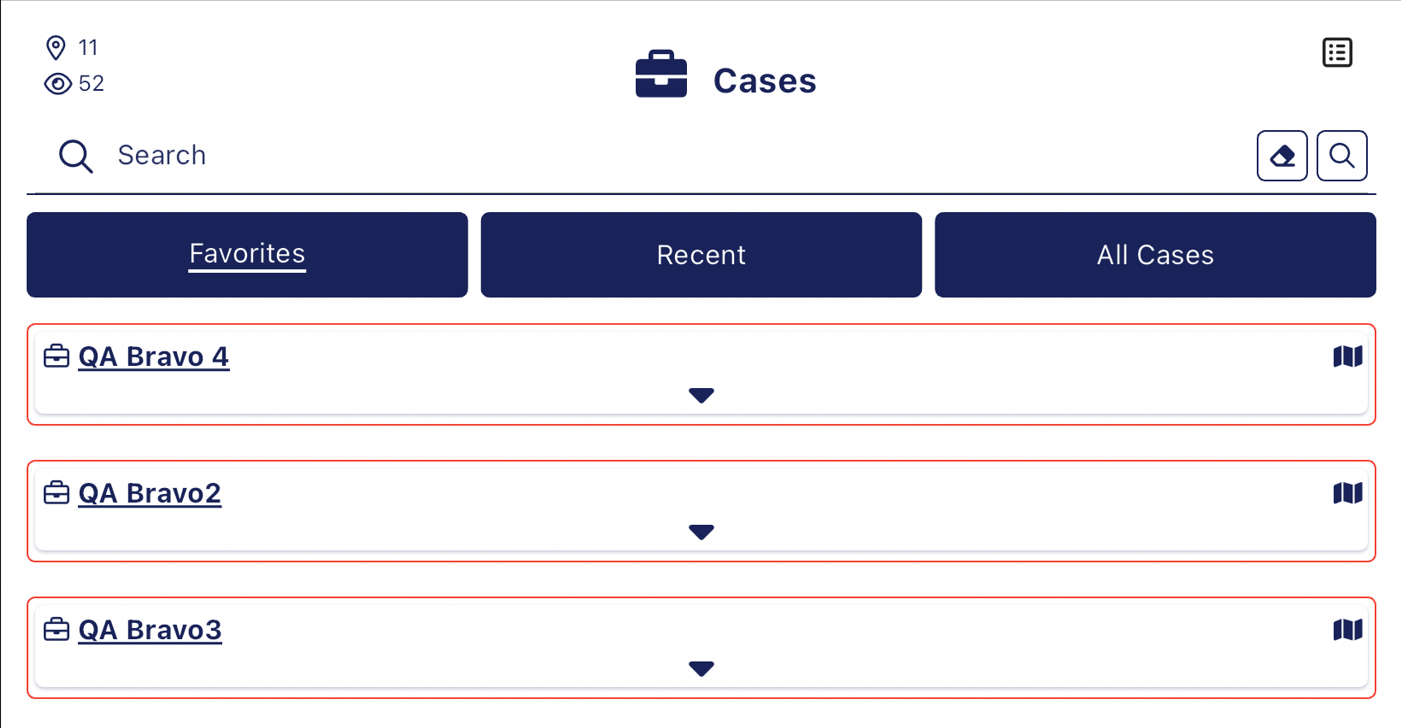
 Expand
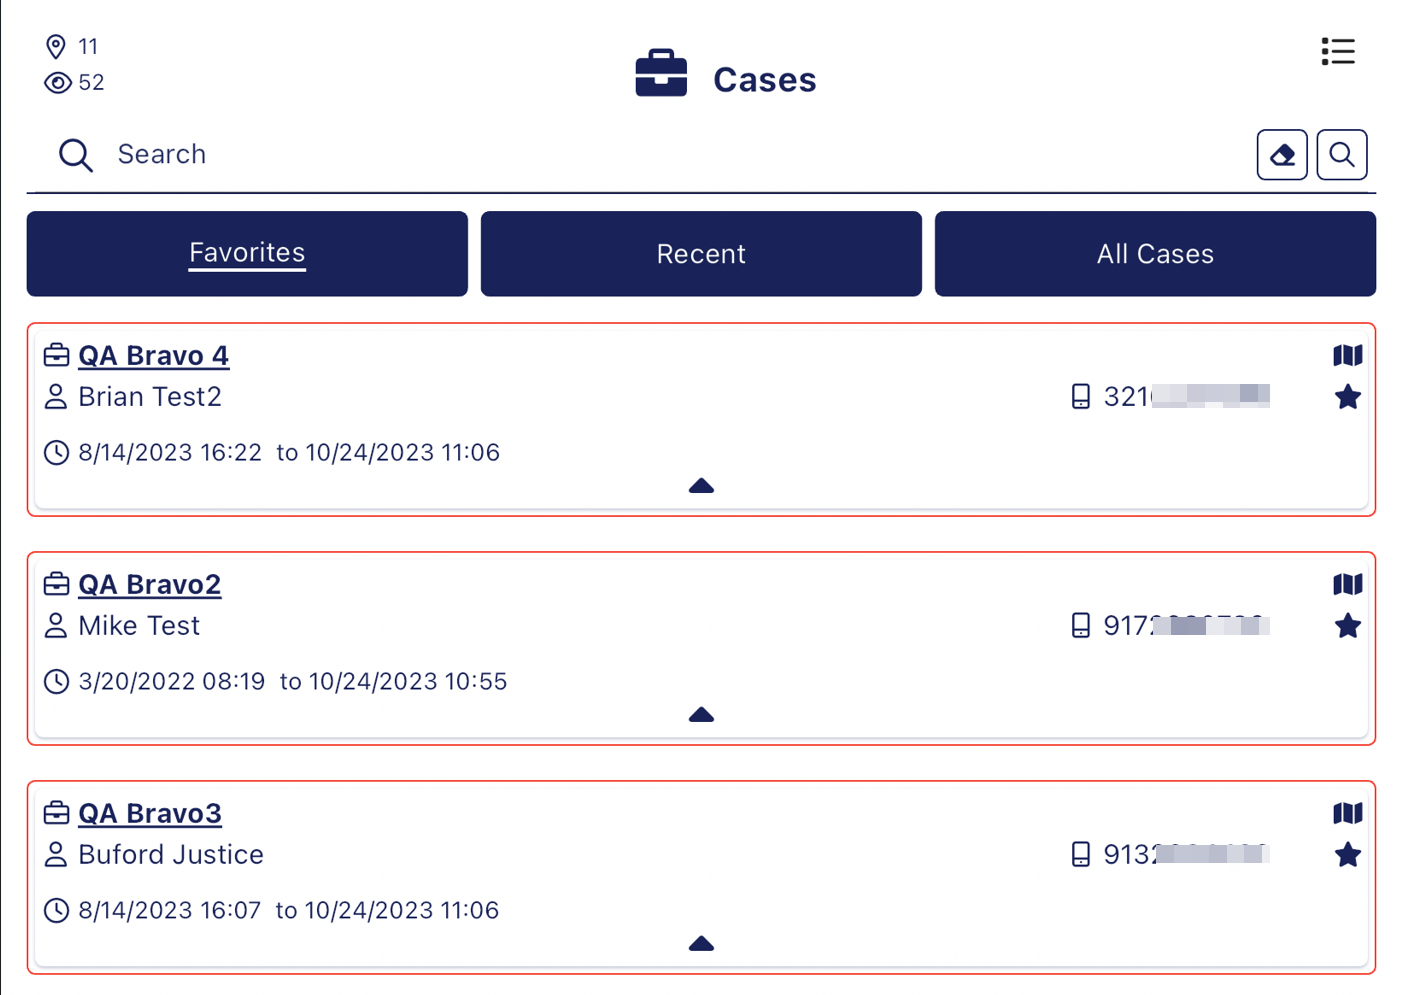
  Collapse
Tap to show or hide the details of each case.
When collapsed the case name and a link to the Analysis Center map screen is displayed.
When expanded the person's name, phone number and the data/time range of the case is also displayed.

Tap to search on the text you entered in the search bar. You can perform a full or partial search on the:
-
target name
-
phone's number, model and IMSI
-
vehicle's license plate, model, color and description
-
accounts
Tap to clear the text you entered in the search bar.
 <case name>
Tap to open the Case Info screen.The Case Info screen then allows you to select which of the case's phones you want displayed on the Analysis Center map screen, and view and filter each phone's events.

Tap to open the case, along with all its phones, on the Analysis Center map screen.


Tap to add a case to the Favorites tab, and tap to remove it.
 X-case
Tap to open the X-case deconfliction pop-up that allows you to search for phone numbers across cases on your account. For further information refer to How to run an X-Case deconfliction.