Add section dialog box
This topic describes the purpose of the Add section dialog box and all the settings and buttons on it.
This feature requires option E9 Analysis report. If you do not have this option this dialog box is not available.
The Add section dialog box allows you to add a new section to an advanced analysis report and to define the format of that section. For further information refer to To add a section to a report.
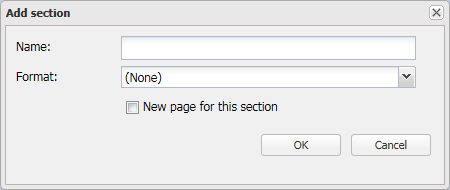
Enter the new section name.
Select the format of the text that you want used for the section name, either: (None), Normal, Title or Heading 1 through 3. The styles, for example the color and size, applied to these formats are defined by the document style template that you have applied to the report. If you select (None) then no section heading is displayed in your report. Use the different levels of headings to create sections and subsections within your report, this will also create structure within your table of contents. For further information refer to To upload a report template that defines the document styles and master slide layouts.
NOTE: Even though you create a new section as a subsection on the <Report name> tab it does not appear in the report as a subsection unless you select the correct format for it.
Select if you want the section to appear on a new page when the report is generated.
Click to close the dialog box without applying any changes you may have made.
Click to apply any changes you have made. The dialog box closes automatically. The new section appears as a folder on the <Reports name> tab.