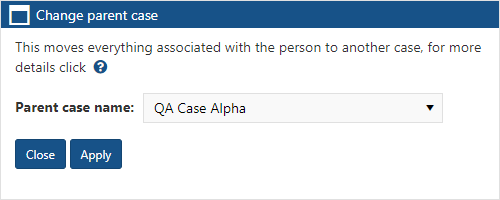
Change parent case dialog box
This topic provides an overview of the Change parent case dialog box and all the settings and buttons on it.
This feature requires option E14 Sentinel. If you do not have this option this feature is not available.
The Change parent case dialog box allows you to move a person's details to another case. This includes moving the person, their phone numbers, their i-cases and all their intercept messages. It is permanently noted on the Case Notes View screen of both the old and new case that the person has previously been moved, and there is also a temporary notification alarm on both cases. Moving a person's details to another case can take some time depending on the amount of data that needs moved and during the process the data is unavailable until the move is completed.
-
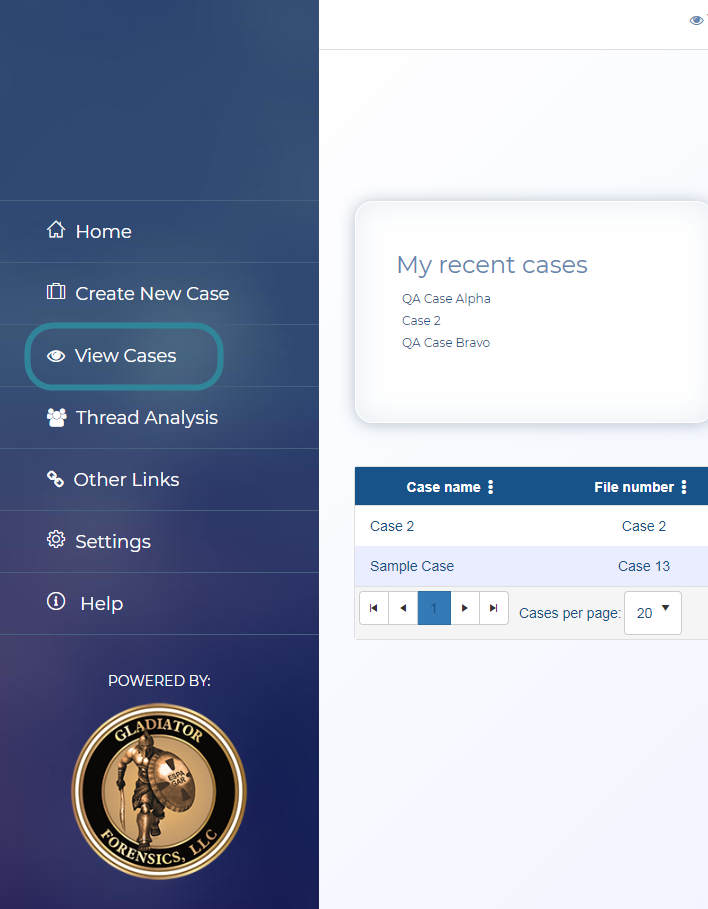
Open the View i-cases screen. It may be that your Home page is configured to open this screen but if not:
-
On the main menu click View Cases.
-
Either the Advanced view cases, View i-cases or the View Cases screen opens depending on your setting of View cases on the User settings screen. If the View Cases or Advanced view cases screens open then click
 at the top-right of the screen to open the View i-cases screen.
-
-
Locate the case you want. To do this either:
- Manually navigate to the case by expanding the folders that the case is located in.
- Enter at least part of the case name then click Search. If the first case it finds is not the one you're wanting to edit then click Next until you reach the your case.
-
To change the parent case right-click the person, and select Properties.
The Person property dialog box opens.
-
Click Change.
The Change parent case dialog box opens.