How to create a location key
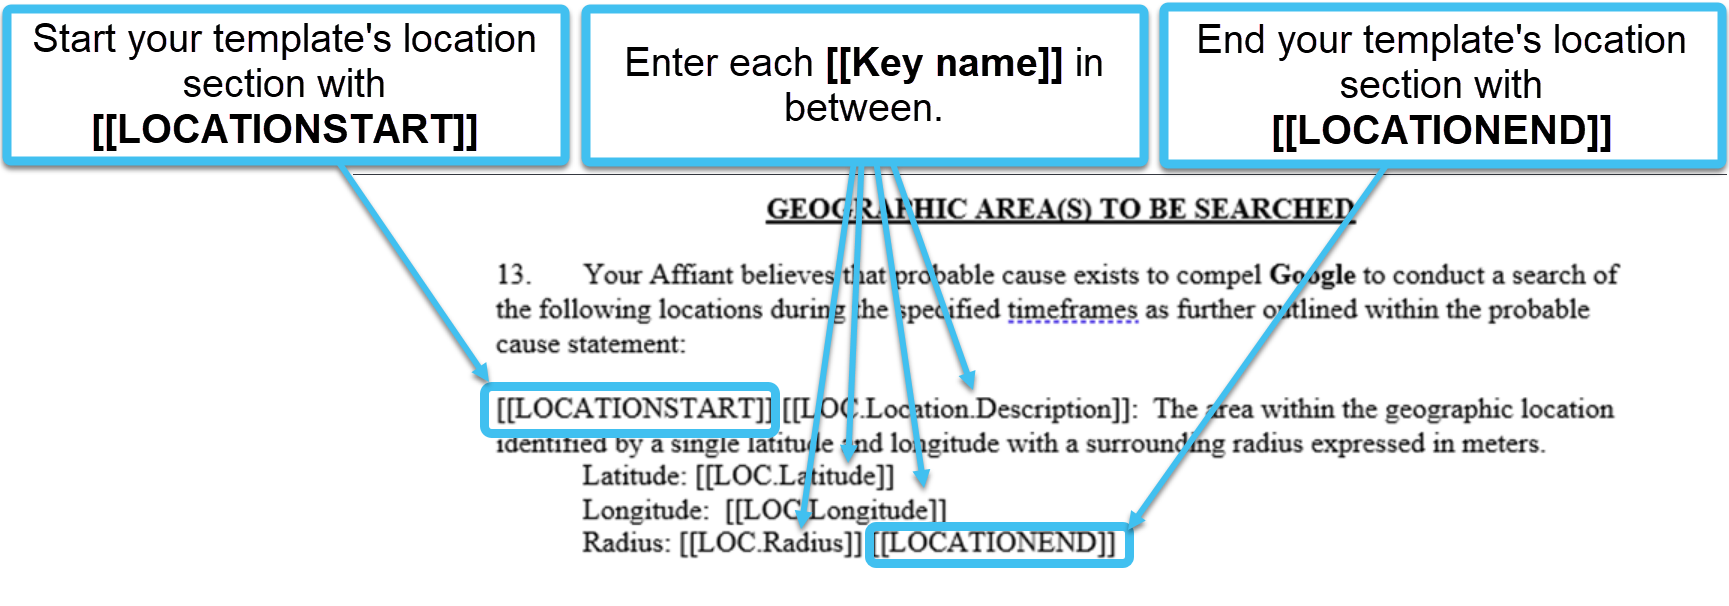
To create locations in a tower dump and geofence warrant template; in OSS-ESPA create your required keys where Key type is set to "Location", for example you may wish to create four keys to be used for the location name, latitude, longitude and radius. Next add a location section to your template which starts with [[LOCATIONSTART]] and ends with [[LOCATIONEND]], adding the [[Key name]] of each of your keys in between, for example [[LOC.Location.Description]].
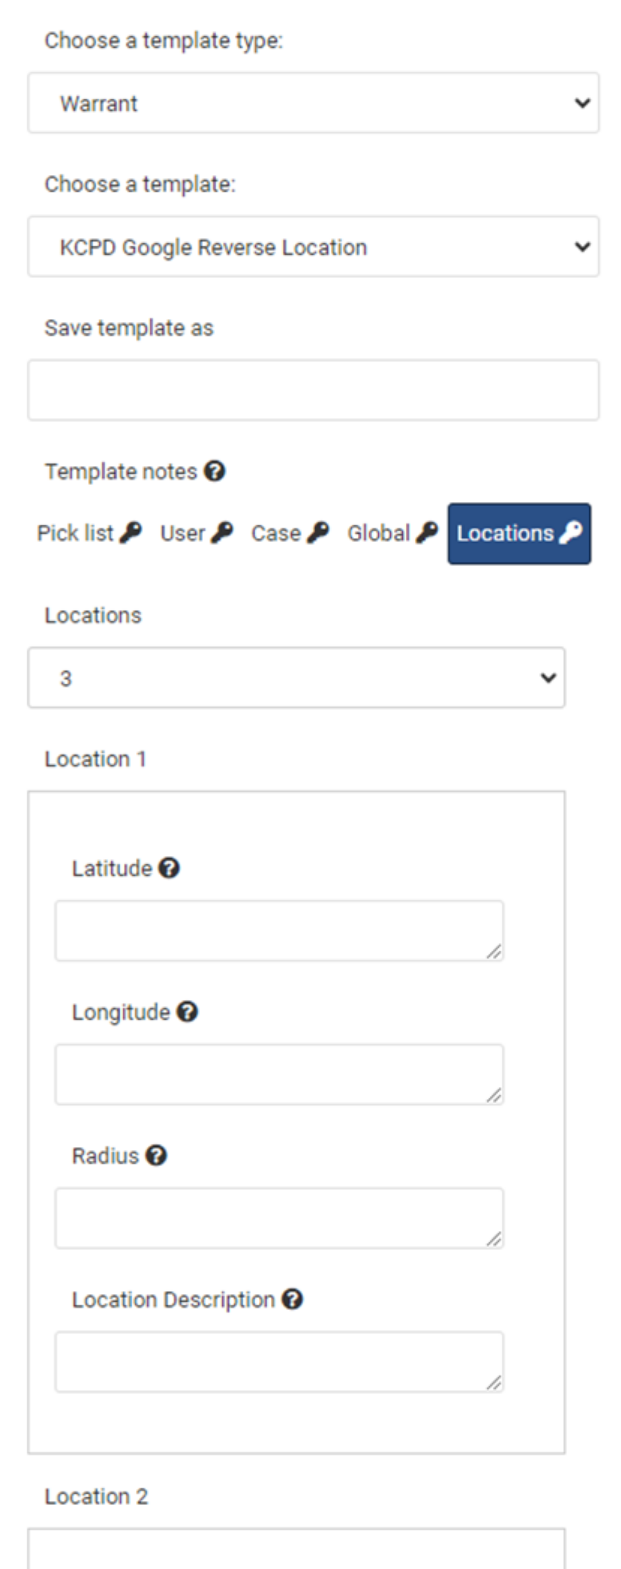
When someone then uses this template they are prompted to enter the number of locations and the location details as defined by the keys, for example, location name, latitude, longitude and radius.
Click the hyperlink below for further details.
This topic details how to create a specific type of key that allows you to create multiple locations that can be used in creating tower dump and geofence templates. When someone then uses this template they are prompted to enter the number of locations and the location details as defined by the keys, for example, location name, latitude, longitude and radius.
NOTE: This topic is only for administrators or users with the Templates manager permission. If you are not an administrator or do not have this permission and simply want information on using templates and keys refer to Using templates.
-
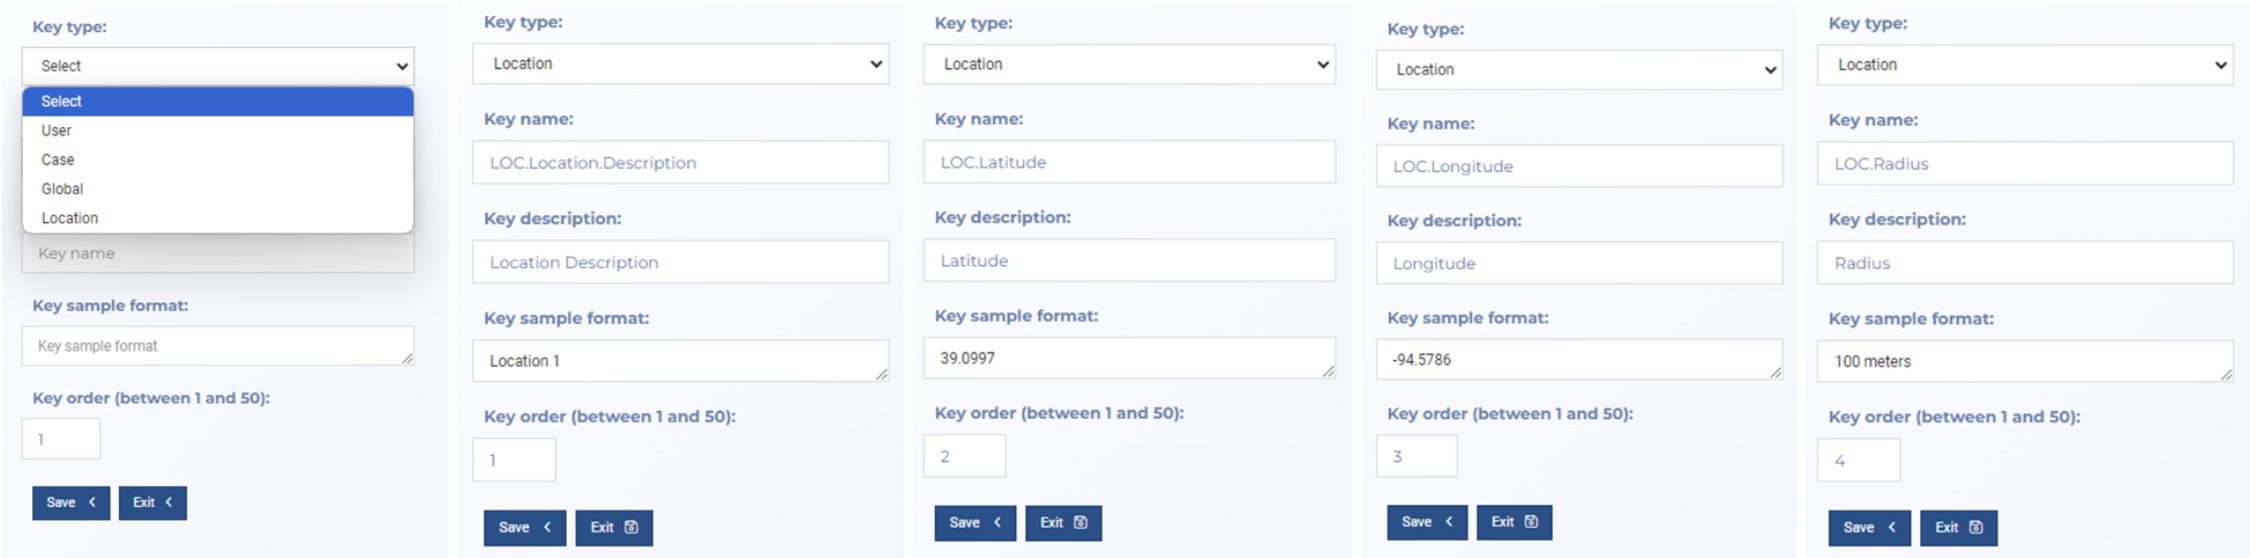
Firstly you must create your location keys in OSS-ESPA. For example you may wish to create four keys to be used for the location name, latitude, longitude and radius as shown in the following graphic.
To create a location key:
-
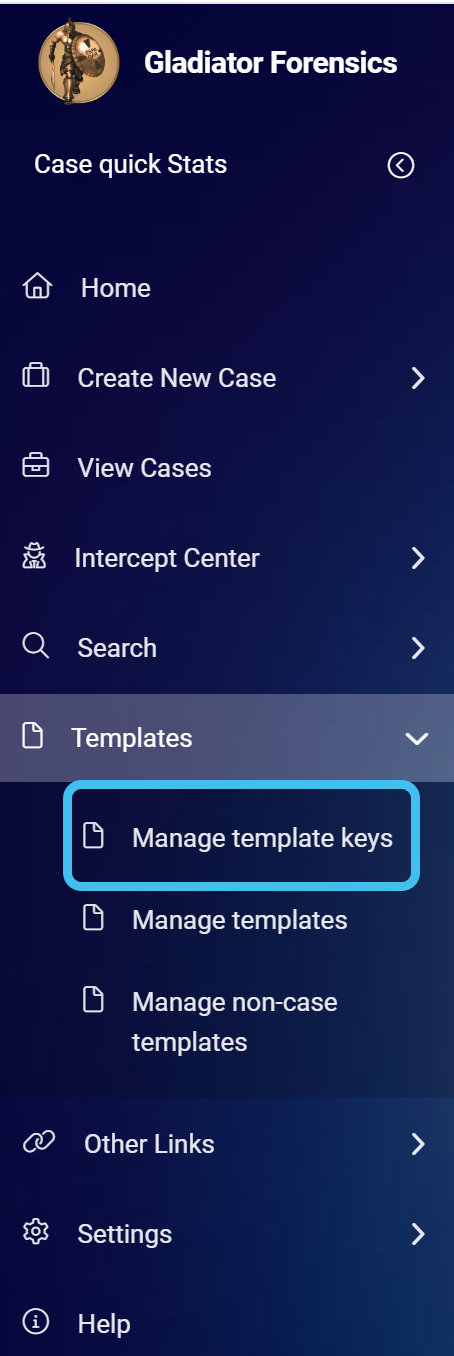
On the main menu click Templates, then click Manage template keys.
The Key management screen opens.
-
Click New key.
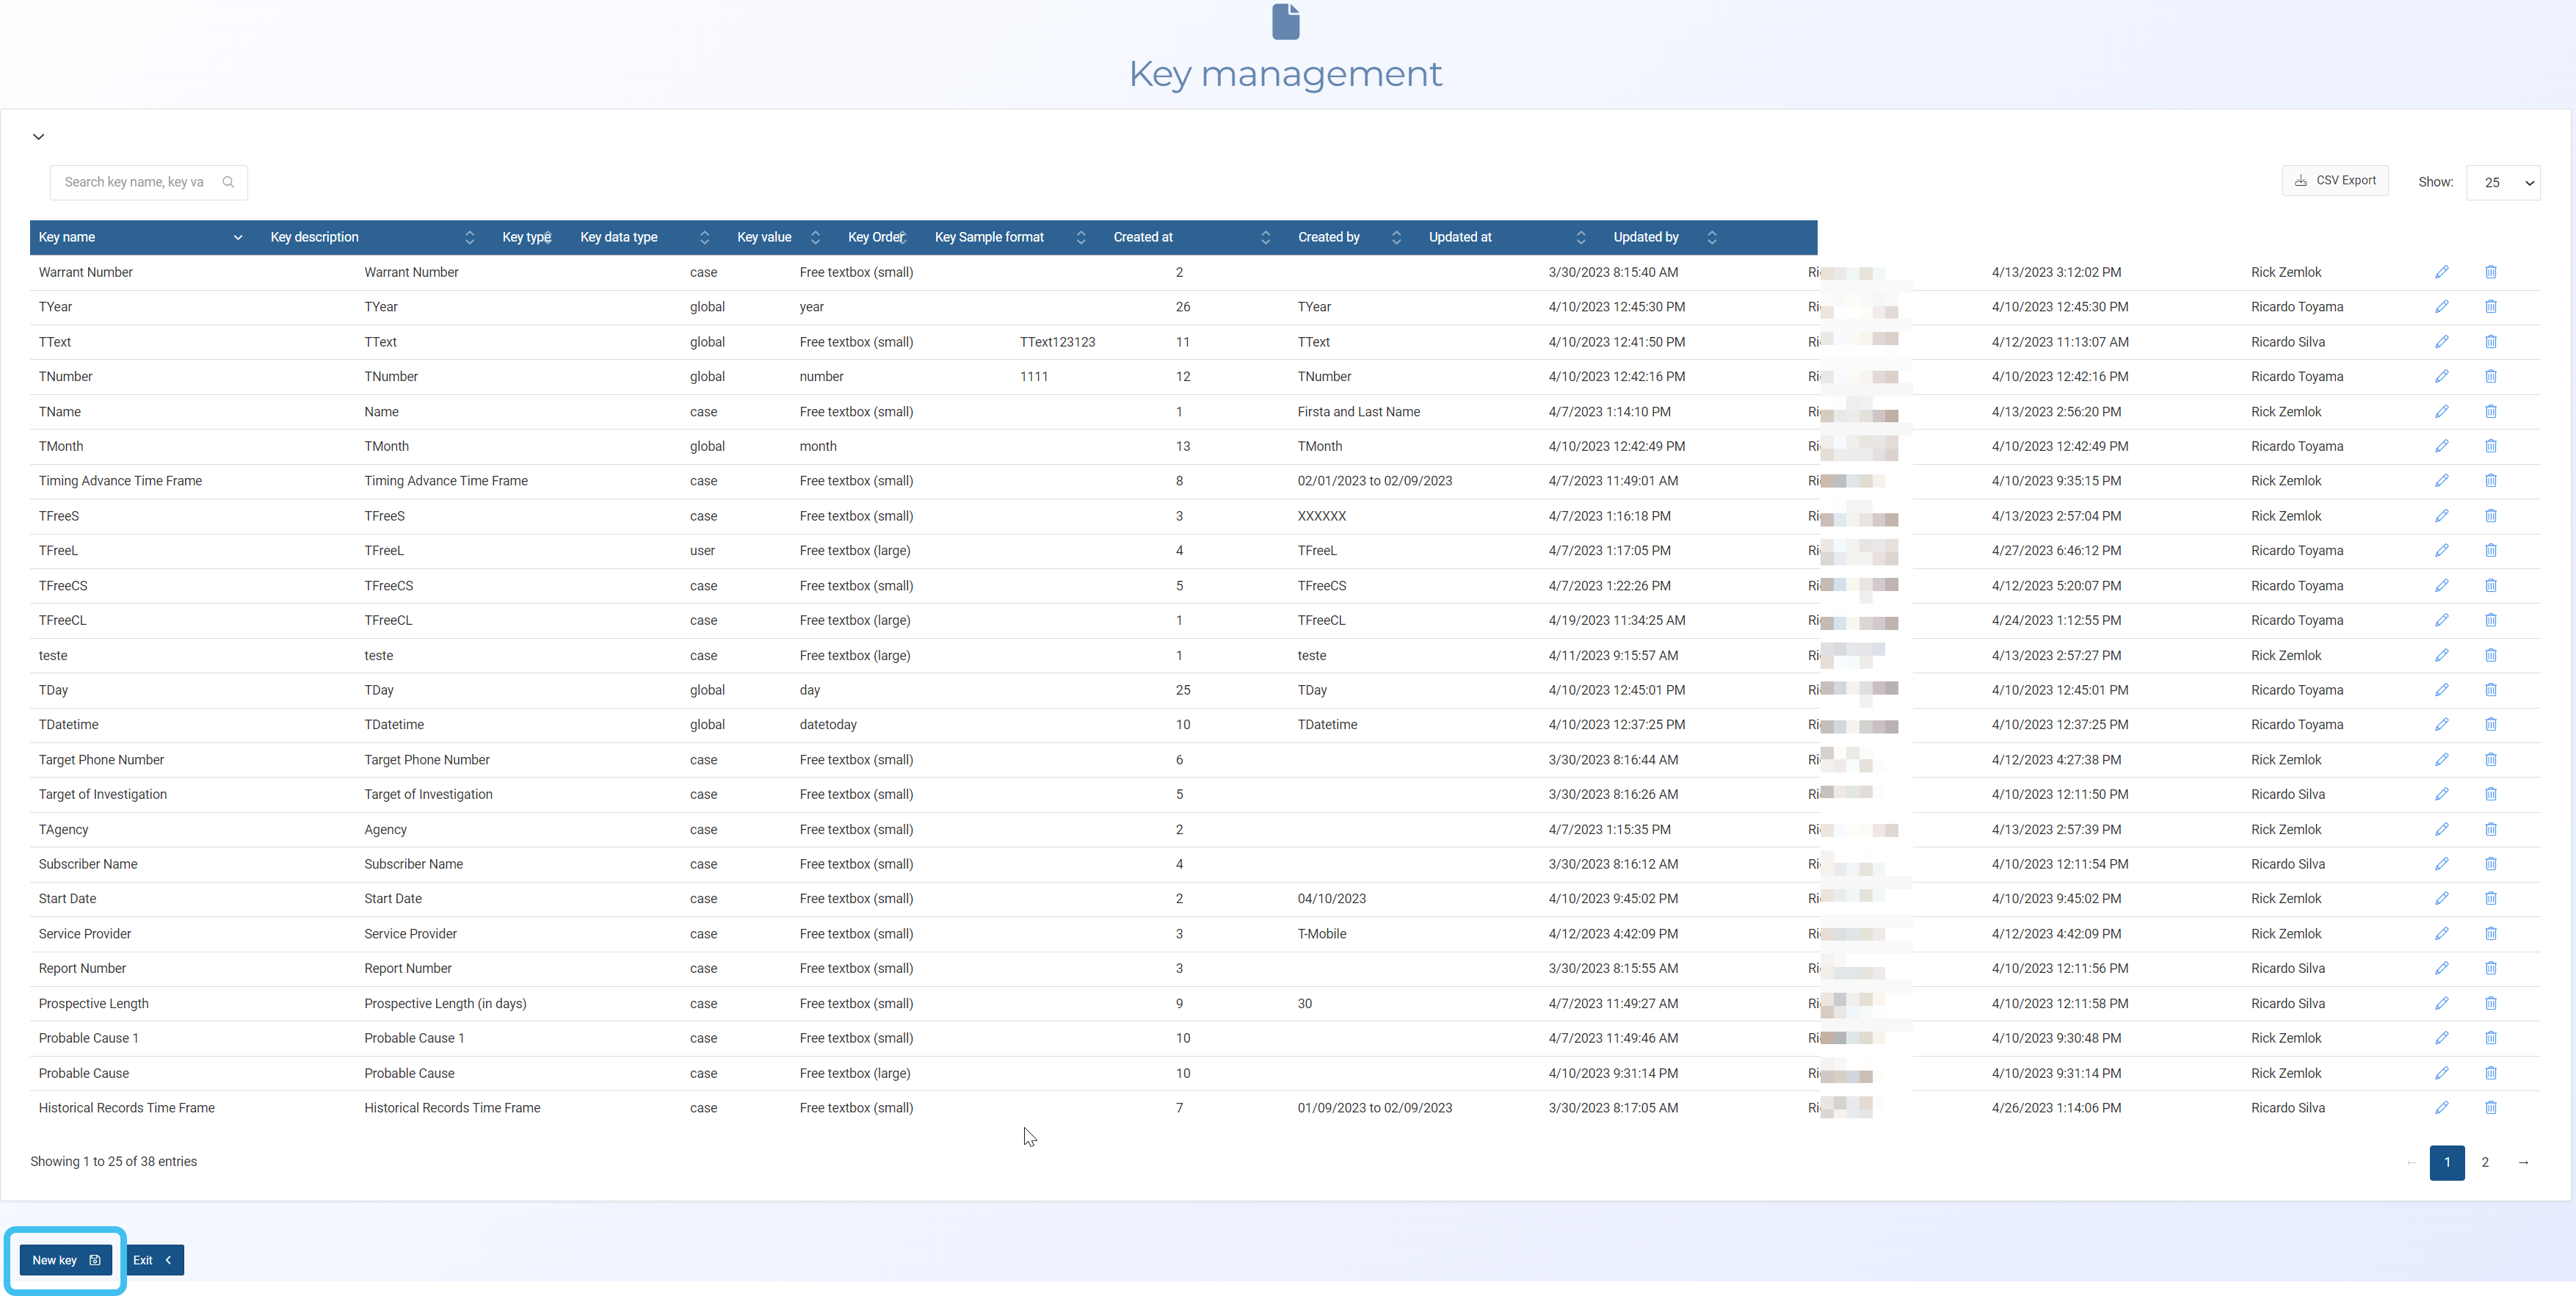
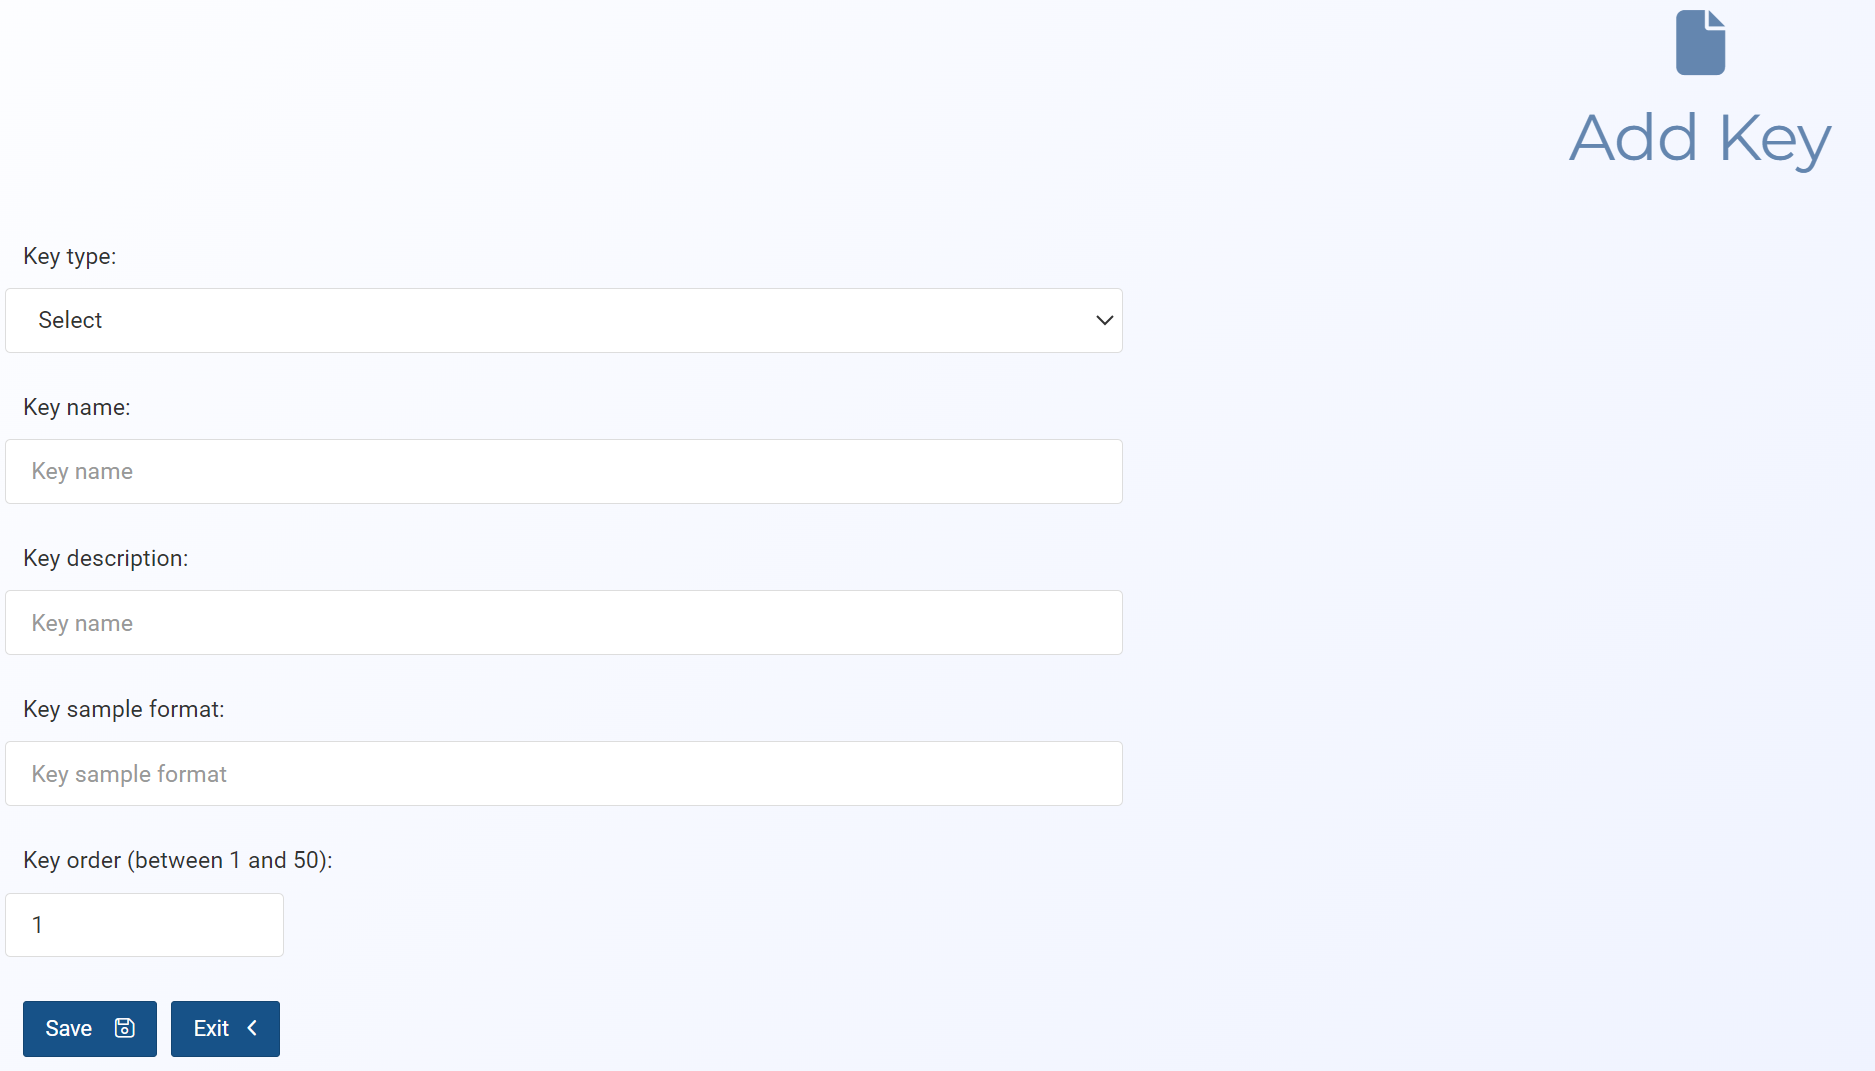
The Add key screen opens.
-
In Key type select "Location".
-
In Key name, enter a name for the key which must match that in your template.
-
In Key description, enter the name you want displayed for the key when the user is filling in the template details.
-
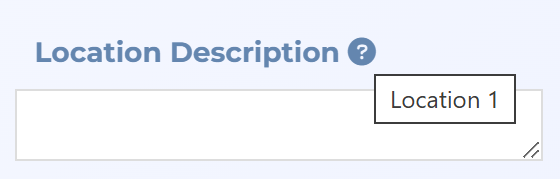
In Key sample format, you may want to enter an optional tip for the format or type of text the user should enter. This then appears as a pop-up tip in the template.
-
In Key order, enter a value to define the order the keys are displayed to the user on their Add/Edit template to case screen. The keys are displayed on this screen in separate groups based on whether they are user, case, global keys or locations, therefore each key type has its own set of numbers. For further information refer to Key order.
-
Click Save. Your key is saved and you return to the Key management screen.
-
Click New key and repeat the above steps until all your location keys are created.
-
-
Next, add a location section to your Microsoft Word template file which starts with [[LOCATIONSTART]] and ends with [[LOCATIONEND]], adding the [[Key name]] of each of your keys in between, for example [[LOC.Location.Description]]. This section can be placed anywhere in the document and the key information completed by the template user is then duplicated.
-
Upload your Microsoft Word template file as detailed in How to create a template.
When someone then uses this template they are prompted to enter the number of locations and the location details as defined by the keys, for example, location name, latitude, longitude and radius.