Import persons from file screen
This topic provides an overview of the Import persons from file screen, all the settings and buttons on it and explains what must be contained in the file. However if you require a step-by-step procedure on importing a file containing persons refer to To import a file containing new persons.
The Import person from file screen allows you to import a file containing persons for use in the case.
Although persons can be entered manually using the People and devices screen you can also select to upload a file containing persons from both the
The person file must either be either a .csv, .xls, or .xlsx file format, or a .zip file containing one of these file types. For the information in the file to import correctly, you must include the column headings in the first row of your file; refer to the following list for details of the column headings and content requirements, both of which are case insensitive. Alternatively click here to download an .xlsx template file provided by Gladiator Forensics.
This setting is optional. Enter a brief description of the person, for example Woman in red top. Once imported, the contents of this column are used to populate the person's Description setting.
This setting is optional. Enter the person's first name. By default both the First name and Last name are used to identify the person on
This setting is optional. Enter the person's middle name if known.This information is then included in
This setting is optional. Enter the person's last name. By default both the First name and Last name are used to identify the person on
This setting is optional. Once imported, the contents of this column are used to populate the person's Person type setting. The allowed values are:
- suspect
- victim
- witness
- other
This setting is mandatory. Enter the person's phone number. Once imported, the contents of this column are used to populate the person's Phone setting. Spaces, brackets and dashes can be included. The country code should not be included.
This setting is optional. Enter the operator that the mobile phone is registered to. Once imported, the contents of this column are used to populate the person's Operator setting. The allowed values are:
- att
- carolinawest
- cricket
- metropcs
- nextel
- other
- sprint
- tmobile
- unknown
- uscellular
- verizon
This setting is optional. Once imported, the contents of this column are used to populate the phone's Display color setting. The allowed values are:
- default
- red
- darkred
- green
- darkgreen
- blue
- darkblue
- magenta
- cyan
- orange
- yellow
- purple
This setting is optional. It is only applicable for phones where the operator is ATT, T-Mobile, Sprint or Verizon. It defines whether or not you want to carry out live location monitoring on the phone which is based on a GPS ping email interface. Once imported, the contents of this column are used to populate the phone's Enable location monitoring (Smart Track) setting. The allowed values are:
- yes
- no
- true
- false
If you do not enter a value OSS-ESPA assumes you do not want to carry out live location monitoring on the phone number.
This setting is optional but is required if you are doing live location monitoring on the phone number and the operator is either ATT, Verizon or Sprint.
For Sprint and Verizon this is the Case ID, and for ATT this is the ITN that they provide you with for the selected phone number. Once imported, the contents of this column are used to populate the phone's Case ID or ITN settings.
If you require information on uploading people from a file refer to To import a file containing new persons.
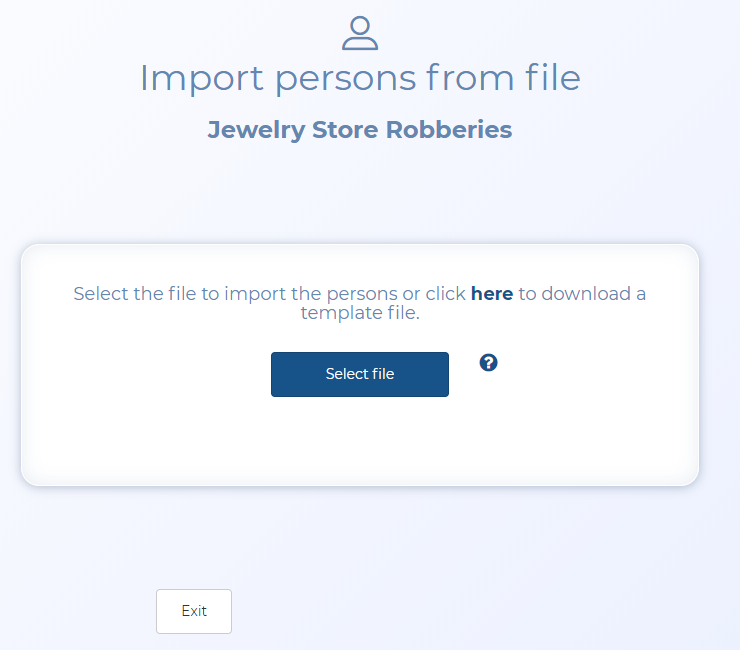
This setting is mandatory. Click Select to upload a persons file. Windows Explorer opens. Navigate to the folder and select the required person file then click Open.
The person file must either be either a .csv, .xls or .xlsx file format, or a .zip file containing one of these file types.
Click to import the person file.
Click to close the screen and return to the Manage case screen.