Viewing a Live target summary HTML report
Live target summary HTML reports are sent to you by email. Once downloaded they must be unzipped, you then open the report by clicking the .html file in the unzipped folder. Click the hyperlink below to find out further details on viewing the various sections of the report.
This topic describes how to open and view the results of an interactive Live target summary HTML report. These reports are sent to you by email, or are available to download on the IQ packets (reports) section of the case's Manage case screen.
NOTE: If you find your reports are taking a long time to open, which can happen with large reports, it is recommended you use the Firefox browser as typically they open in half the time than when opening in Chrome or Edge.
-
Click the here link in the email you received to download the report to your computer's Downloads folder.

The report downloads as a .zip file.

-
Right click the zip file, then select Extract All ....
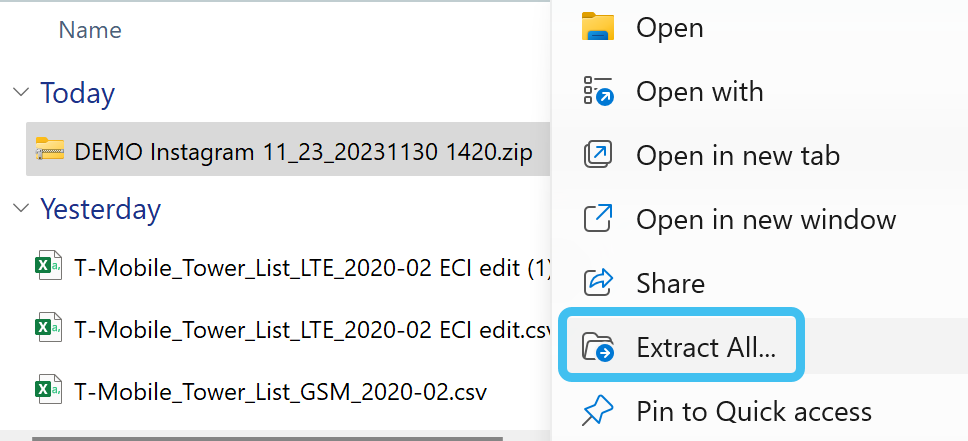
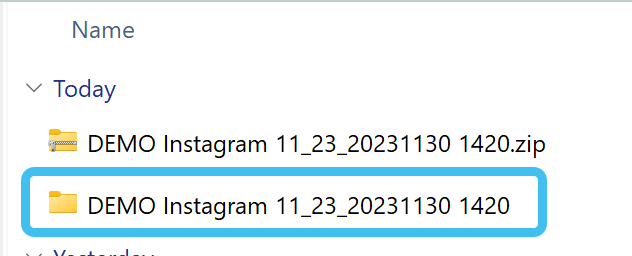
The extracted file now appears as an unzipped folder.
-
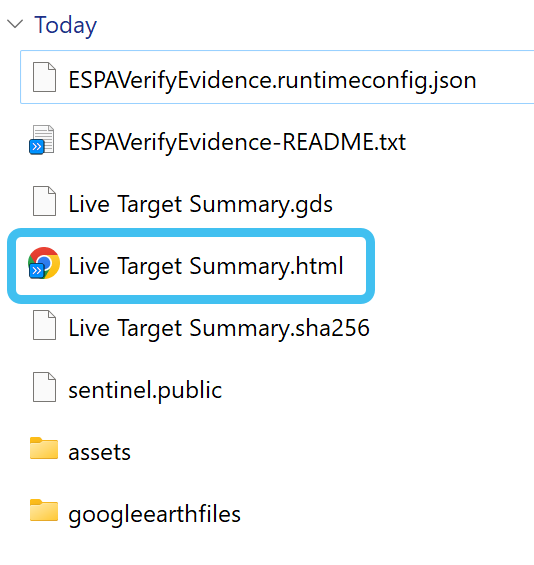
Open the folder and select the .html file to view the report.
-
Click
 beside Report Information to display a summary of the report details as shown below.
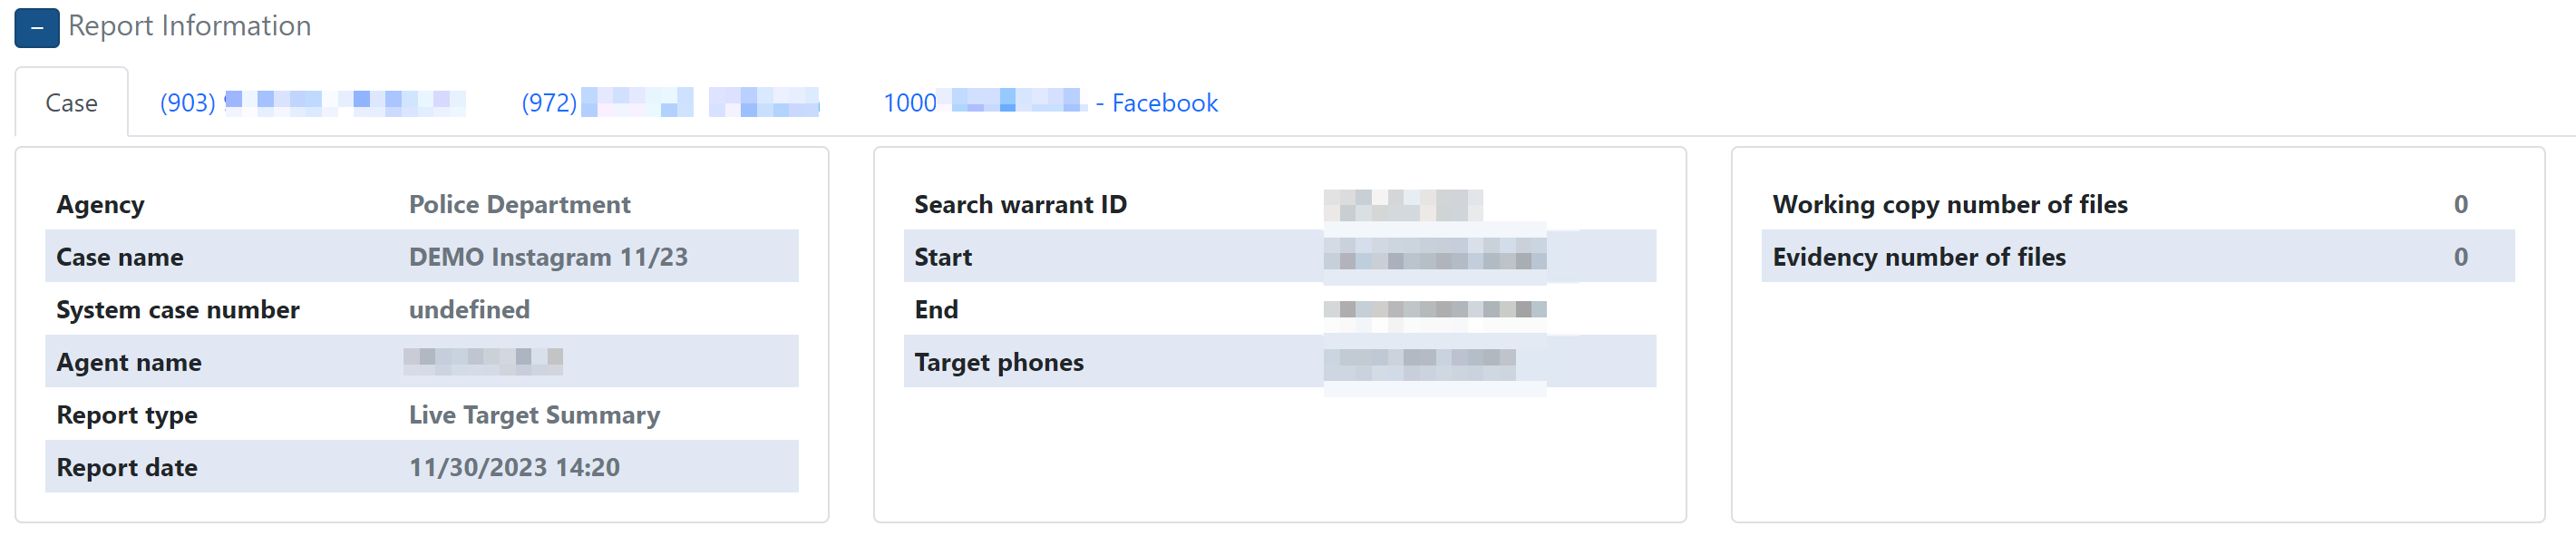
-
There are tabs for each phone and account that are included in the report. Click on a tab to display the details which includes further tabs for the person's details, white list identifier's they have contacted, and their addresses, vehicles, and identification.

Click
 beside Associate report to display all their associates and any information available for them such as their names and addresses. The associates are listed in order of their most frequent contacted.
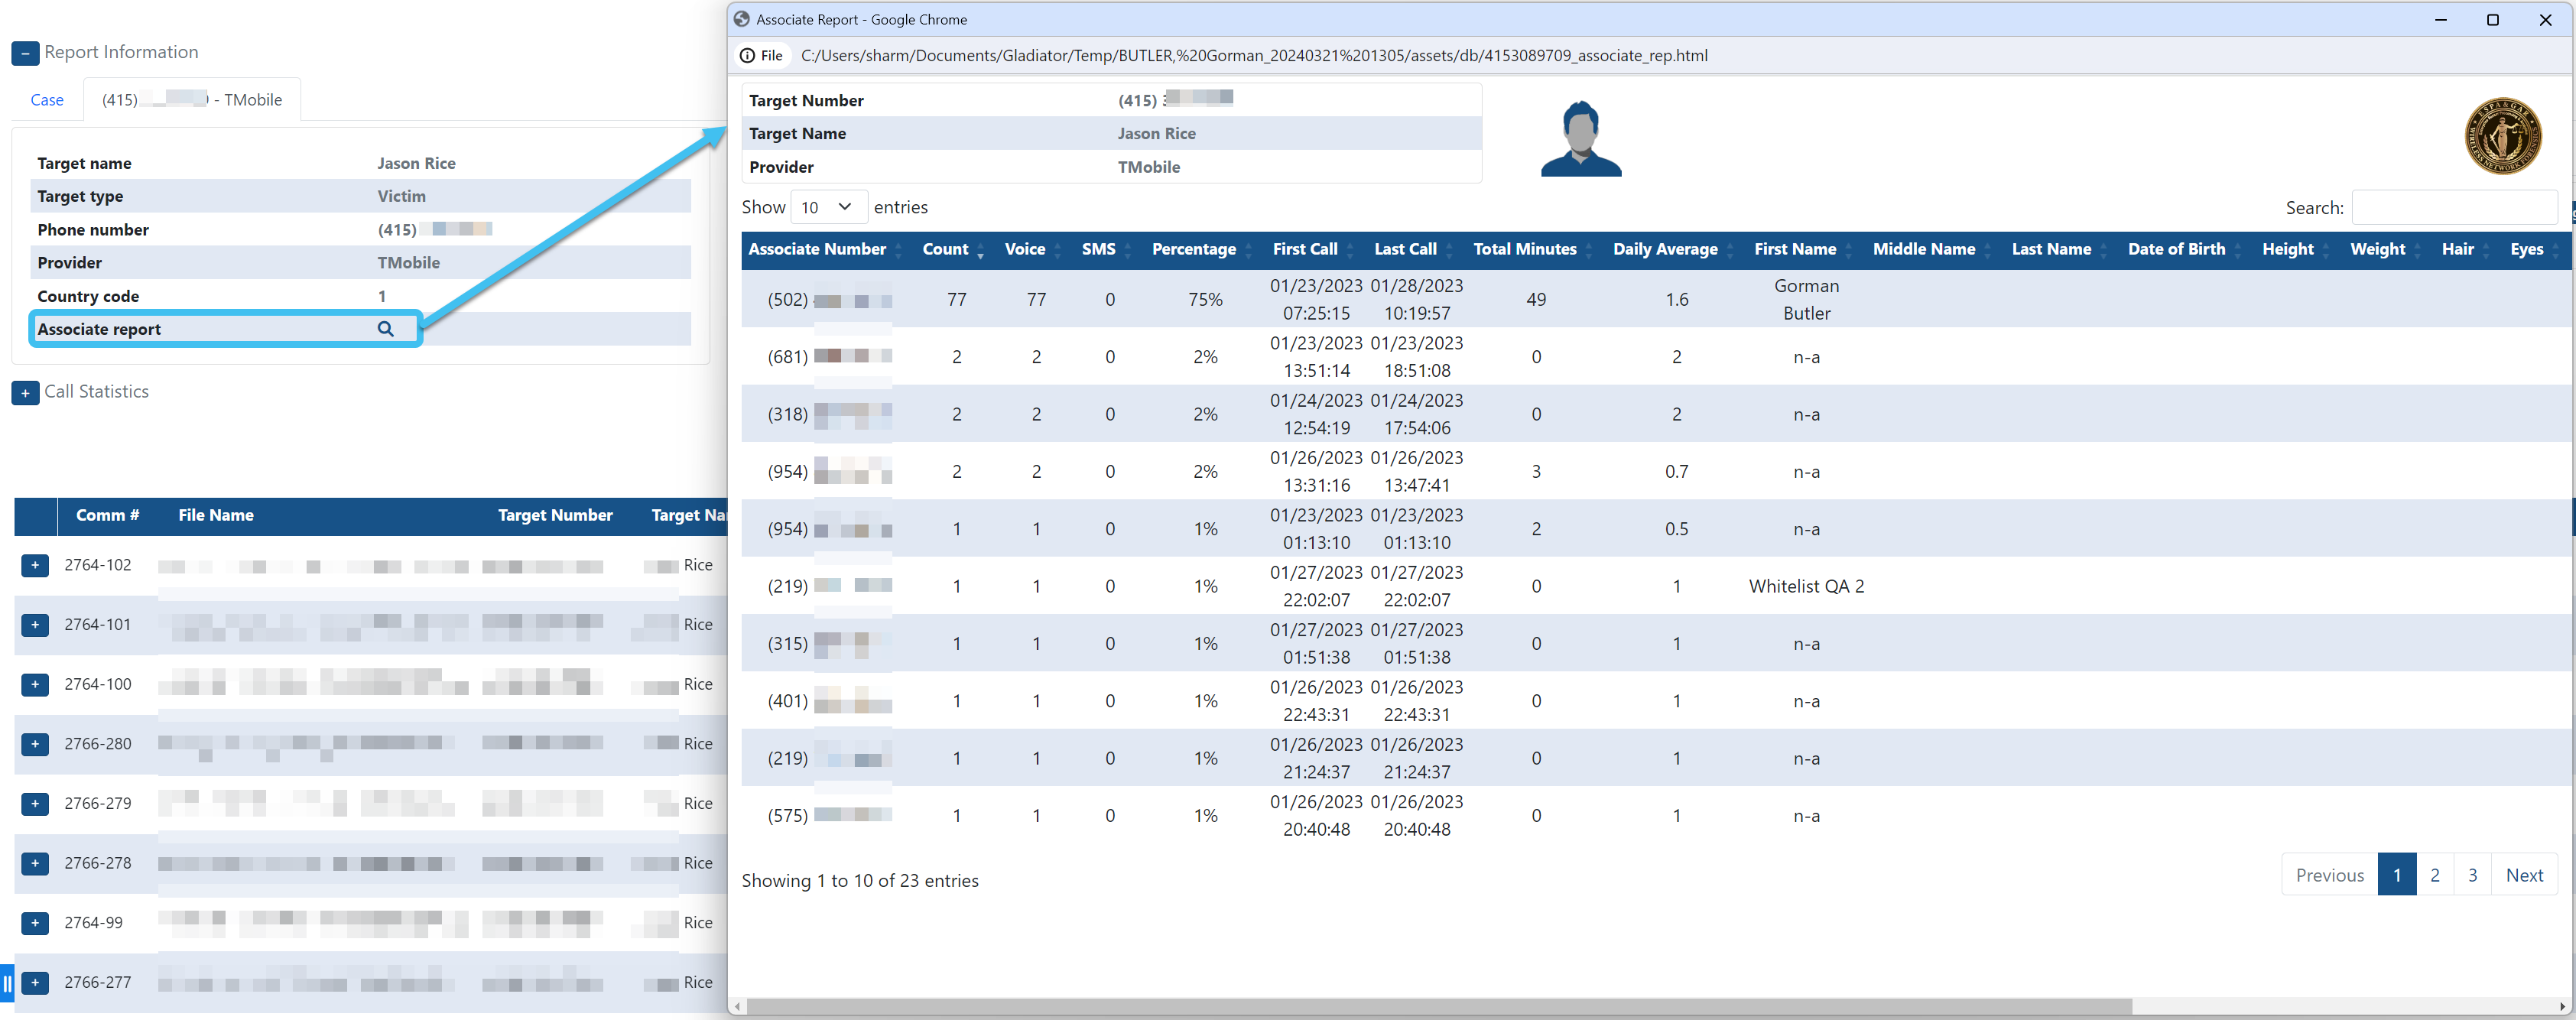
-
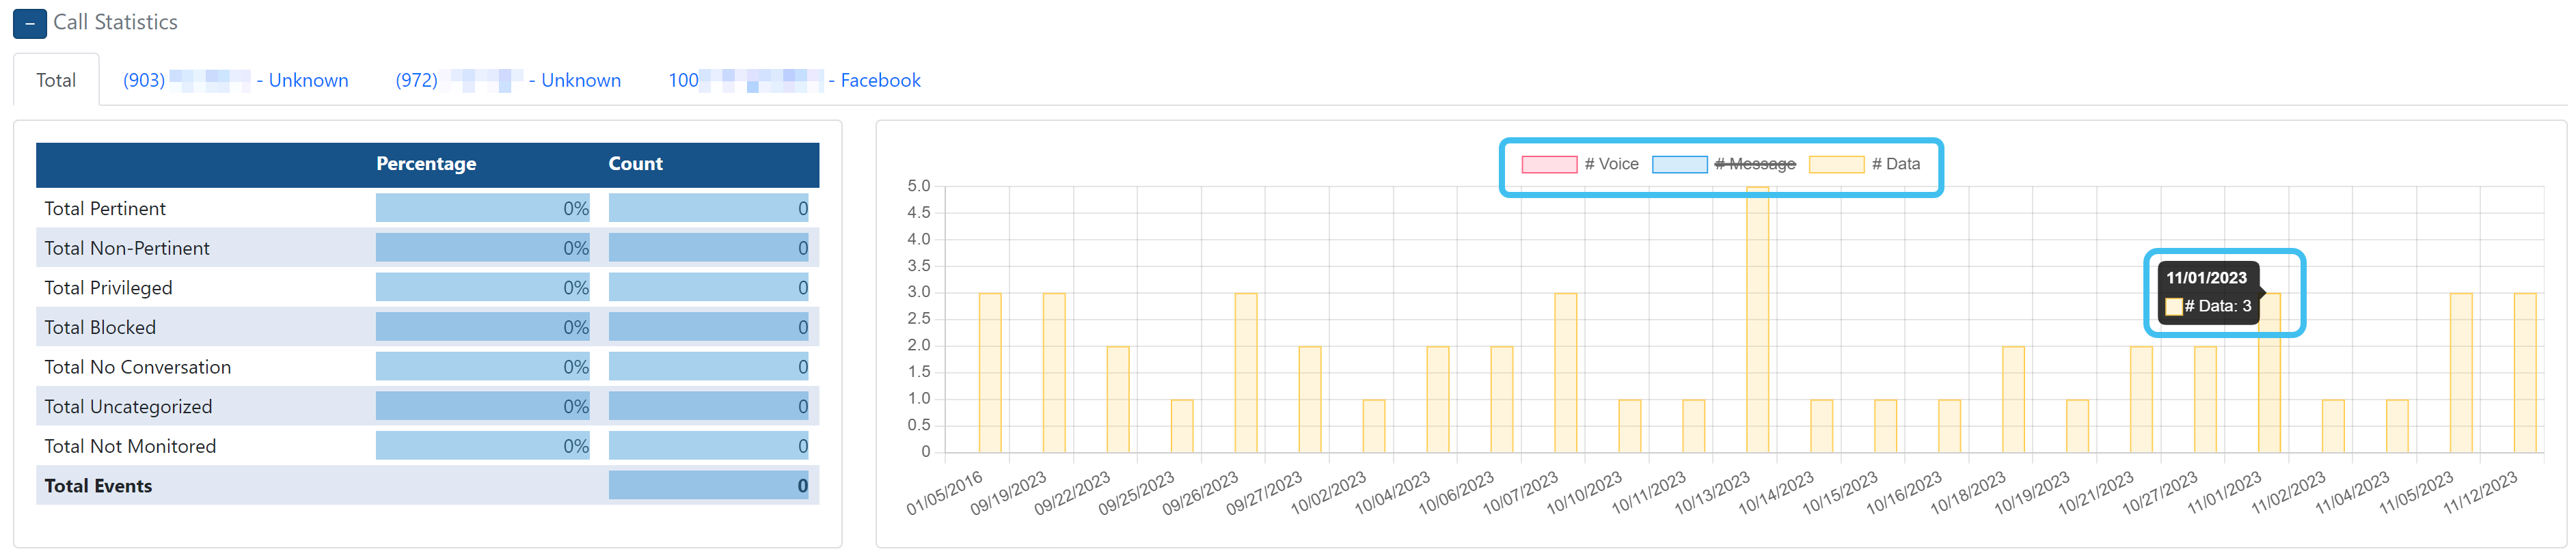
Click
beside Call statistics to display the report's call statistics details as shown below.-
The left side is for Wiretap cases and displays the number and percentage of specific call types.
-
The right side displays the call counts for voice, messages, and data. If you hover over one of the bars in the graph, it displays the count. If you click on a content header it removes that data from the graph and displays a line through the content header as shown below for Message.
-
-
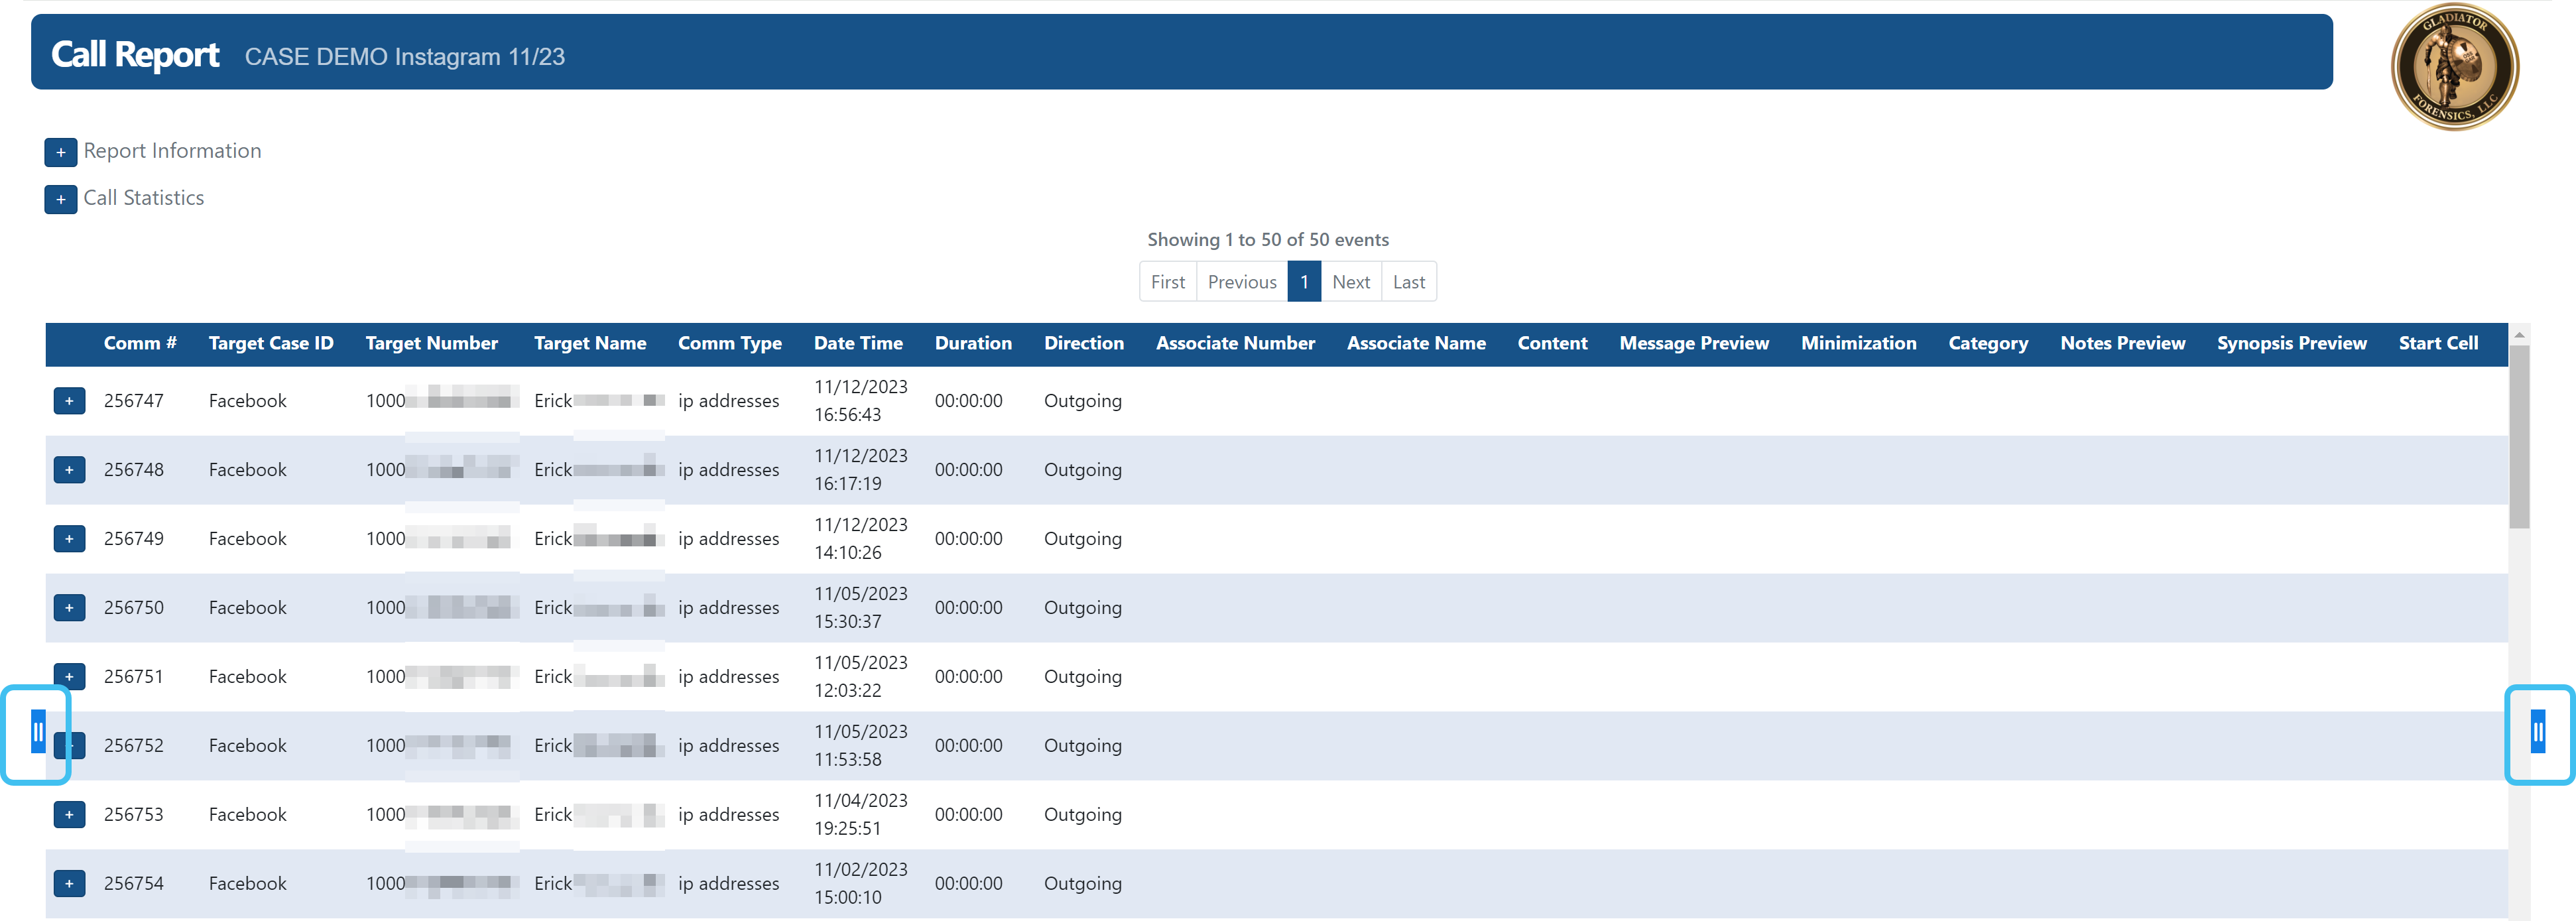
The communication table has two buttons, one on the left and one on the right, which allow you to display and hide two filters:
-
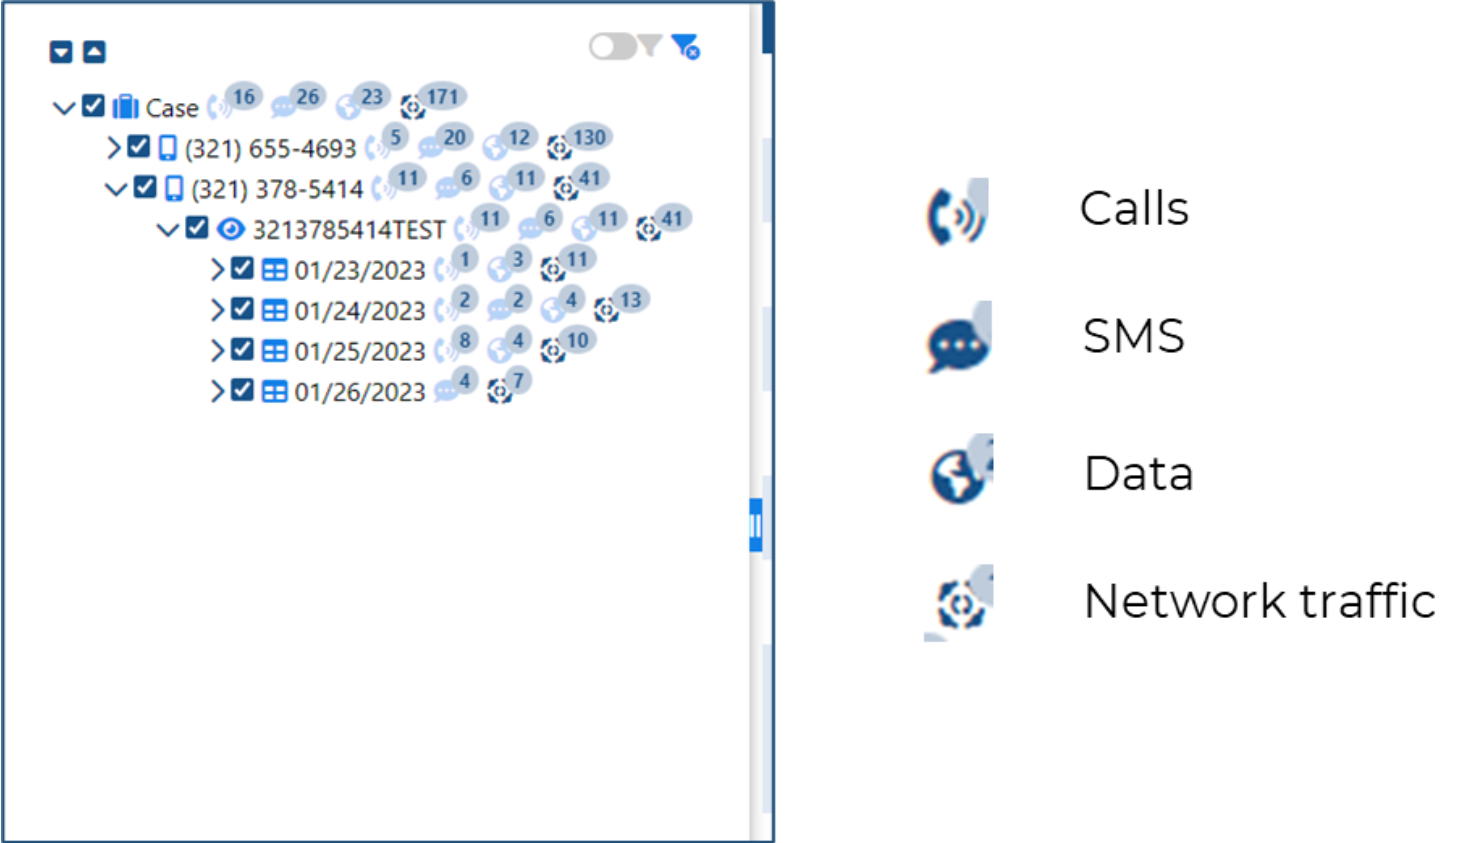
The left filter displays a tree view for each target phone which allows you to select what you want displayed in the table. You can select which phones to display and even drill down to specific calls on a specific day.
There are icons for the different communication types and the circle attached to each icon shows the total.
-
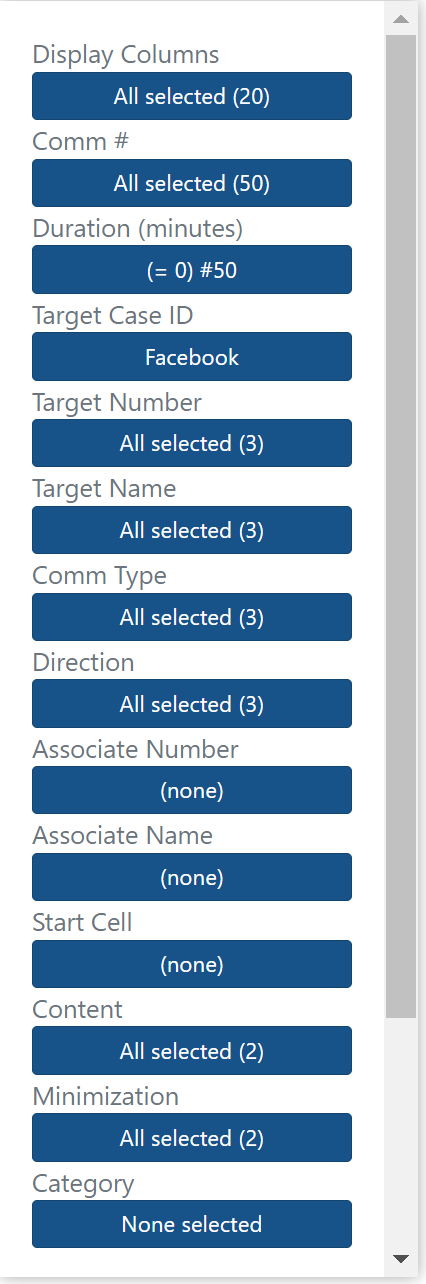
The right filter displays individual filters, as shown below, to help drill down to the data you want to analyze. You can apply multiple filters at a time which allows you to perform powerful searches. The Display Columns filter allows you to select which columns are displayed in the communication table.
-
-
Click
beside each communication to displays more of the communications details as shown below, including a hyperlink to the tower location or GPS location.
Also, if you are working a wiretap and selected to include the content of the communication in the report, such as the voice and messages, they are also displayed here. This content is included by selecting the Include HI3 (CC) information setting, which is one of the Live Target Summary settings.
-
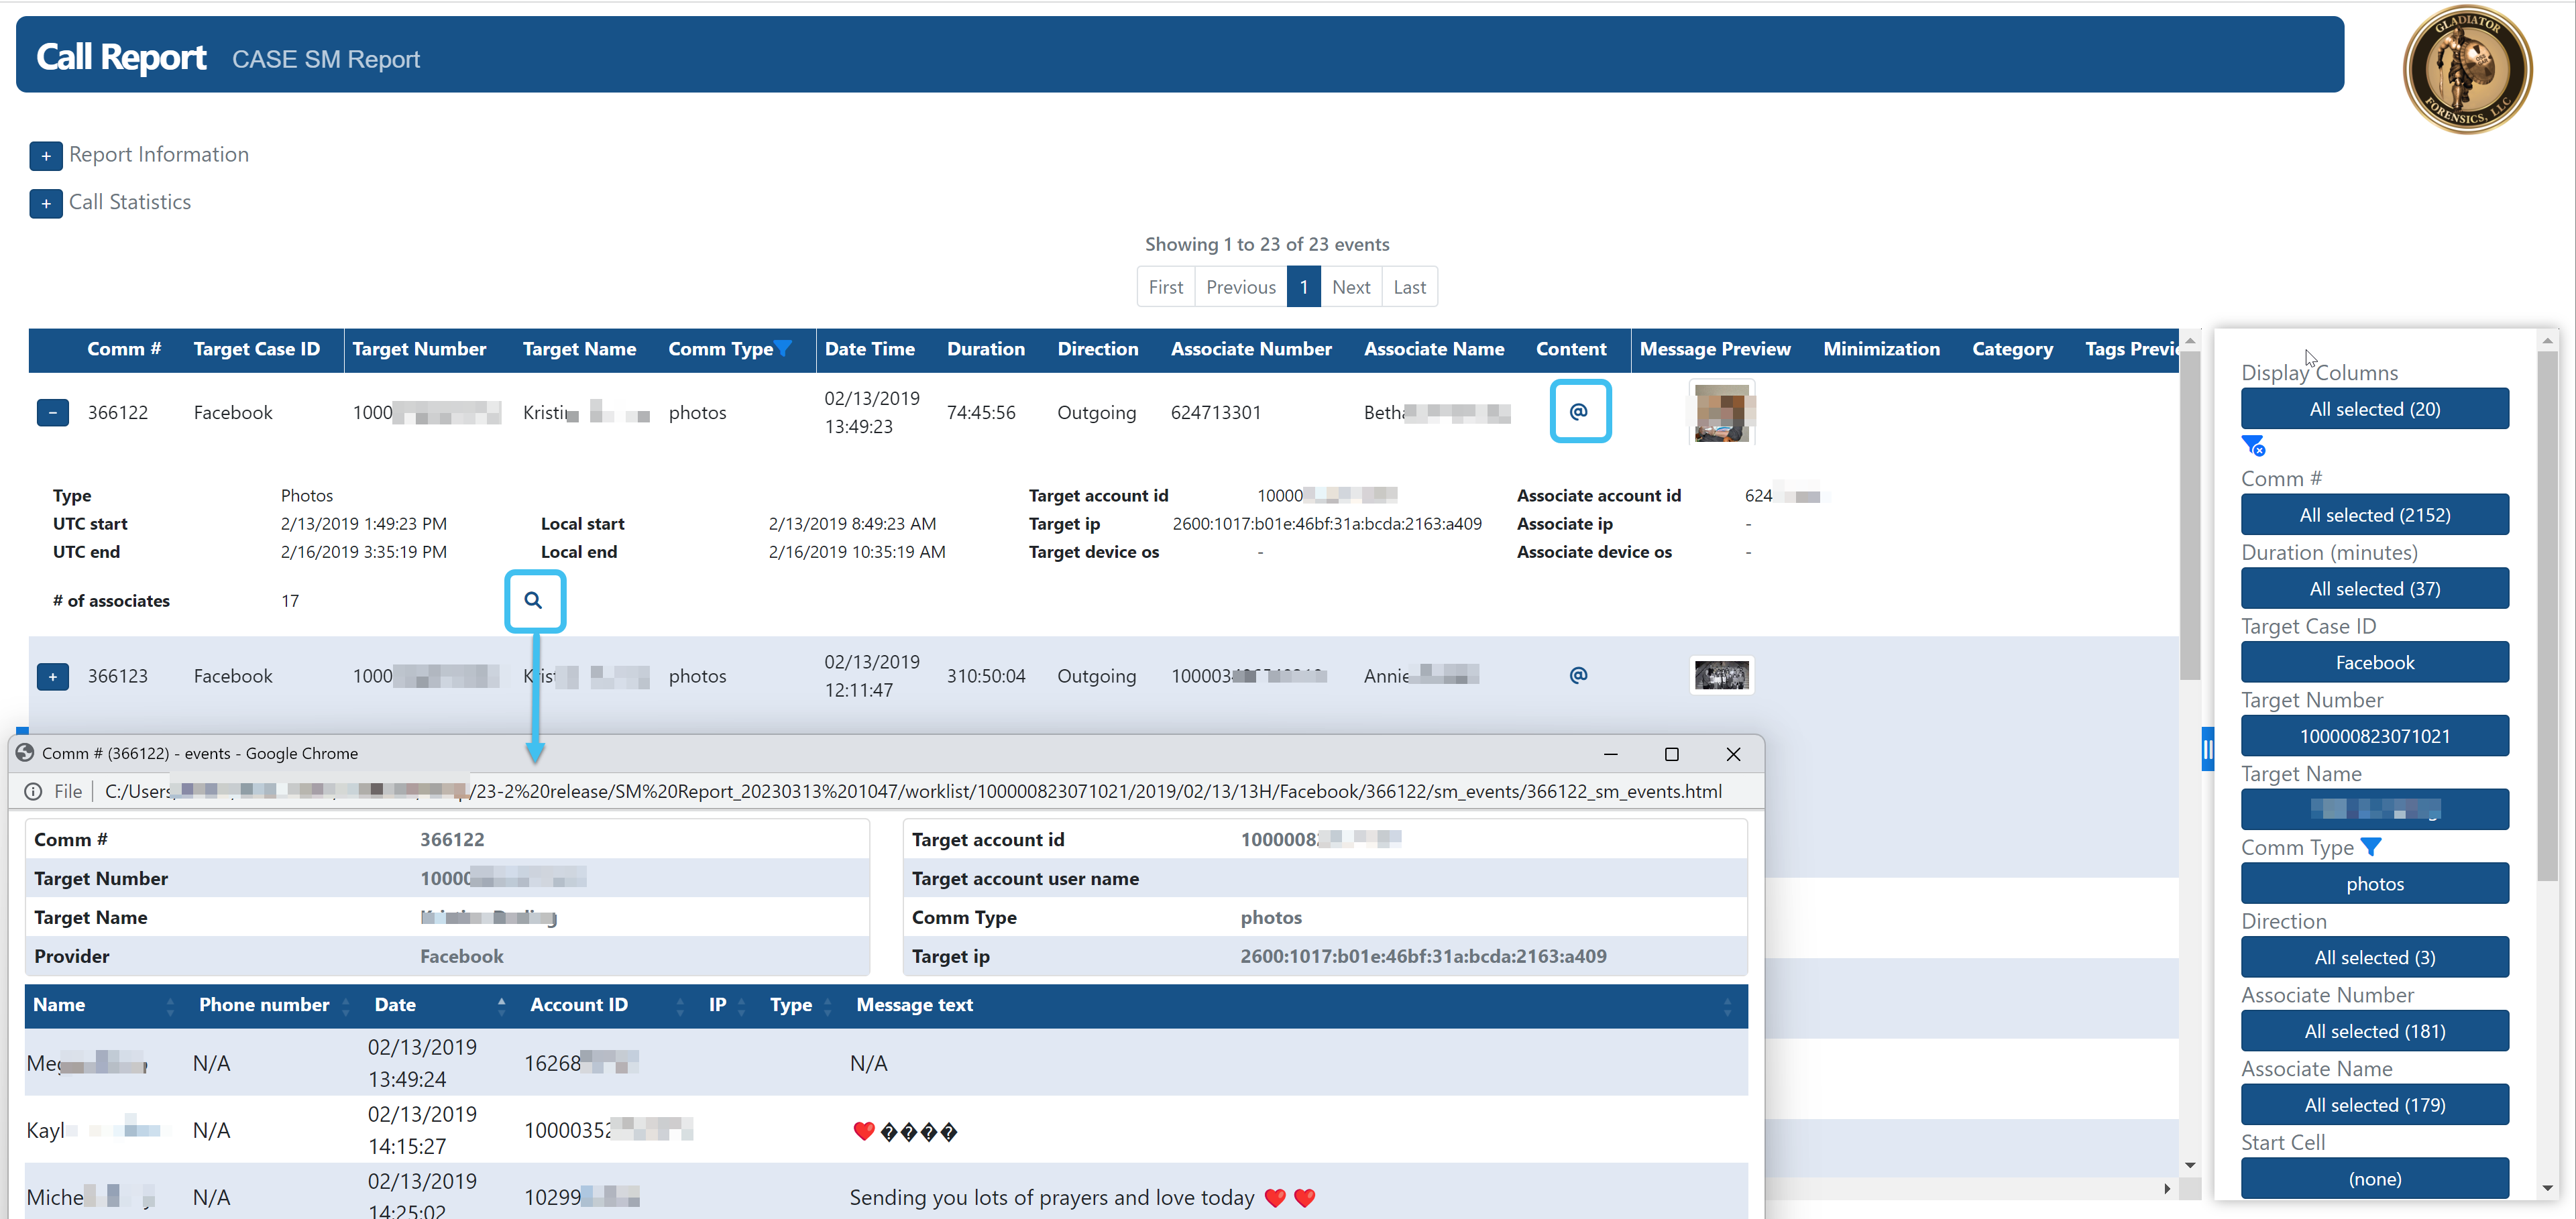
To view social media content, such as picture, click @ in the Content column. To open the communication in a separate window, click
.