Managing DoC identifiers
DoC (Department of Corrections) identifier files contain calls between incarcerated offenders and their associates. They are also known as jail calls, inmate tolls and prisoner call details. These calls are obtained from correctional facilities that monitor the inmates calling activity. You can upload them using the DoC upload screen. To open this screen, on the main menu click Search, Global identifier, click the Imported DoC tab, then click  . Click the hyperlink below to find out further details on uploading DoC identifiers.
This topic details how to import DoC (Department of Corrections) files and how to delete them, however if you require detailed descriptions of the settings in these procedures refer to the Global identifiers screen and the DoC upload screen.
This feature is only available to administrators, or users who have the Global identifiers manager permission selected on the Edit user screen.
-
On the main menu click Search, then click Global identifiers.
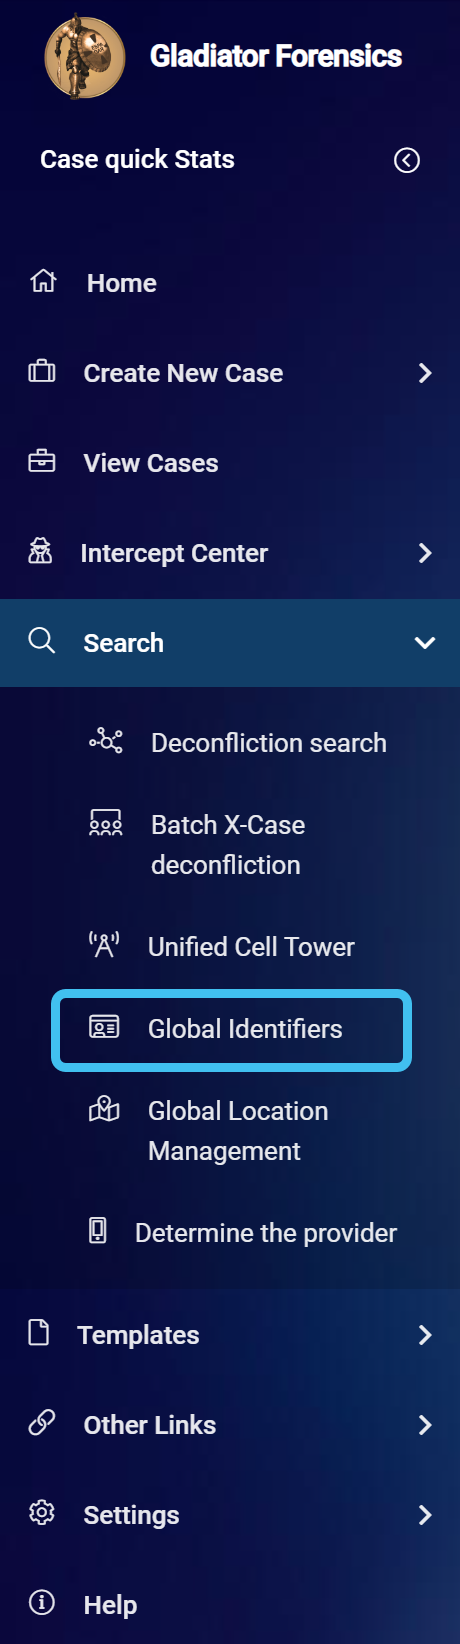
The Global identifiers screen opens.
- Click the Imported DoC tab.
-
Click
.The DoC upload screen opens.
-
In Account, either leave it set to the default of your account, or if you want to share the global identifier with other accounts you can change it to System.
-
In File Type select the source of the identifiers. Gladiator Forensics currently provides DoC (Department of Corrections), however you can create your own types by clicking
 alongside File type.
 -
An Excel template is available to download which details what is required in the file.
-
Once your file is ready to upload, click Select. Windows Explorer opens. Navigate to the folder and select the required .xlsx or .csv file. The file uploads and a green circle alongside the file name indicates when the upload is complete. A preview of the file's data is displayed.
-
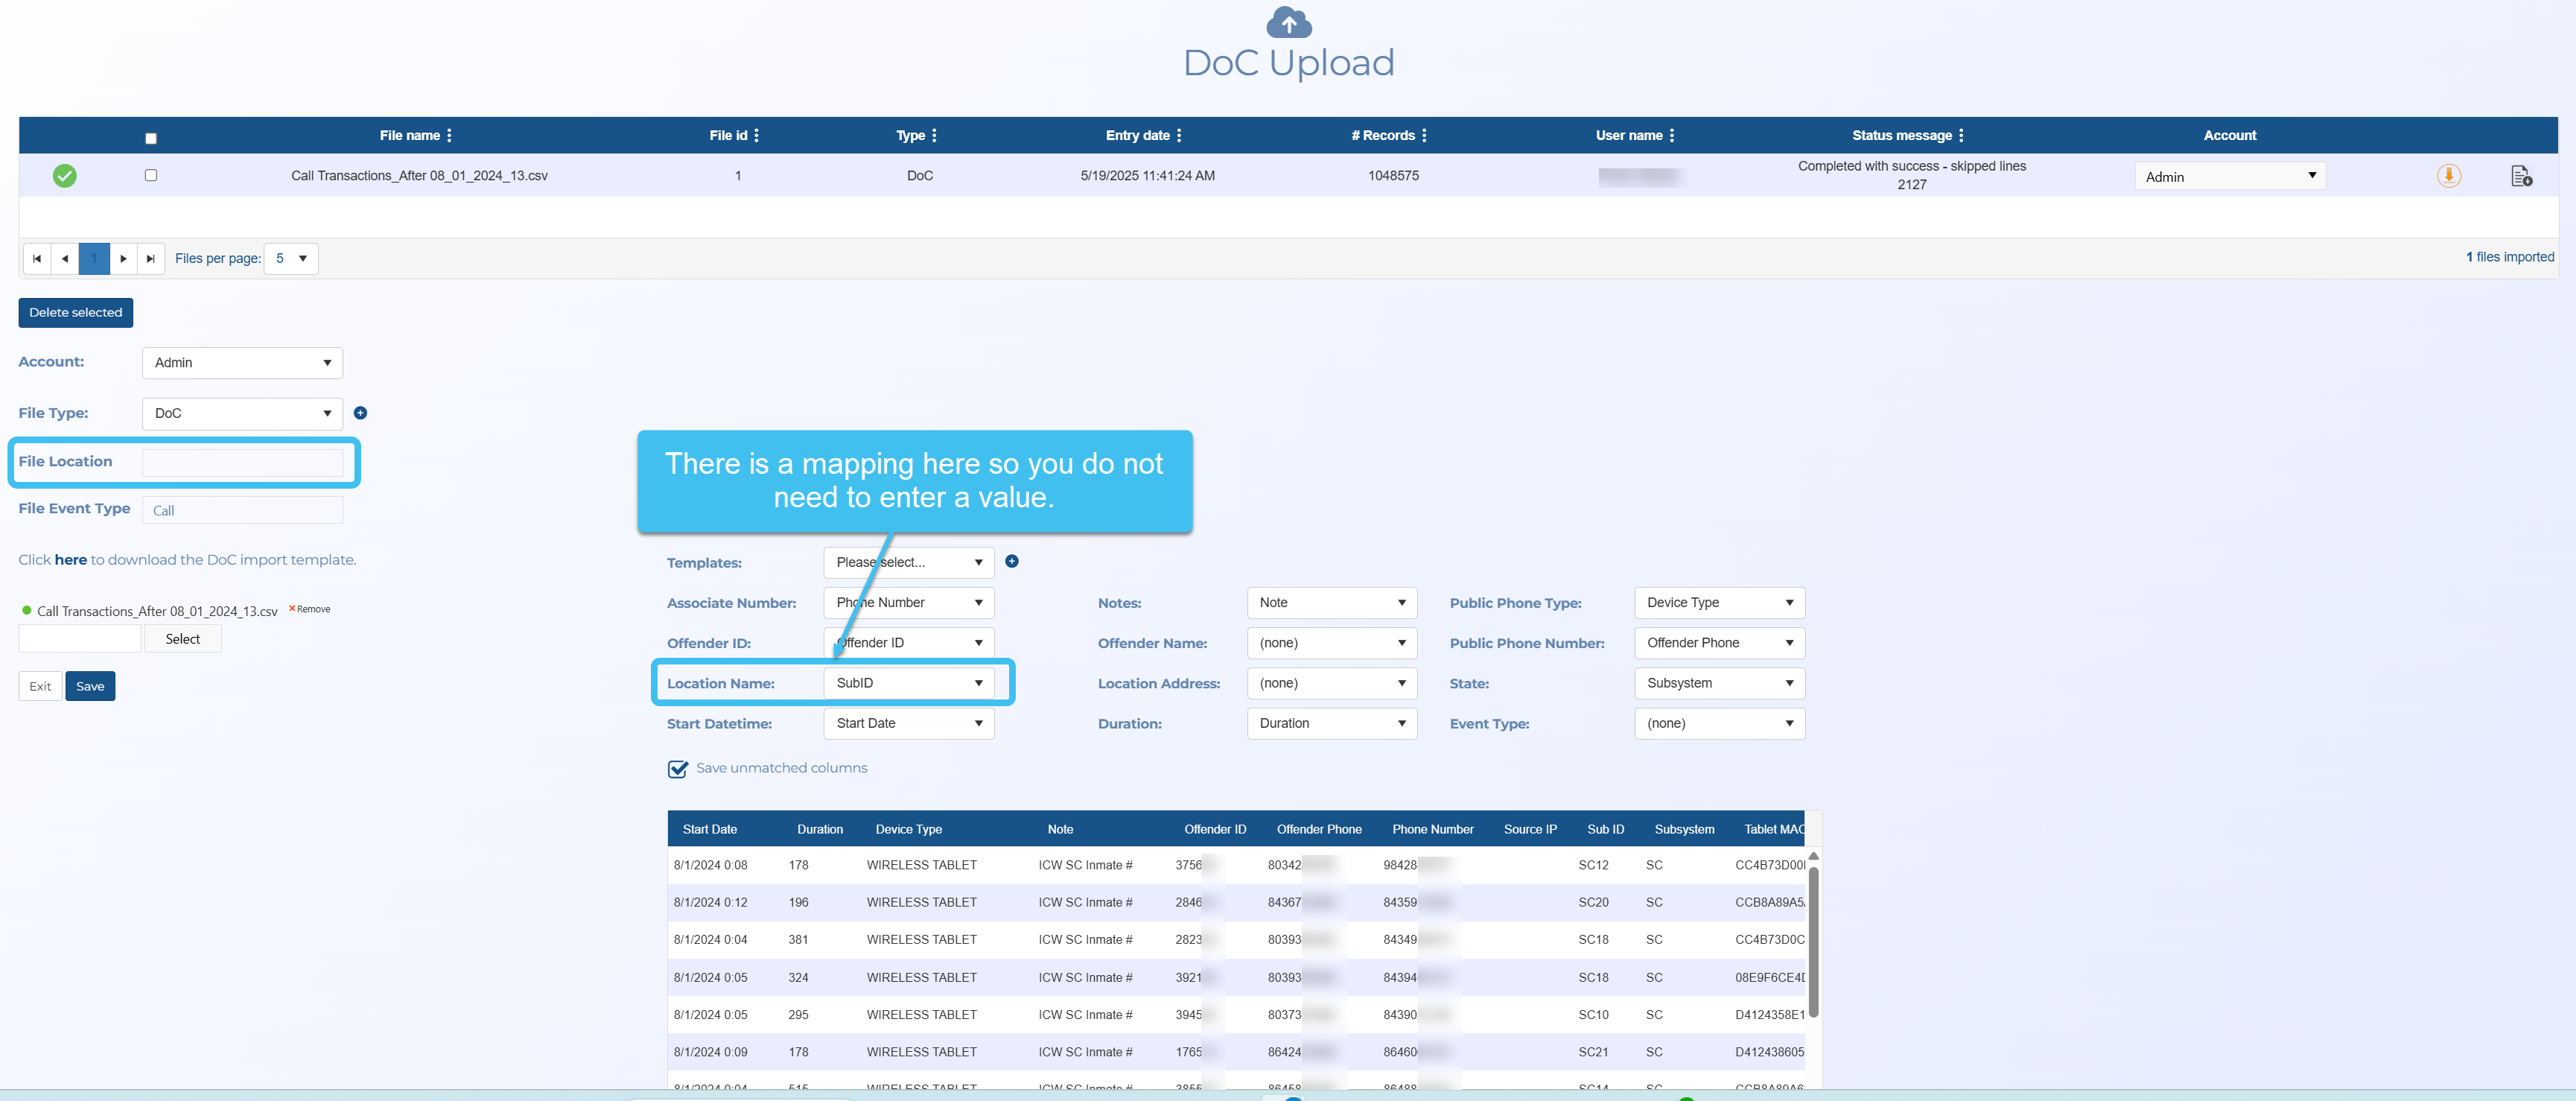
If your file does not use the Gladiator Forensics supplied template then you must define which columns in your uploaded identifier file map to each of the OSS-ESPA settings (Associate number, Offender ID, Location name, Start date/time, Notes, Offender name, Location address, Duration, Public phone type, Public phone number, State and Event type). OSS-ESPA automatically suggests the best mapping but you can change that if required. Only Associate number, Offender ID and Location name are mandatory but the more you set the more useful the data is to you once imported. The preview of the file's data may help you in choosing the columns you want to use.
You can also save this mapping as a template for future use so that you do not need to define this mapping each time you import the same file type. To do this, beside Templates click
, enter a new template name then click OK. Now each time you import that file type you only need to use Templates to select the mapping you saved. You can save changes to these templates in the future using  and delete them using
  .
. -
You must enter a mapping column in File location if it is not automatically mapped in Location name.
In the following graphic Location name is mapped to SubID automatically so you do not need to enter a mapping column.
-
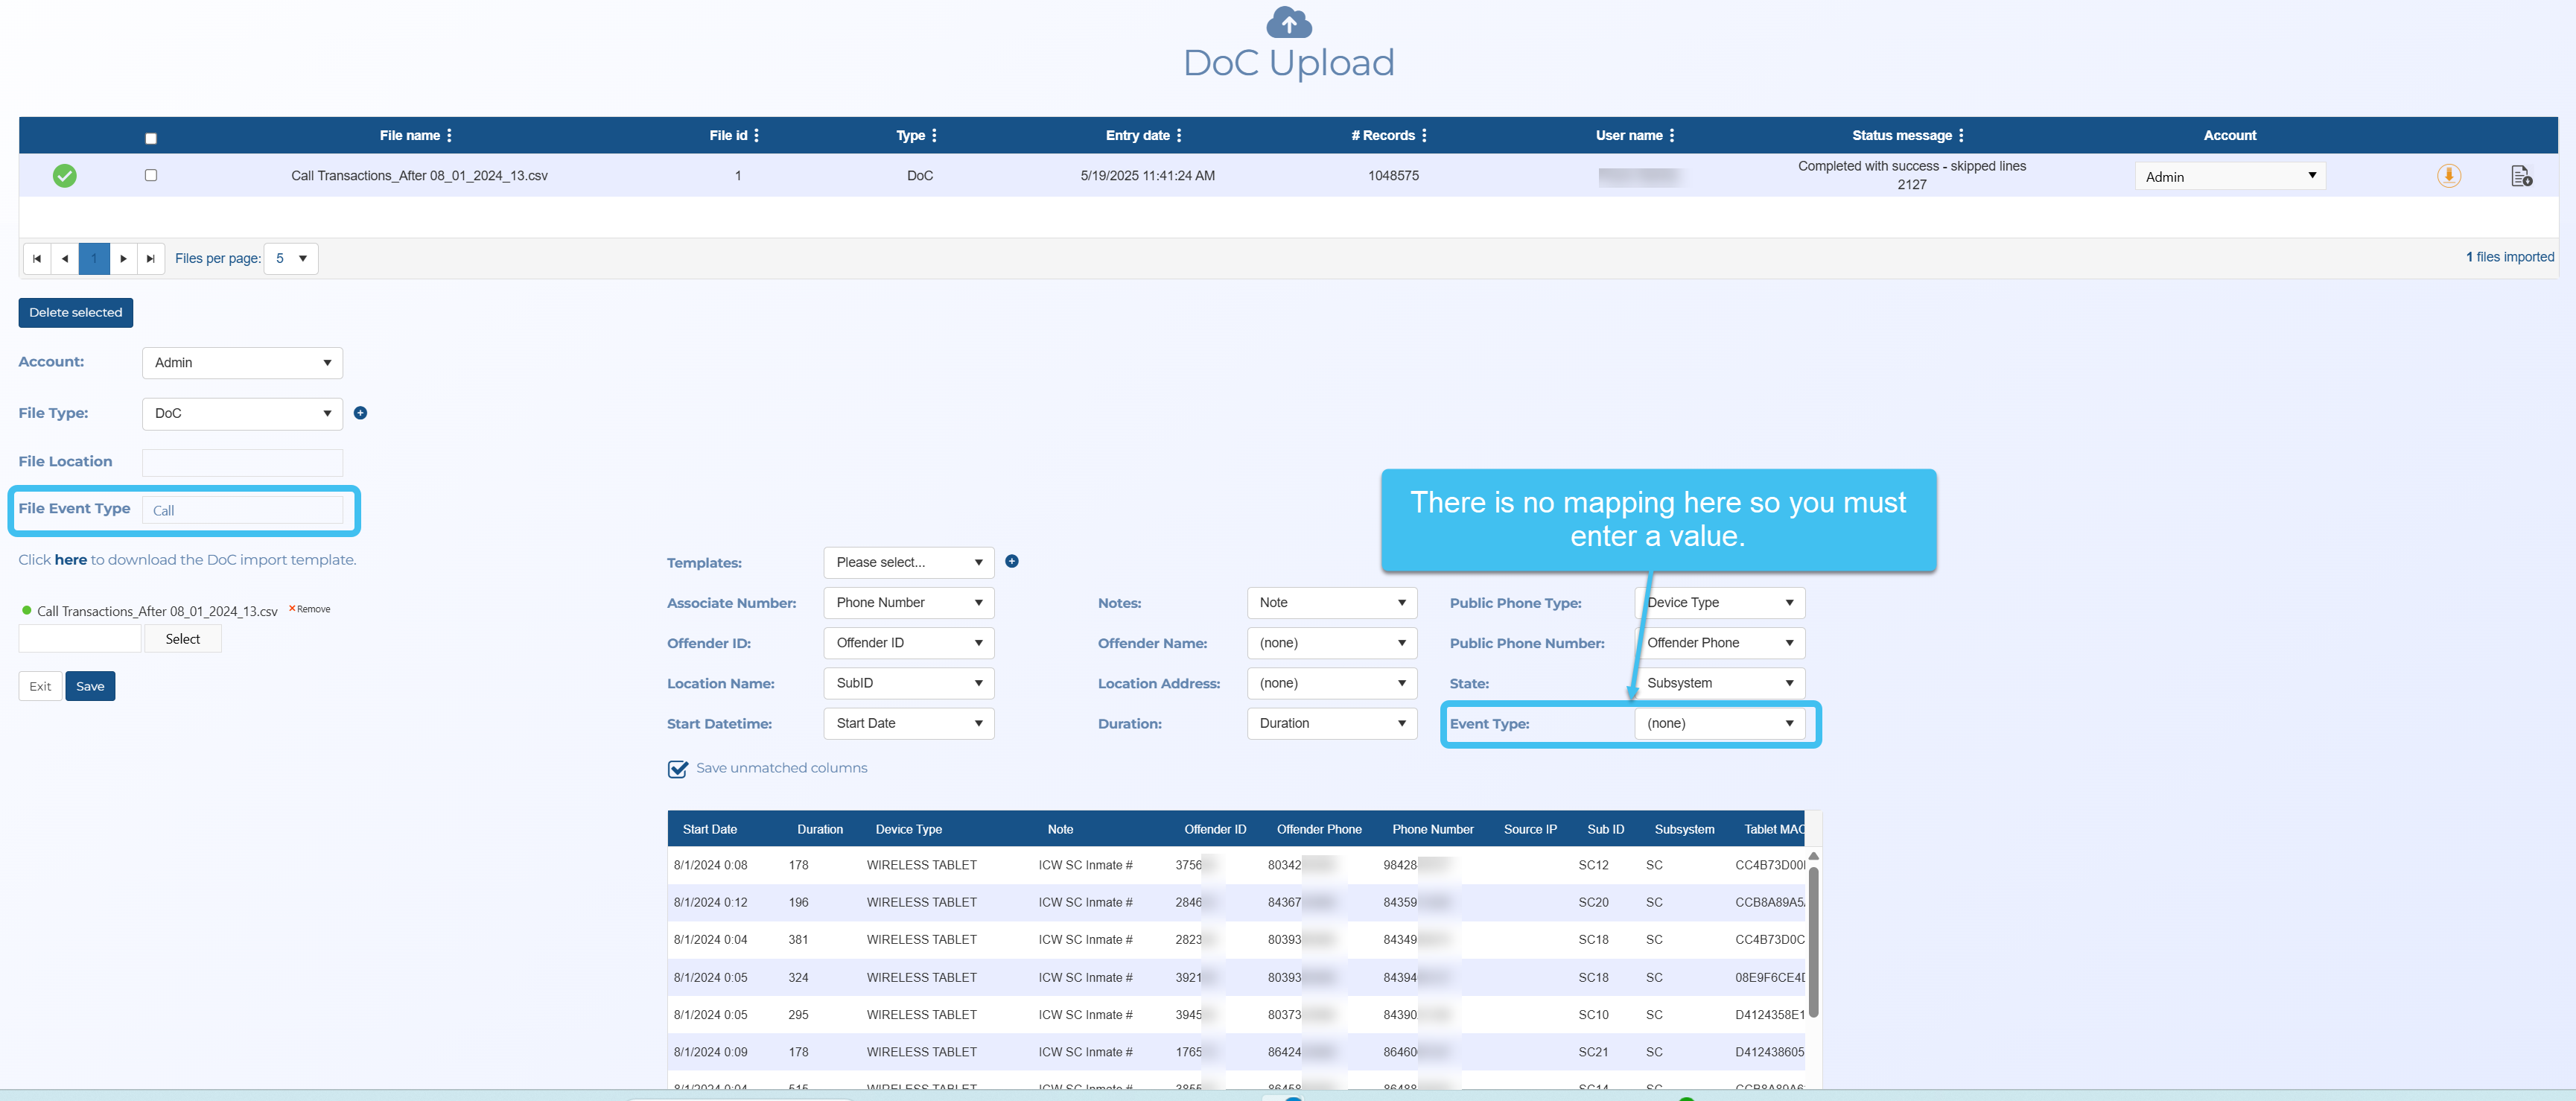
You must enter a mapping column in File event type if it is not automatically mapped in Event type. In the following graphic there is no mapping for Event type so one must be entered in File event type.
-
Select Save unmatched columns if you want the unmatched columns in the DoC file to also be saved. Currently the data is not available to view but is saved.
-
Click Save.
- Click Exit to return to the Global identifiers screen where the data from the DoC identifier file is now listed on the Imported DoC tab.
-
The Imported DoC tab lists all the offenders' associates. You can click on the arrow to the left of an associate number to view the offenders they are in contact with. If the associate appears in an OSS-ESPA case file, then this displays in the Associate info column, where you can click
 to view and edit the associate's information, or click
  to view the x-case history which details the cases, case date, and case target.
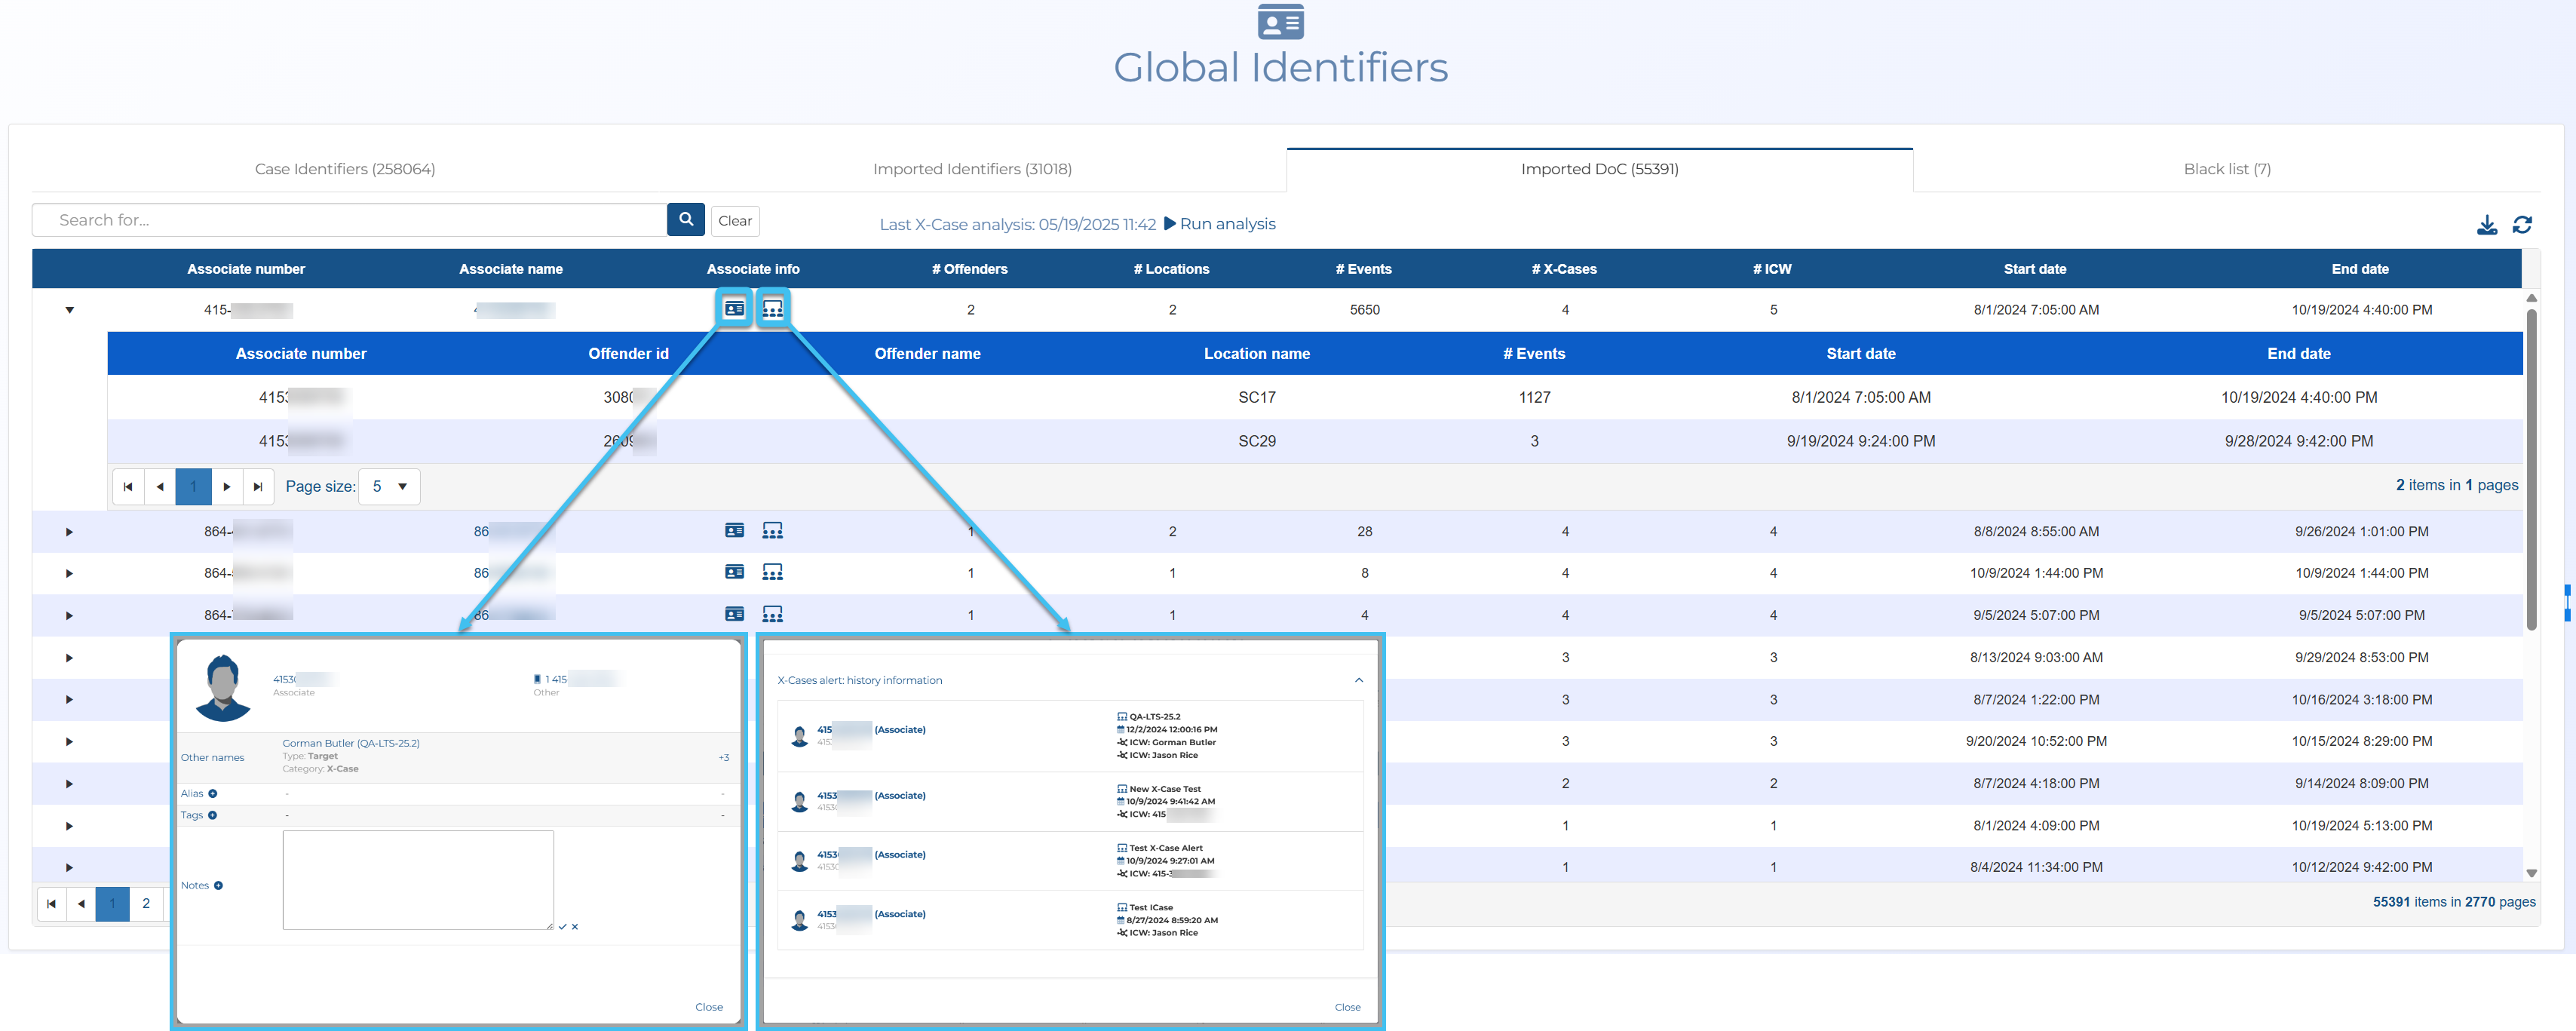
-
On the main menu click Search, then click Global identifiers.
The Global identifiers screen opens.
- Click the Imported DoC tab.
-
Click
.The DoC upload screen opens.
-
Select the check-boxes for the files you want to deleted, then click Delete selected.