Managing black list identifiers
Black list identifiers are managed from the Global identifiers screen which is opened from the main menu's Search menu. Click the hyperlink below to find out further details on using black list identifiers.
This topic details how to manage black list identifiers including how administrators can approve a black list addition, however if you require detailed descriptions of the settings in these procedures refer to the Global identifiers screen and the Global identifiers upload screen.
This feature is only available to administrators, or users who have the Global identifiers manager permission selected on the Edit user screen.
-
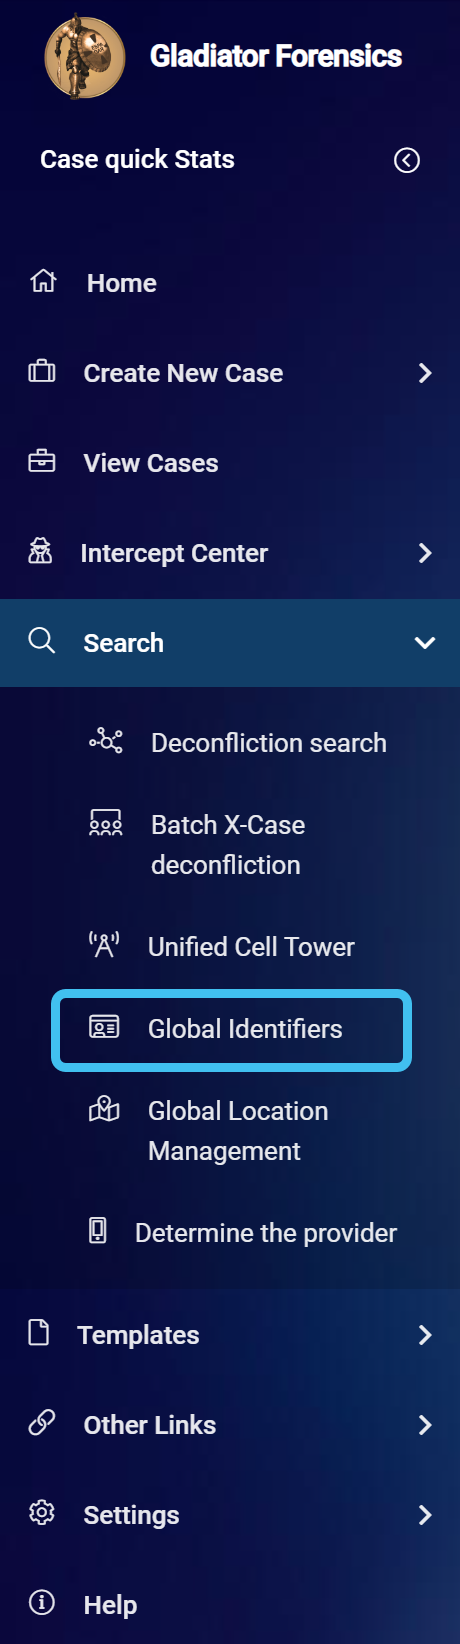
On the main menu click Search, then click Global identifiers.
The Global identifiers screen opens.
- Click the Black list tab.
-
Click
 .
.
The Add black list dialog box opens.
-
In Phone number, enter the identifier. Although the other settings are optional it is recommended you complete as many as possible.
- Click Save to create the black list identifier and return to the Global identifiers screen where the new identifier is now listed.
- Contact your administrator so that they can approve the addition of the identifier to the black list. Once approved, you will then be emailed if any other user adds the identifier to a case.
-
On the main menu click Search, then click Global identifiers.
The Global identifiers screen opens.
- Click the Black list tab.
-
Click
 for the global identifier you want to edit.
 -
The Edit black list dialog box opens.
-
Edit the details as required, then click Save.
-
On the main menu click Search, then click Global identifiers.
The Global identifiers screen opens.
- Click the Black list tab.
-
There are two methods to delete the identifiers:
-
to delete a single identifier, in the identifier's Actions column, click
 .
. -
to delete multiple identifiers, select each identifier's check-box then click Remove selected from BLACK list.
-
NOTE: Only administrators can approve an identifier being added to the black list.
-
On the main menu click Search, then click Global identifiers.
The Global identifiers screen opens.
- Click the Black list tab.
-
In the Actions column, click
 for the identifier that requires approval.