Importing geo-location data
Geo-location files are records which provide an accurate location of a person at an accurate time. These records may come from the mobile phone service provider (that is, the operator) if the source is for example a mobile phone, or they may come from a GPS tracker fitted to a vehicle, or a license plate reader which is located in a known position, or ankle bracelets fitted to a person. OSS-ESPA requires the following information from a geo-location file: time, latitude and longitude, and additionally for GPS ping files the accuracy buffer or call location confidence.
Click here for a short video on how to import geo-location data, and here for a video showing the custom geo-location option.
-
For the case you want to upload a geo-location to, open the Manage case screen.
 Need help finding your case?
On the main menu click View cases. The screen that opens depends on your setting of View cases. If it is set to:
- Advanced view, then the Advanced view cases screen opens.
- If your case is listed on the Favorite & recent cases tab, click the case name to open the Manage case screen.
- If it is not listed on the Favorite & recent cases tab, then click the Cases tab. Use the search filters to help locate your case. You can also click
 to open the FILTERS group which allows you to set your own default filter defining what is displayed on this tab, for example you may wish to set it to cases that you created which are currently open.
For further information refer to Searching for a case.
- Grid view, then the View cases screen opens.
- If your case is listed under My recent cases click it to open the Manage case screen.
- If it is not listed under My recent cases then select your case from the table, using the search filters to help locate it if required. Note, by default the search is set to only display cases that you created; if you are not the original creator but an assignee then ensure you set Case filter to Assigned cases before clicking Search.
- Tree view, then the View i-cases screen opens.
- Click
 at the top-right of the screen to open either the View Cases or Advanced view cases screen and follow the above description.
- Click
- Advanced view, then the Advanced view cases screen opens.
-
On the Manage case screen click Upload more files.
The Manage files screen opens.
-
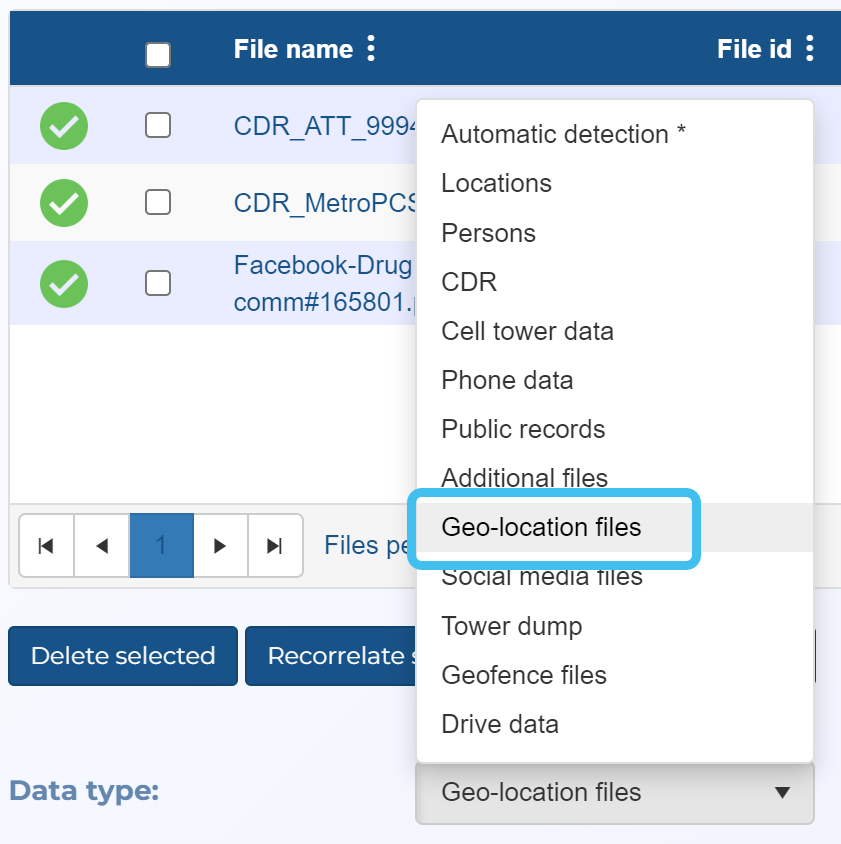
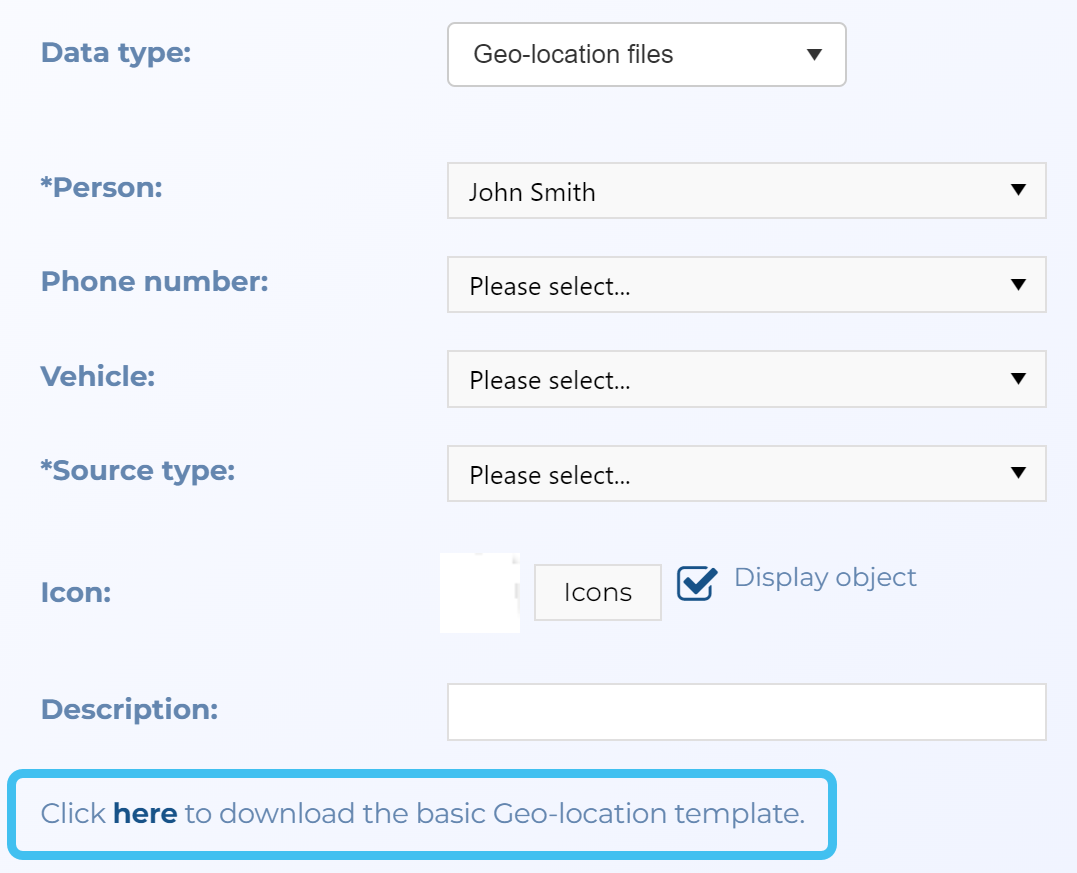
In Data type select Geo-location files or Custom Geo-location. Both allow you to import geolocation files but with the first option your file must contain specified headers. With the custom option your file's column headers can be named whatever you want and when you upload the file, you can view a preview of the file and define which columns map to each of the OSS-ESPA settings. The custom option is useful as geo-location files come in many different formats, such as from phones, car navigation, notebooks, and smart watches, and this option allows you to customize your own import templates to support the different formats.
-
You must select a Person, a Source type, either a Phone number or Vehicle and a geo-location file.
-
In Person select the applicable person for the geo-location file you want to upload.
- Either select a Phone number or Vehicle to associate the geo-location file with.
-
In Source type select the source of the geo-location file.
Need information on the source types?
-
GPS Ping: these are initiated by the telecom network to determine the location of a mobile device, such as a mobile phone or tablet. These files are supplied by the mobile phone service provider and the data maps out as one point for each individual location.
NOTE: GPS pings can be imported into OSS-ESPA using a variety of methods. The geo-location file type on the Manage files screen allows you to import historical GPS pings as described in Importing geo-location data. The Sentinel screen allows you to import historical GPS pings individually when you right-click the map and select Add location data. The Smart Track feature allows you to import live GPS pings from the operator as described in How to create a smart track alert.
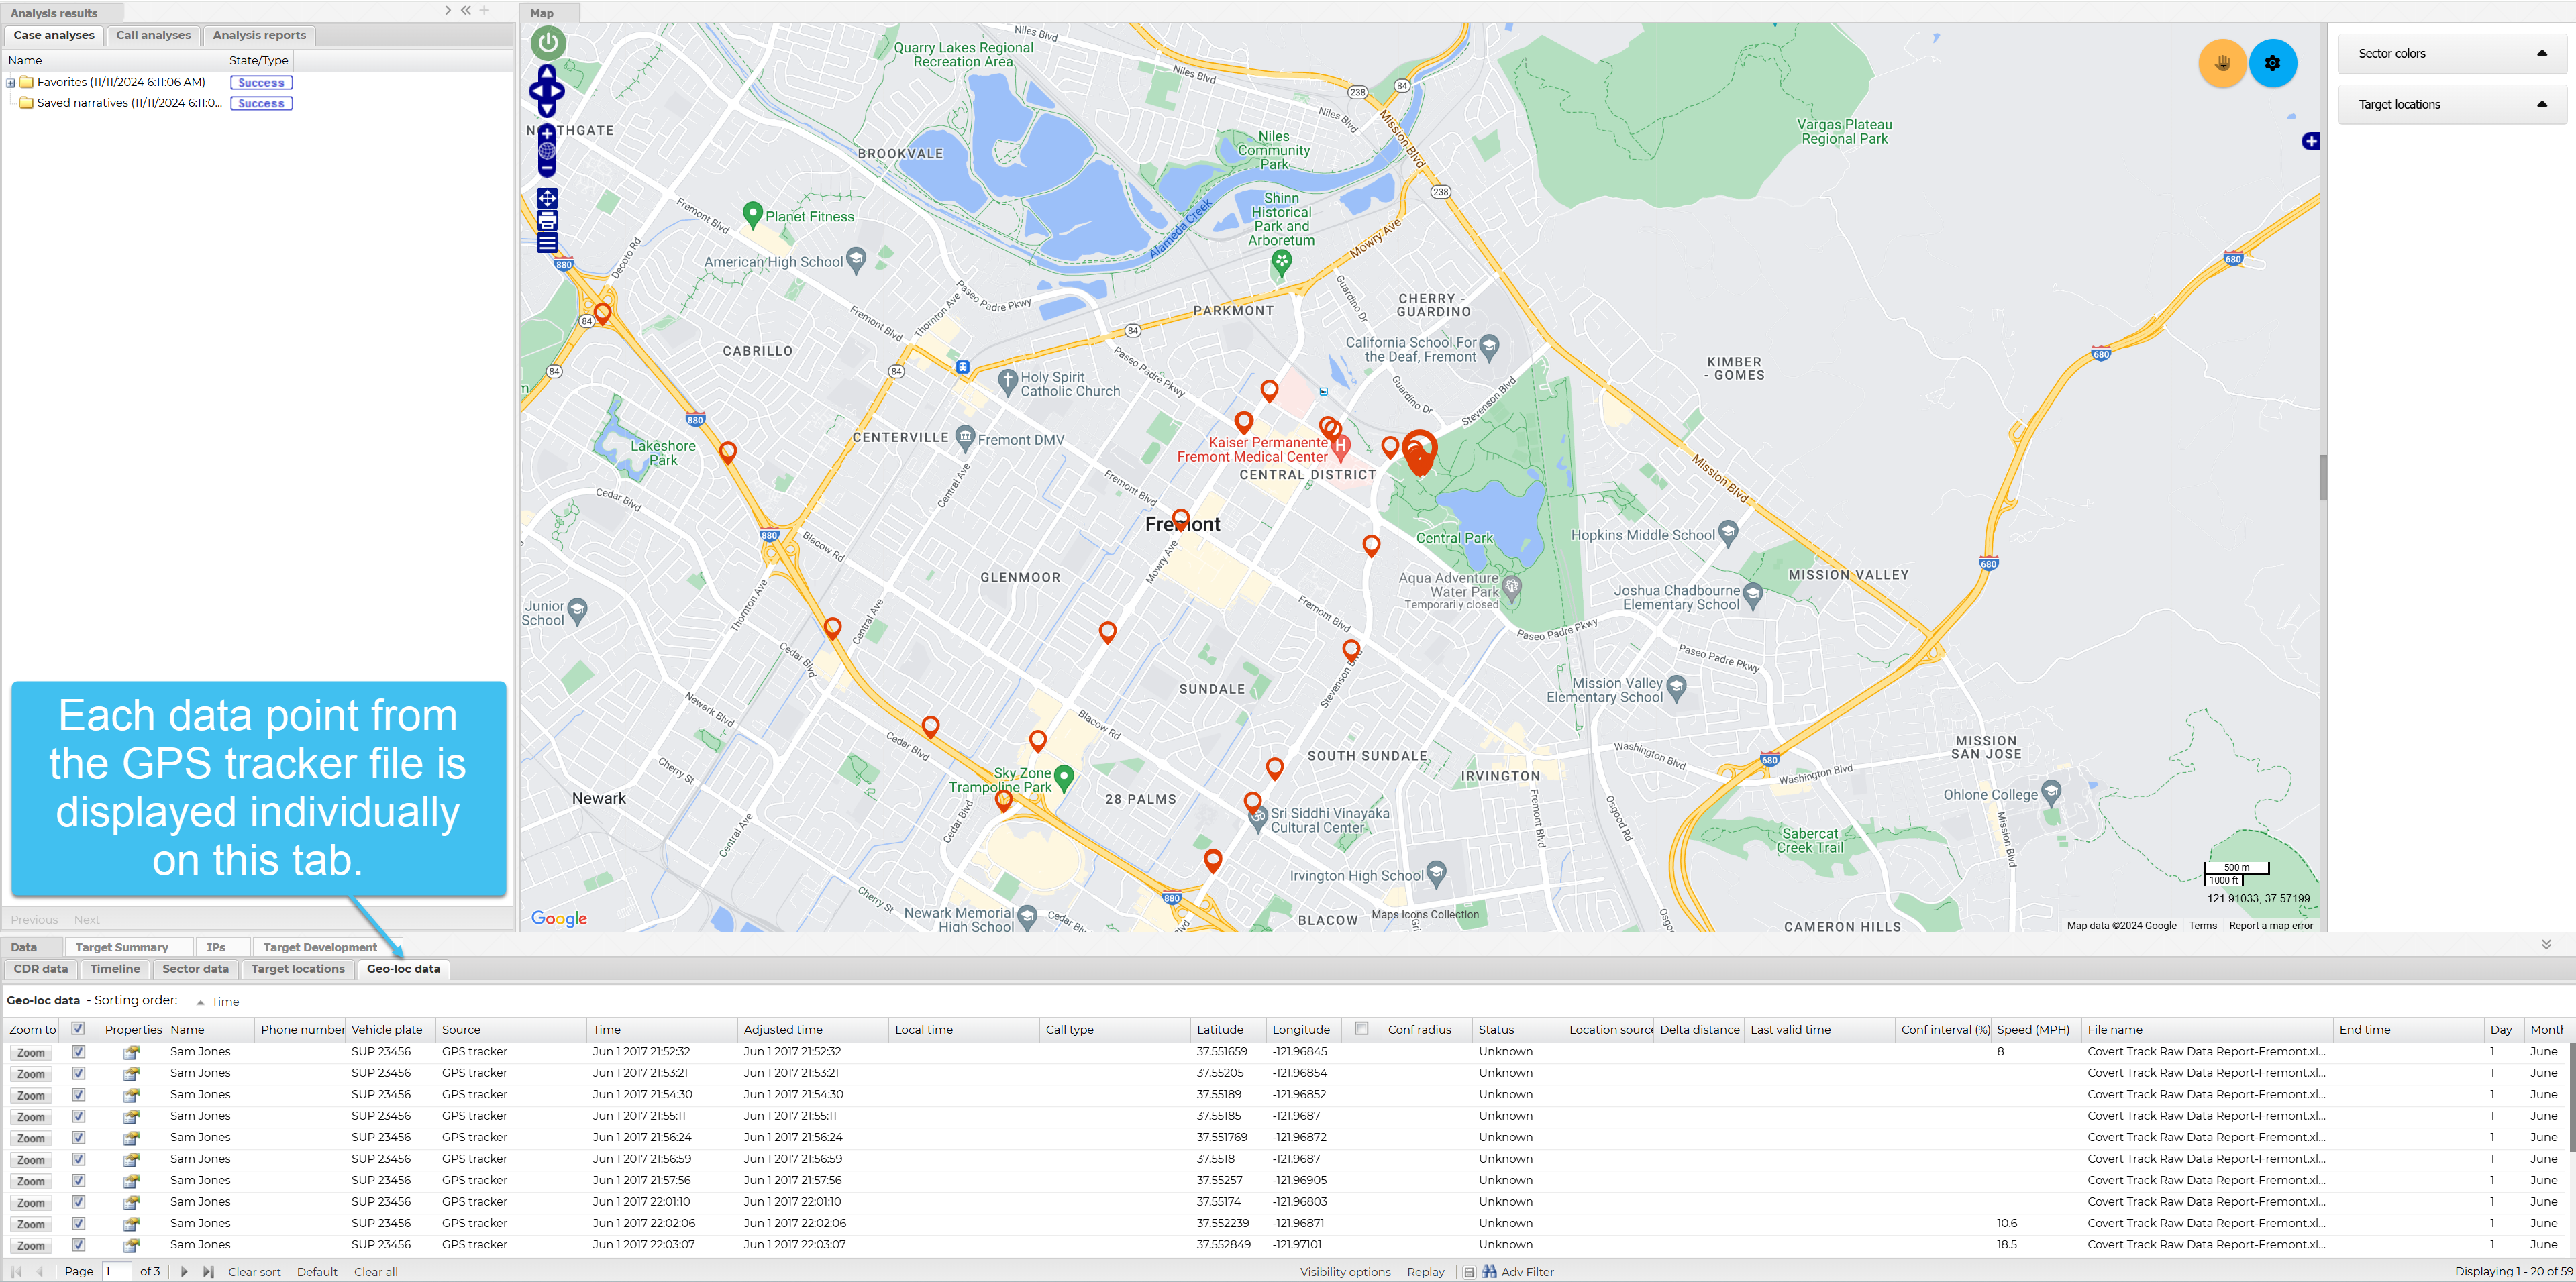
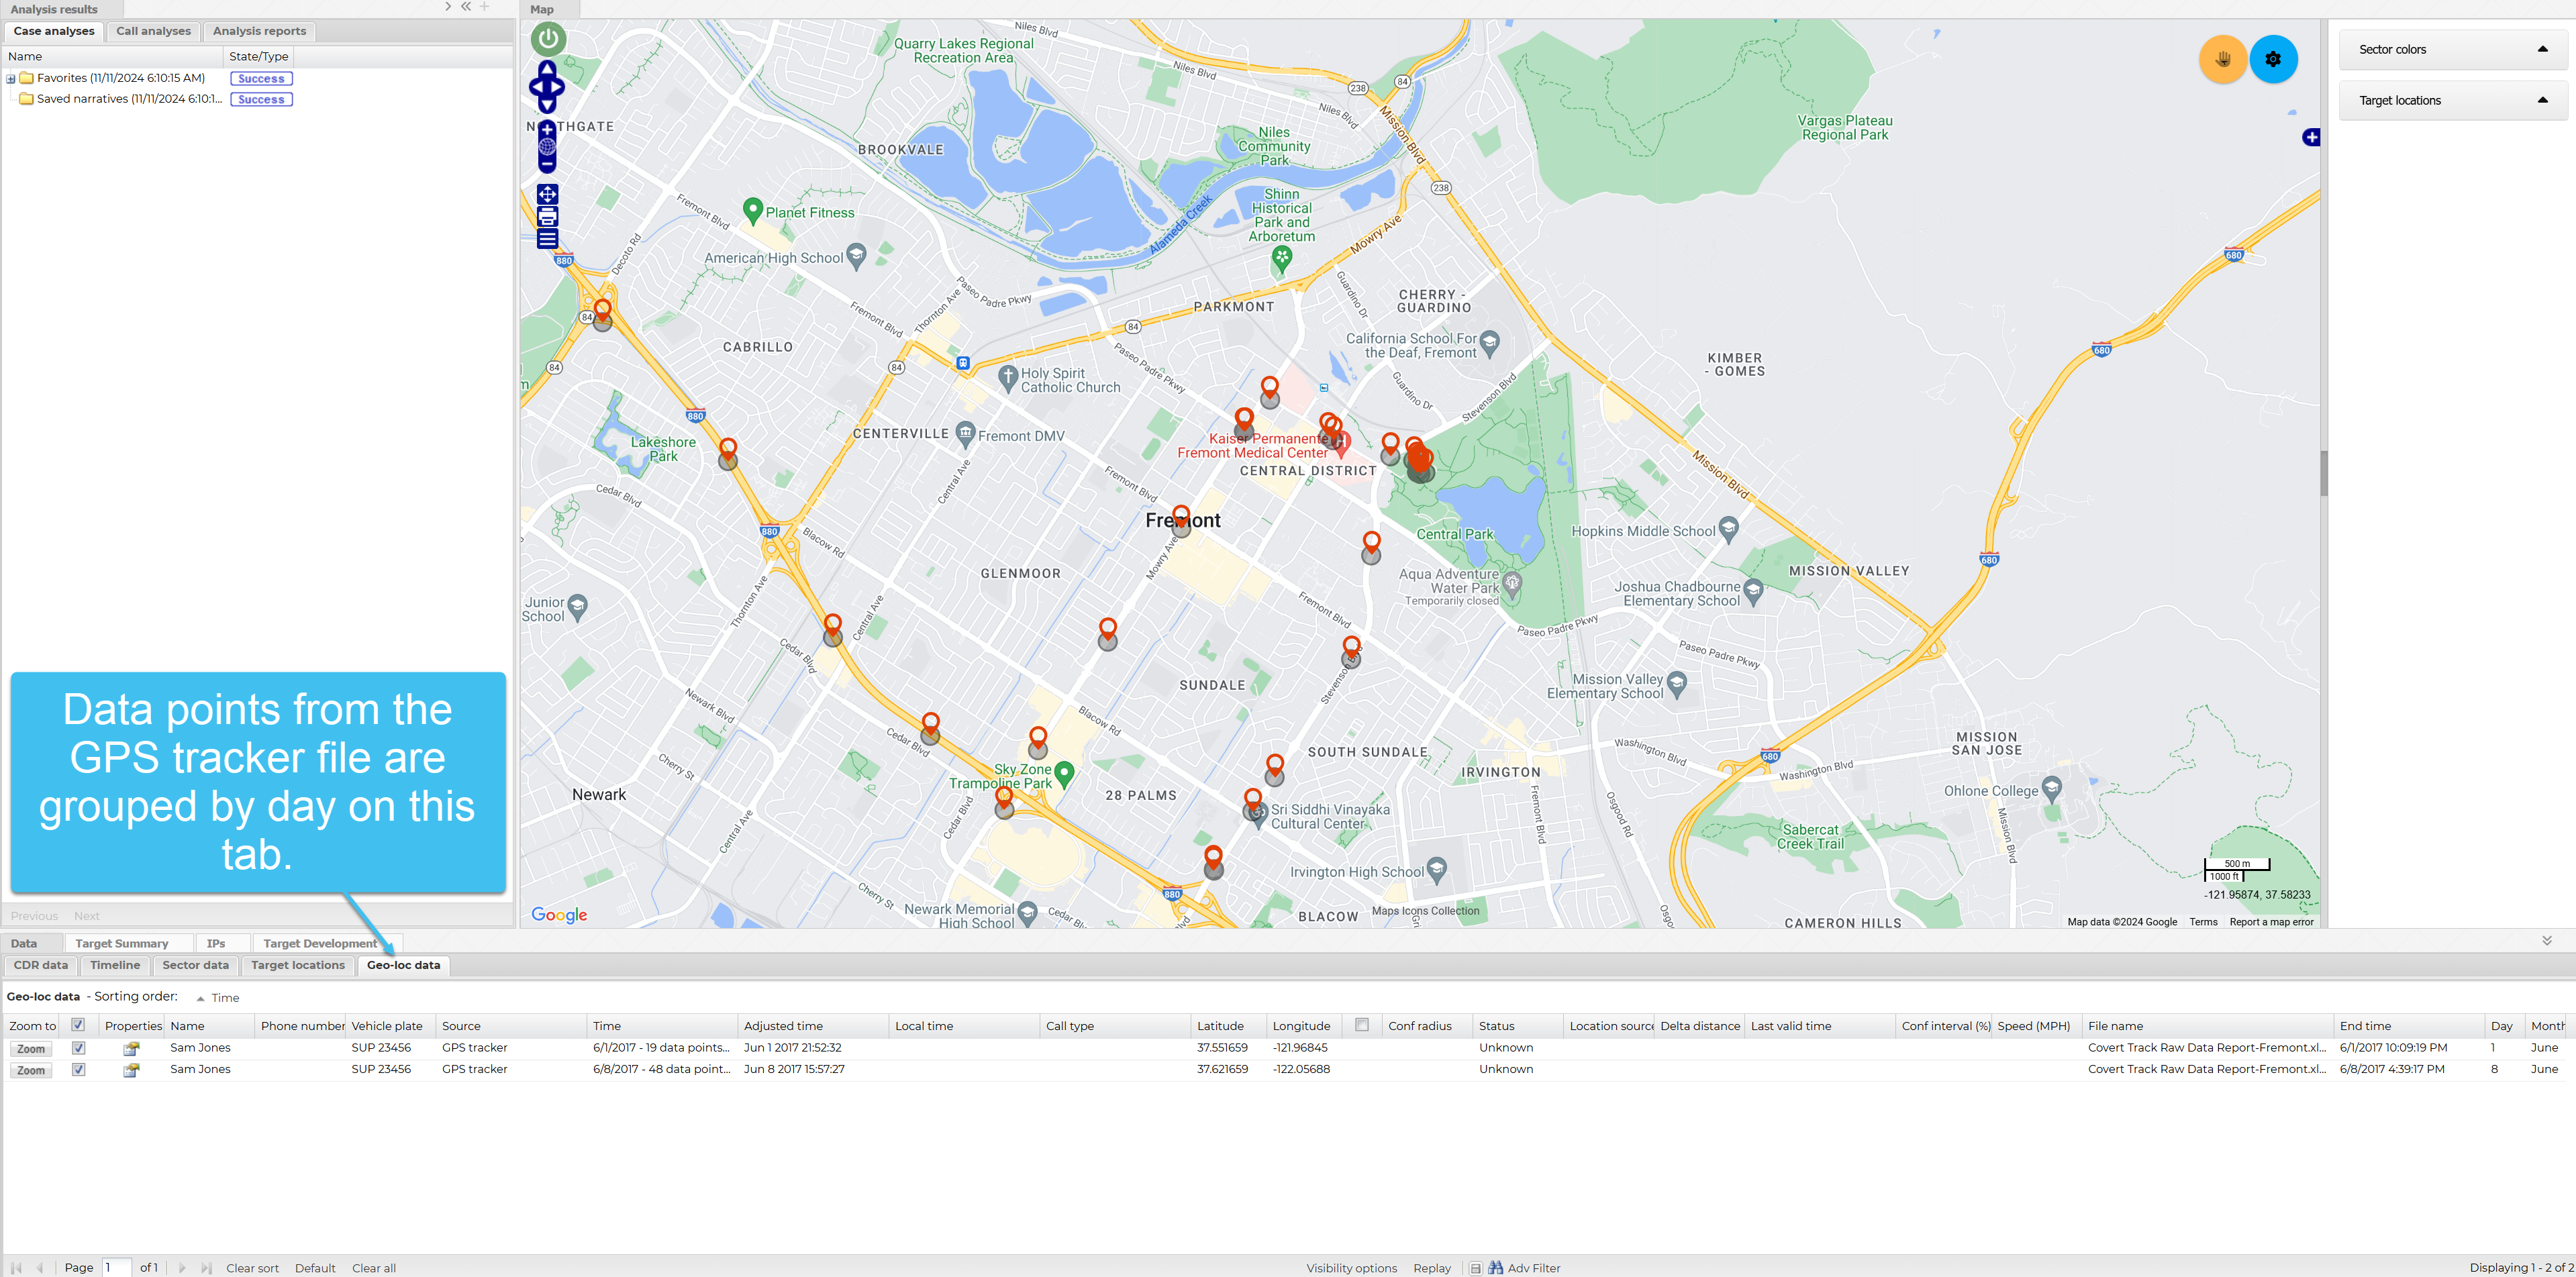
- GPS Tracker: these are fitted onto vehicles and are tracked via the Global Positioning Satellite System. These files are supplied by your GPS tracking software and you can select to either map the data out as one point for each individual location or as a breadcrumb trail of movement per day.
- License Plate Reader: these read the license plate of vehicles and are located in a known position. These files are supplied by your license plate reader software.
-
-
If you selected GPS tracker as the source type then in Source type option select either Plot individually or Plot per day.
Need information on the source type options?
-
Plot individually: the data displays on the ESPA analysis center as one point for each individual location. This is the default option. This means that on the Geo-loc data tab you can select to display and zoom to each individual location on the map as shown in the following graphic.
-
Plot per day: the data displays on the ESPA analysis center as a breadcrumb trail of movement per day. This means that on the Geo-loc data tab you can select to display and zoom to each day's breadcrumb trail on the map as shown in the following graphic. The Time column details the number of individual locations included in each day.
-
-
-
This step is only applicable if you set Data type to Geo-location files.
-
To import geo-location data there is a template that you can download from the Manage files screen and add your data to.
-
Once downloaded, open the Excel template and replace your data into the columns. Do not change the column headers. The mandatory columns are Date/Time, Latitude and Longitude. Radius is optional and is used for the accuracy buffer or call location confidence in GPS ping files. Once you have entered your data, save the file.

-
-
Click Select. Windows Explorer opens. Navigate to the folder and select the required file.
NOTE: The geo-location file you select must be the original file you received and not one which you have edited.
-
This step is only applicable if you set Data type to Custom Geo-location.
-
Click Load preview.
-
In Distance units, select which units are used in the file for distance measurements.
-
The preview table header displays the titles from your file and you must map those to one or more OSS-ESPA fields. Not all columns must be mapped but for the data to be useful it is recommended that you map the location (such as Location or Latitude and Longitude), and the Date and Time.
-
-
Click Save.