How to create a Smart Track IP address alert
-
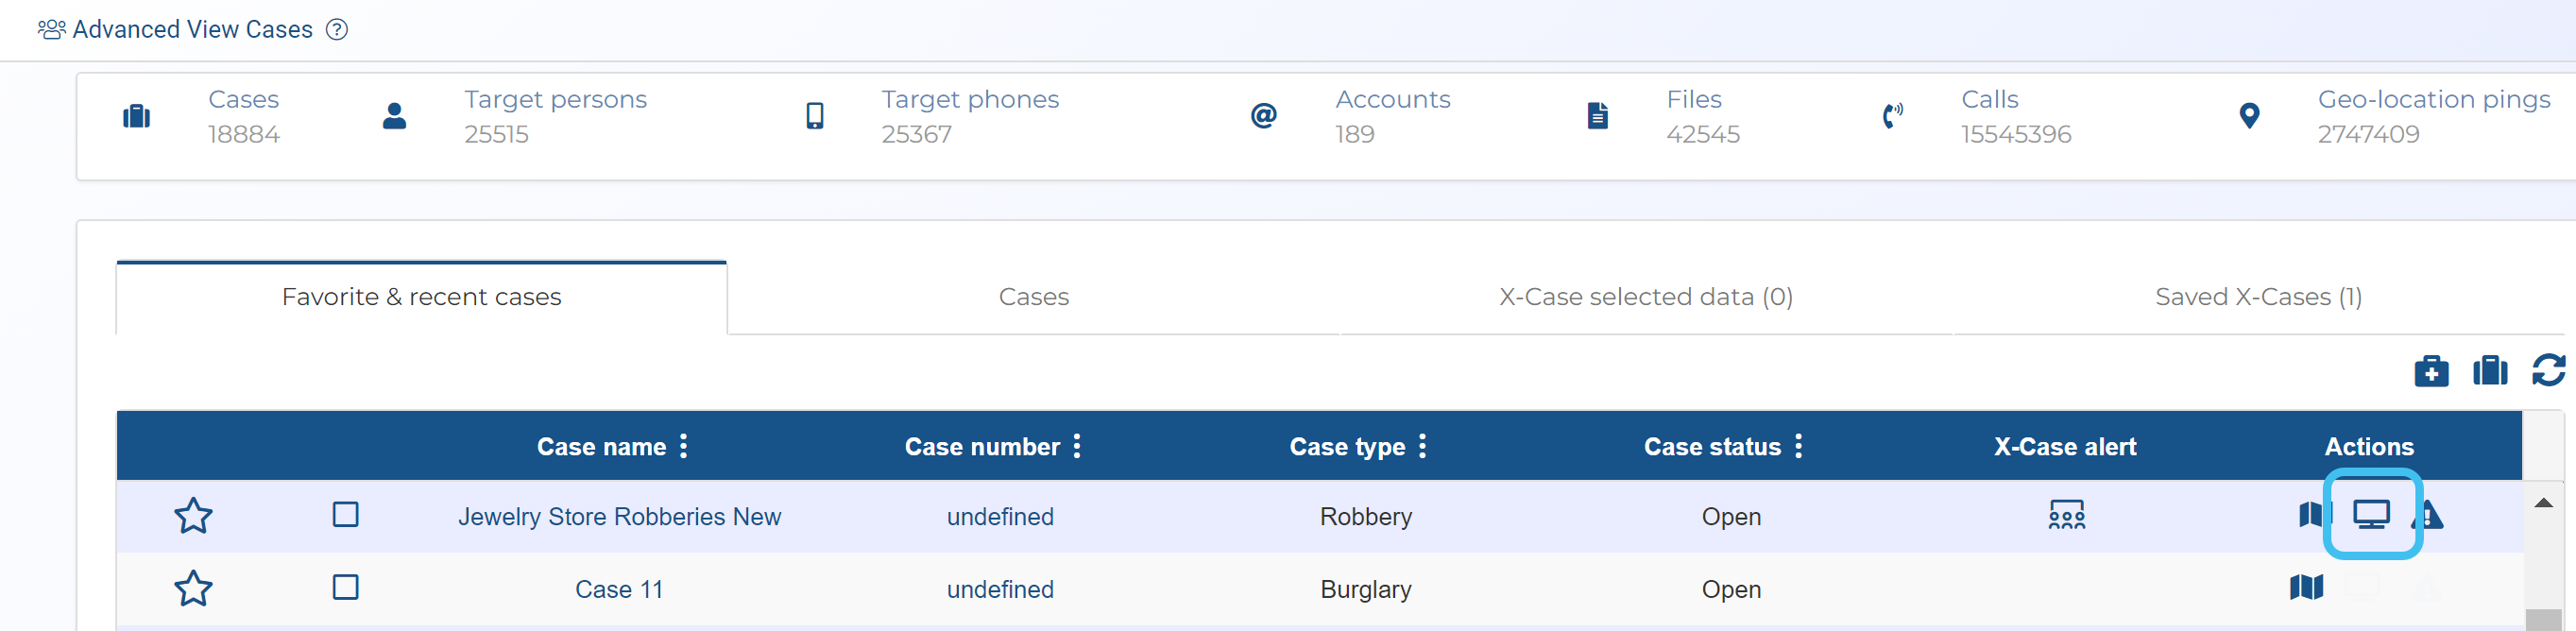
For the case you want to add a Smart Track IP address alert to, on the Advanced view cases screen click
 .
. 
-
On Sentinel screen's IPs view, right-click the row of the required IP address and select Add target location for IP.
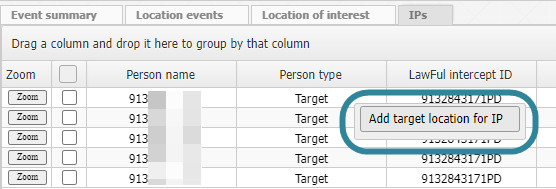
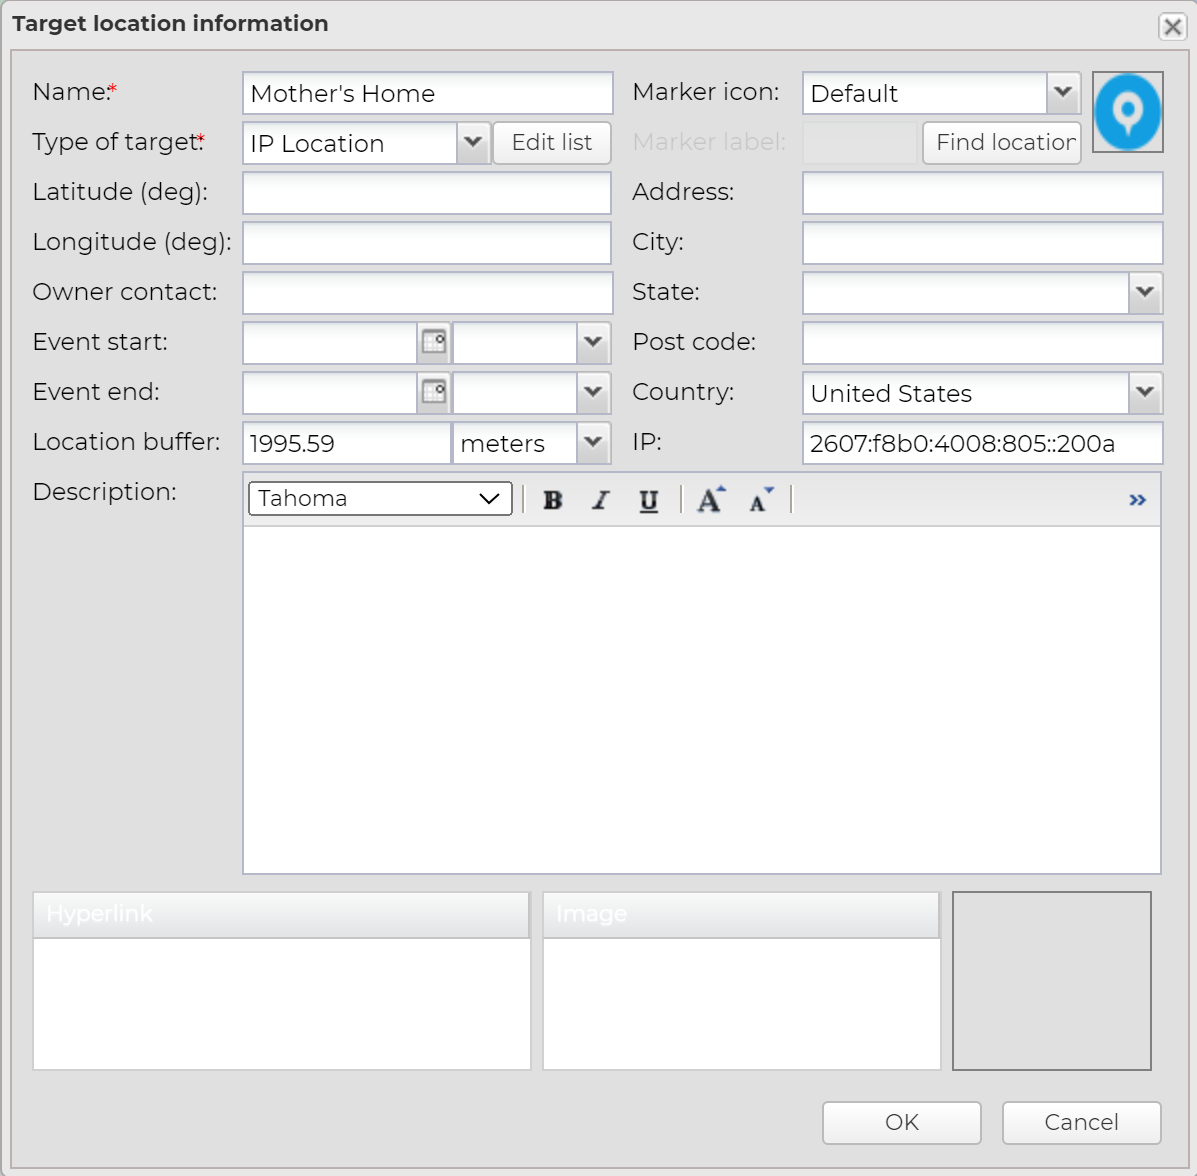
The Target location information dialog box opens with the IP address automatically populated.
-
In Name, enter a name for the location then complete any optional settings if required.
-
Open the case's Manage case screen, then in the Smart Track alerts & notifications section click New alert.

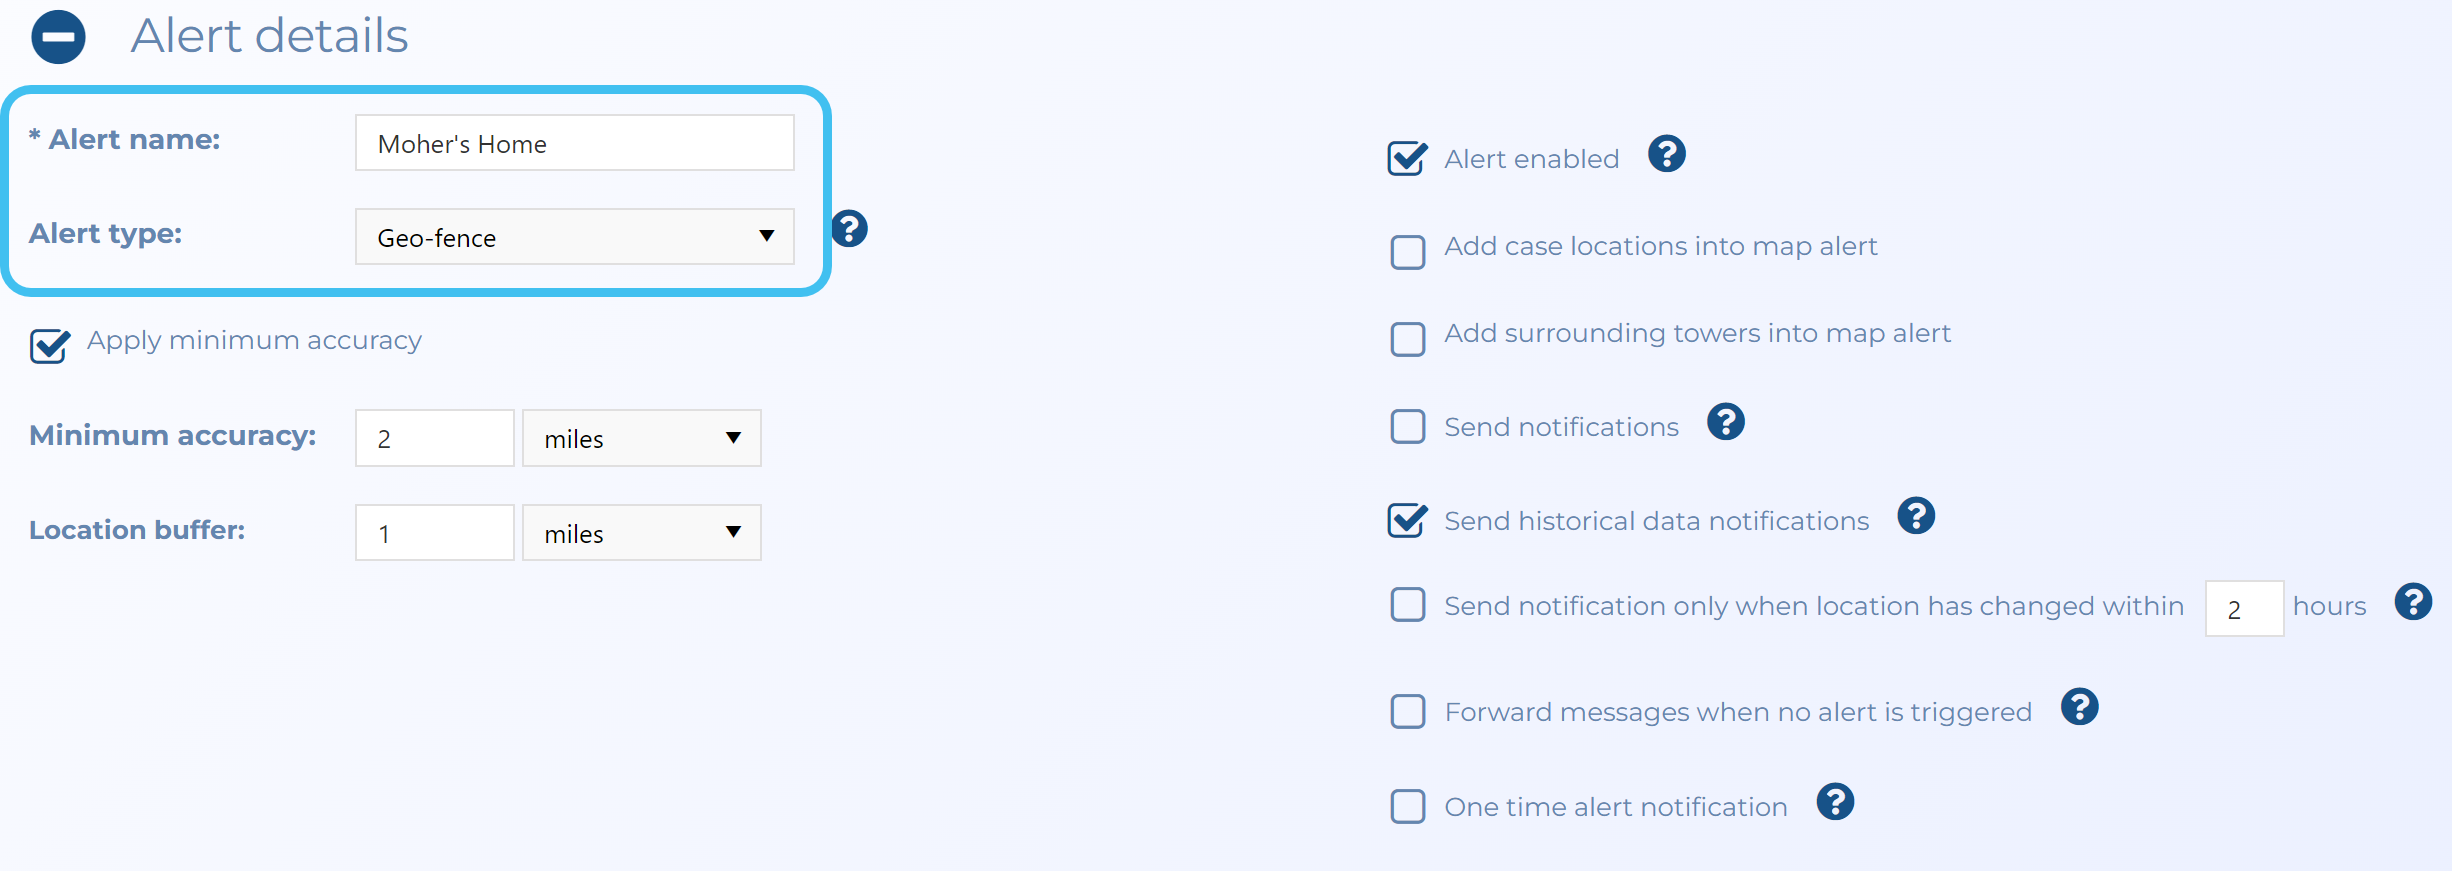
The Smart Track alerts & notifications screen opens.
- In Alert name, enter a name for your alert.
-
In Alert type, select Geo-fence.
-
In Phone/vehicle/account/i-case, select the CaseId.

-
In Select target locations, select the new IP's target location.
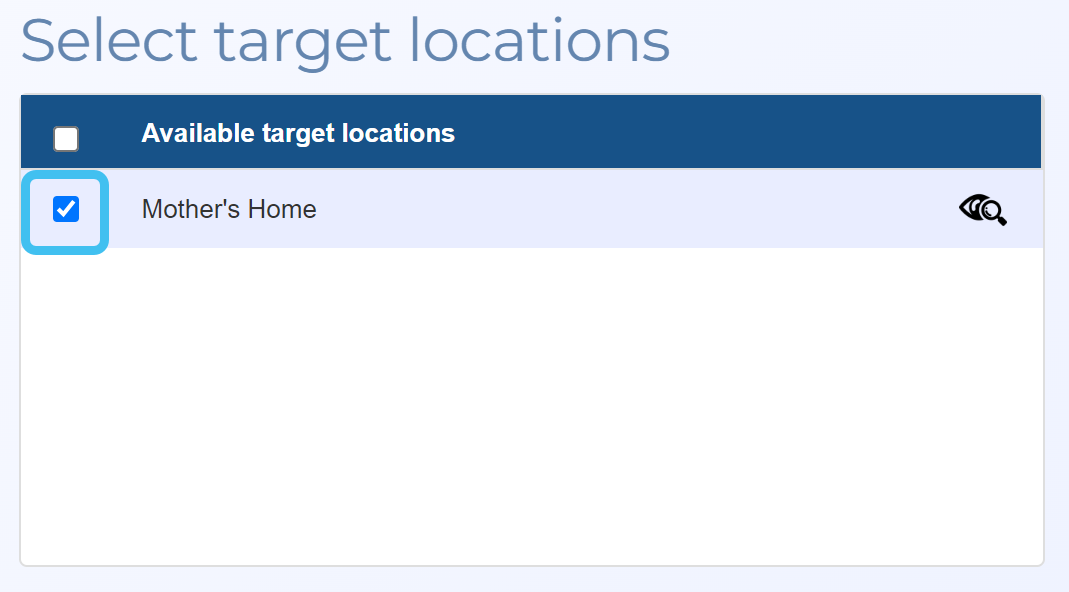
-
By default OSS-ESPA sends email notifications to the case creator and case assignees. However, if you want them notified by phone or SMS message or if you want other people to receive the notifications then click Configure notifications. The Edit Smart Track notifications screen opens.
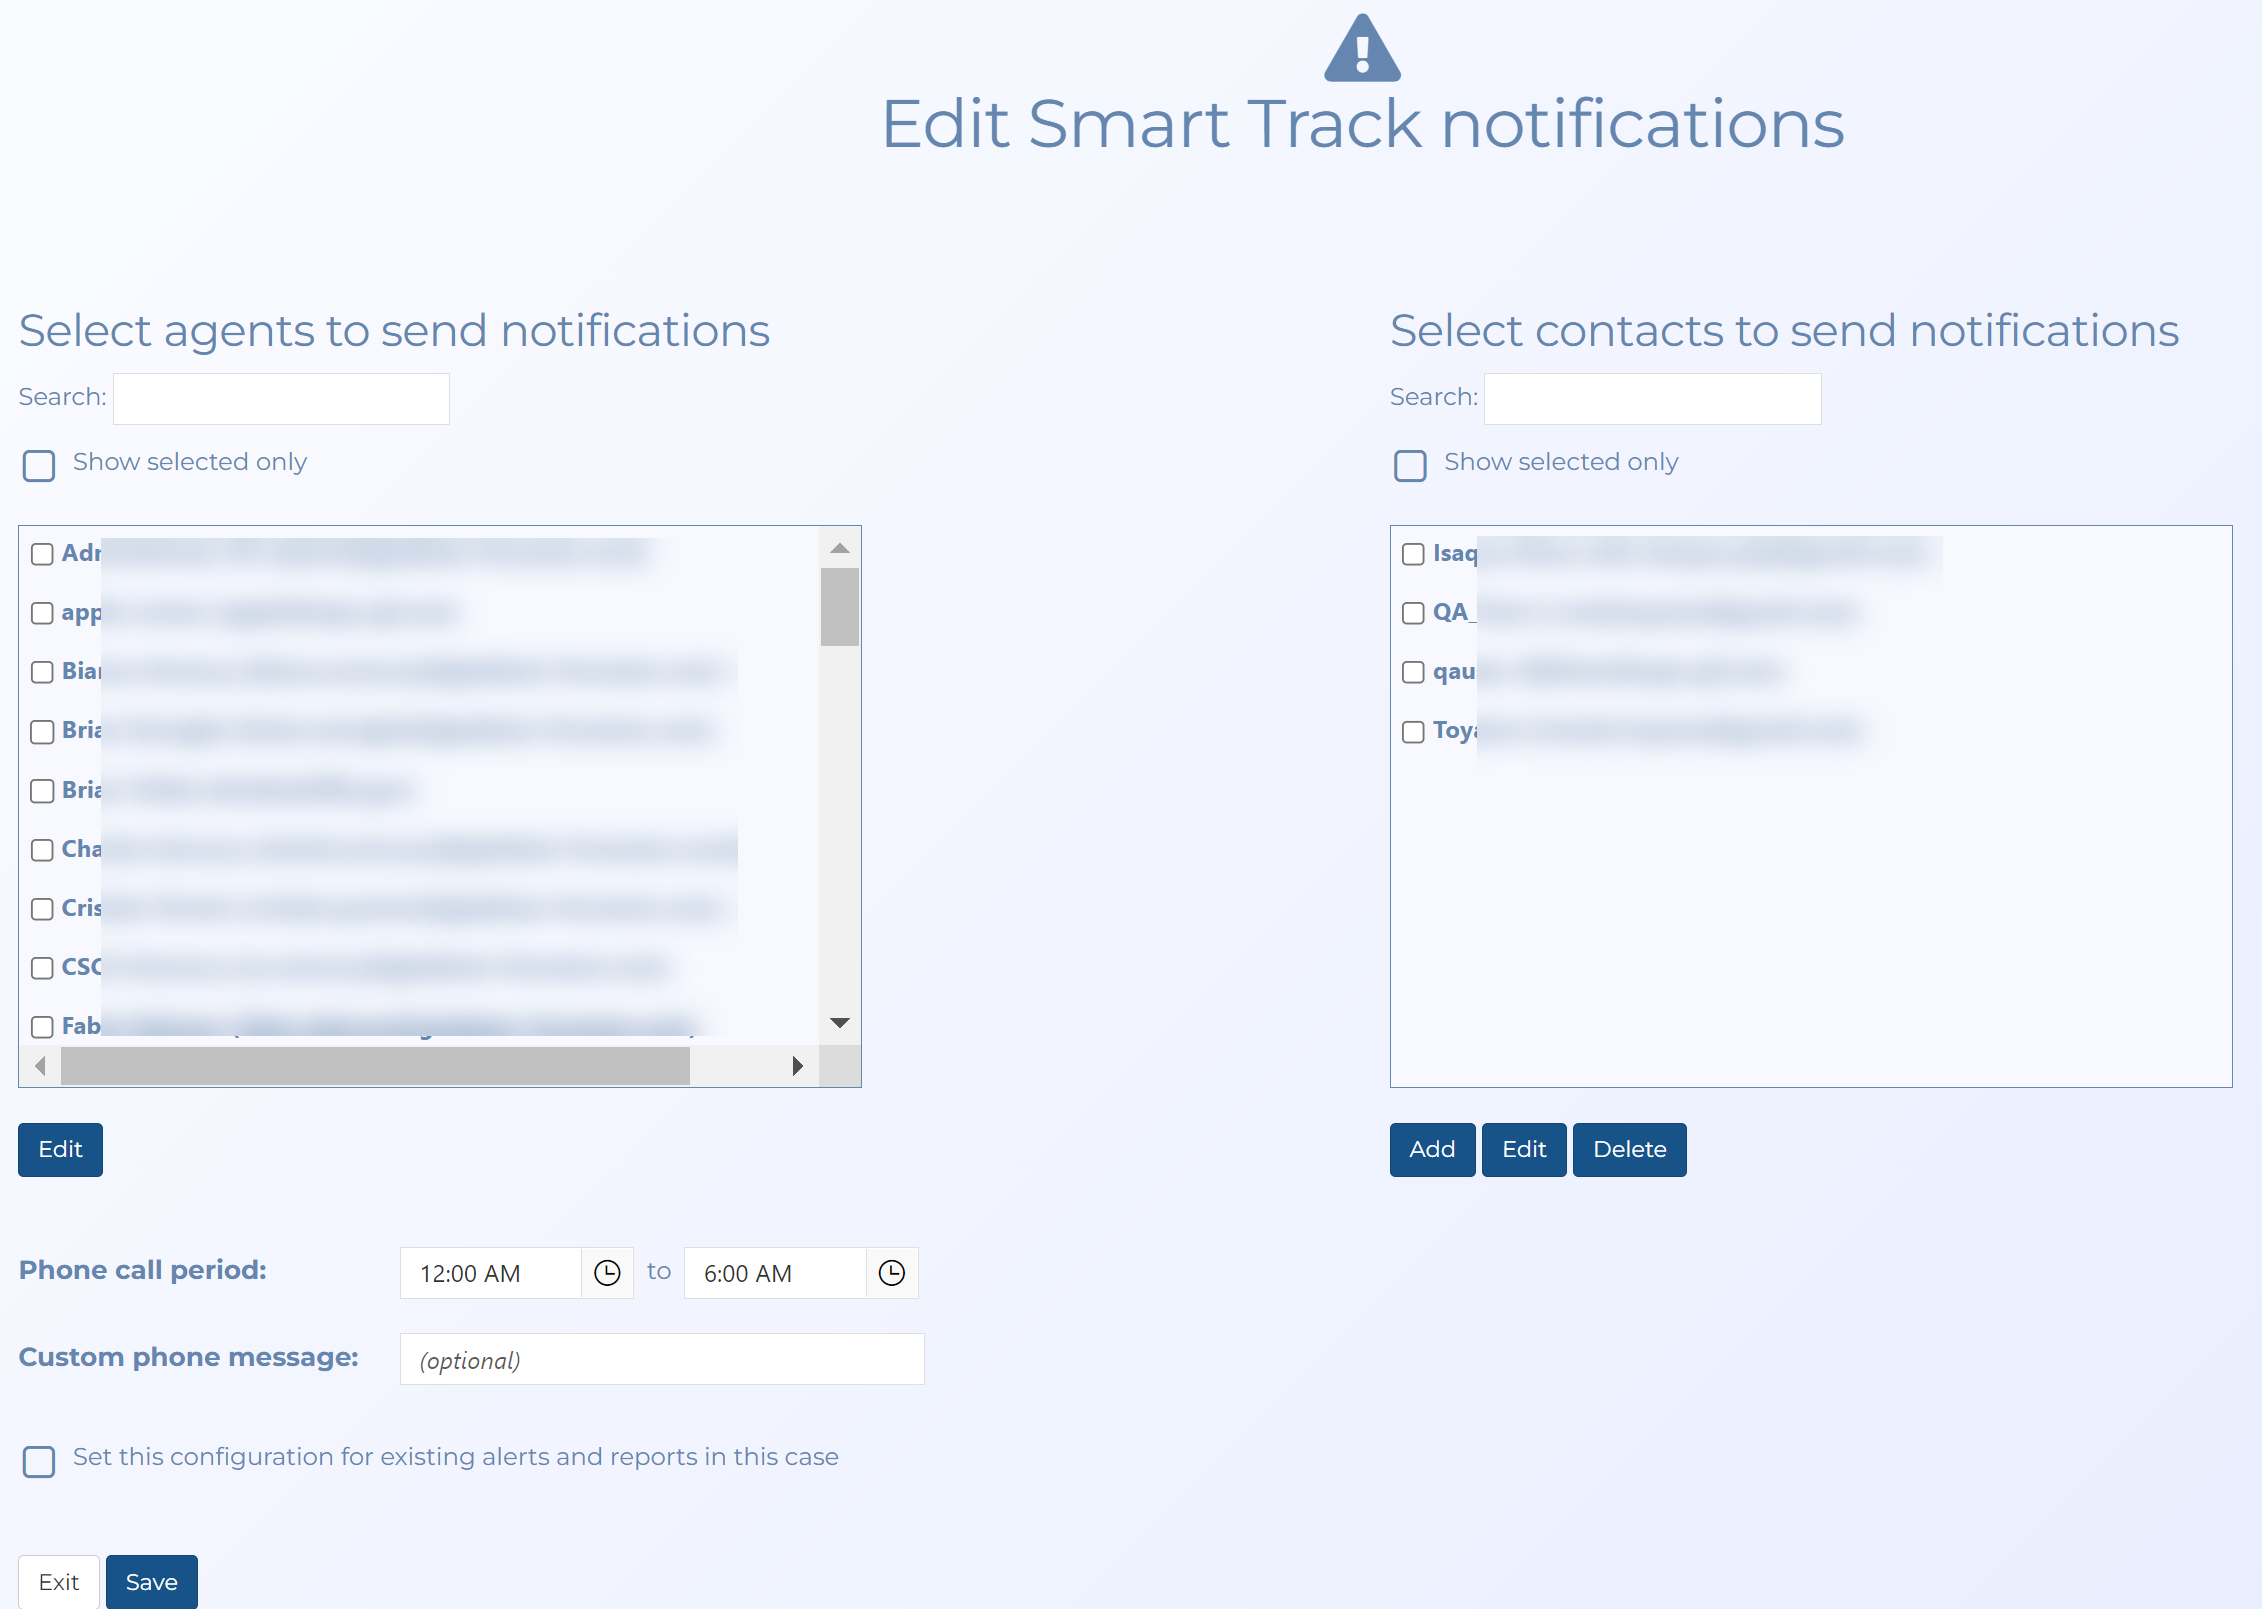
- Select the check box next to a person's name to ensure email notifications are sent to them.
- To change the methods used to notify a person select their name then click Edit. Select the additional notification methods which are SMS and Call then click Apply.
- To add a new person to receive notifications who does not have an OSS-ESPA account then click Add. The Edit contact notification dialog box opens. Enter their details including selecting the notification methods then click Apply.
- If you have configured anyone to receive phone call or SMS message notifications then you may want to consider entering times in Phone call period so that calls are not being made perhaps during the night. If you want a specific phone notification message sent then enter one in Custom phone message.
- Click Save.