Setting up a person or a station for live monitoring
This topic describes how to set up a person's or station's account to monitor i-cases using live monitoring. Live monitoring is possible for both T3 and T50 recording modes.
Rather than assigning individual users as a monitor, you may want to consider creating monitoring stations. Creating monitoring stations simplifies the administrative process of configuring the multiple different users who are monitoring the subject throughout the period of the warrant. You must first add a user account for the station, as you would for a normal user, for example you may want to add one with the first and last names being "Monitoring Station1". You can then use the following procedure to set the station up for monitoring purposes.
NOTE: To configure a user or station for Live monitoring you must be a customer administrator.
This feature requires option E19 Sentinel content log. If you do not have this option this feature is not available.
How to configure an individual user's account for live monitoring
-
On the main menu click Settings, then click Admin settings.
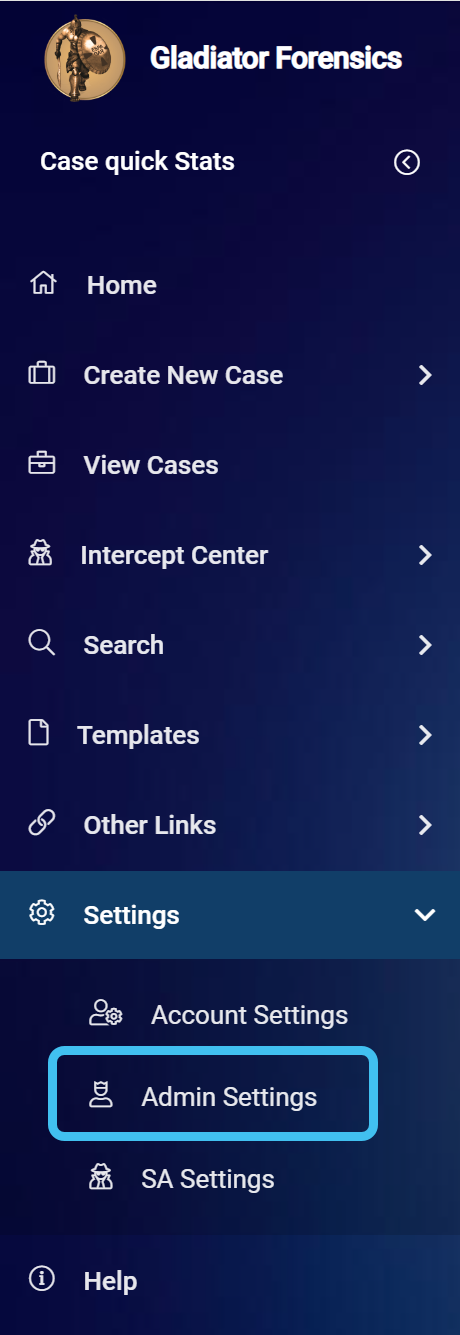
The Admin settings screen opens.
-
Click Manage users. The Manage user screen opens.
-
Click the name of the user you want to configure for Live monitoring, or if you are adding a new user click Add a new user below the table.
The Edit user screen opens.
-
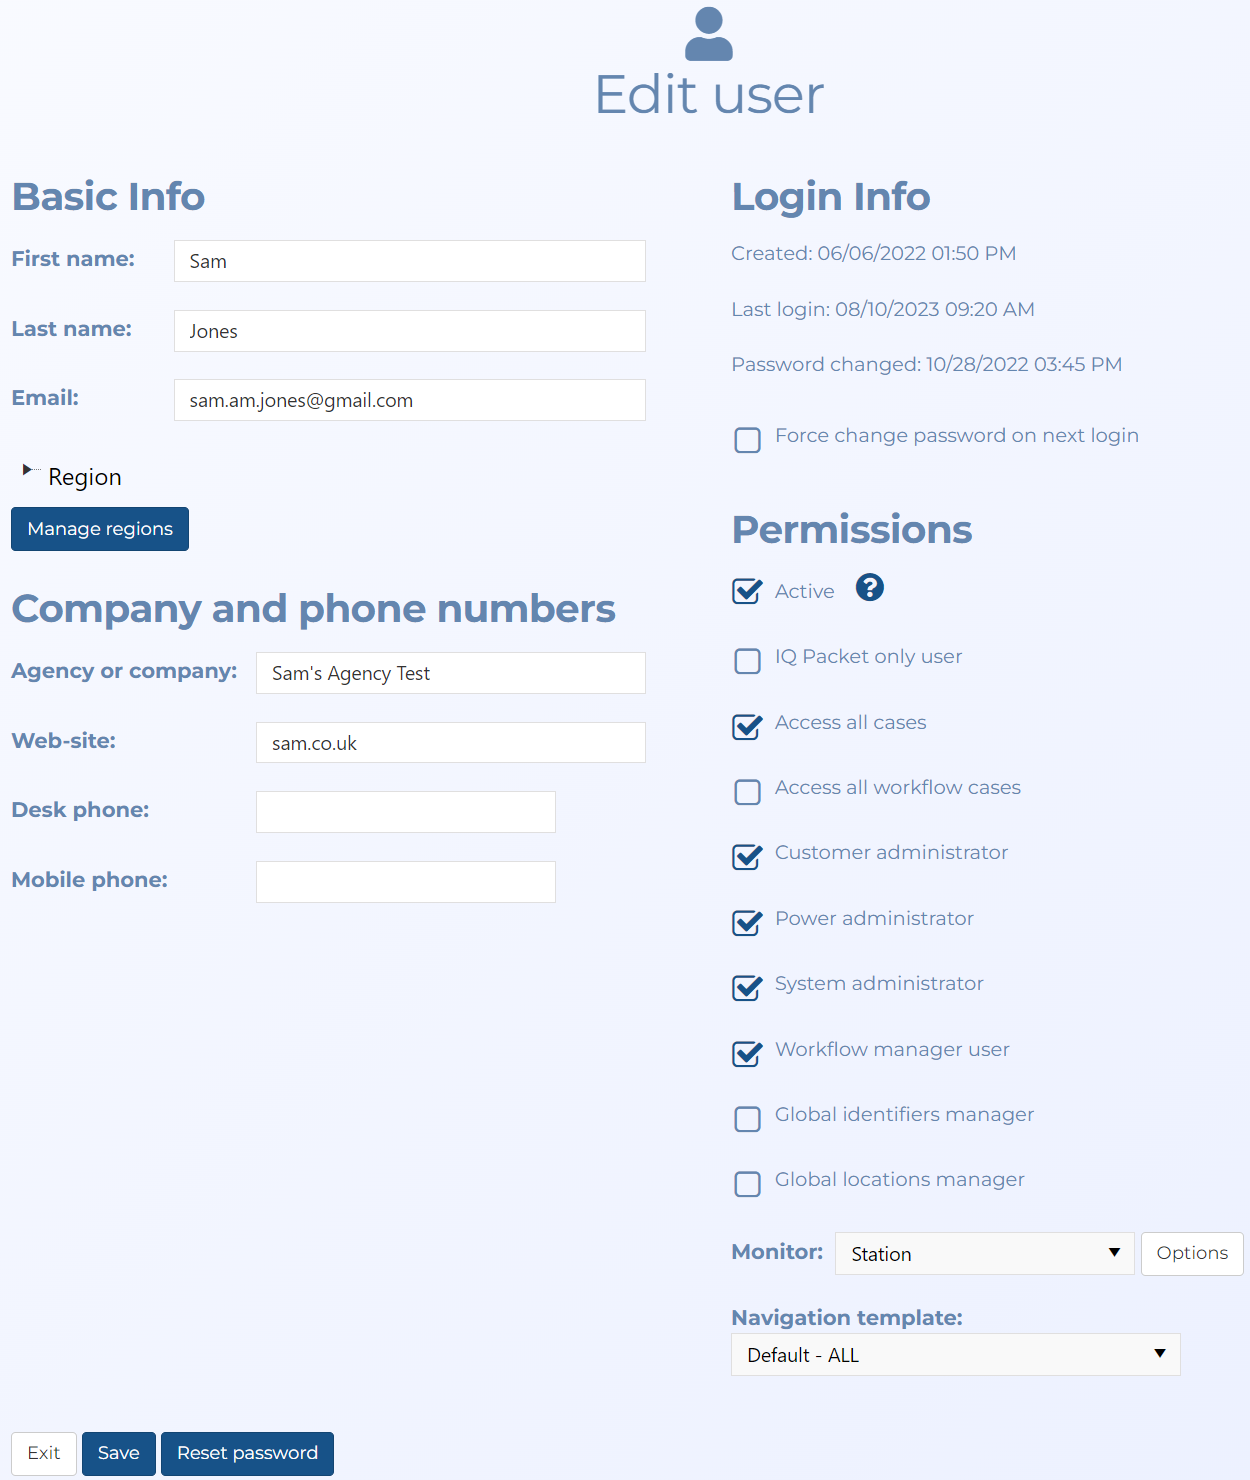
If you are adding a new user then complete: First name, Last name and Email and ensure Active is selected.
-
In Monitor, select User.
The person is now set up as a monitor and can now monitor i-cases which they are given permission to monitor using the Create new monitoring queue screen and Editing queue screen.
How to configure a live monitoring (wiretap) station account that allows local monitor login
-
On the main menu click Settings, then click Admin settings.
The Admin settings screen opens.
-
Click Manage users. The Manage user screen opens.
-
Click the name of the station you want to configure for Live monitoring, or if you are adding a new station user click Add a new user below the table.
The Edit user screen opens.
-
If you are adding a new user then complete: First name, Last name and Email and ensure Active is selected. For example, you may want to add a first and last name of "Monitoring Station1" and optionally create an email account.
-
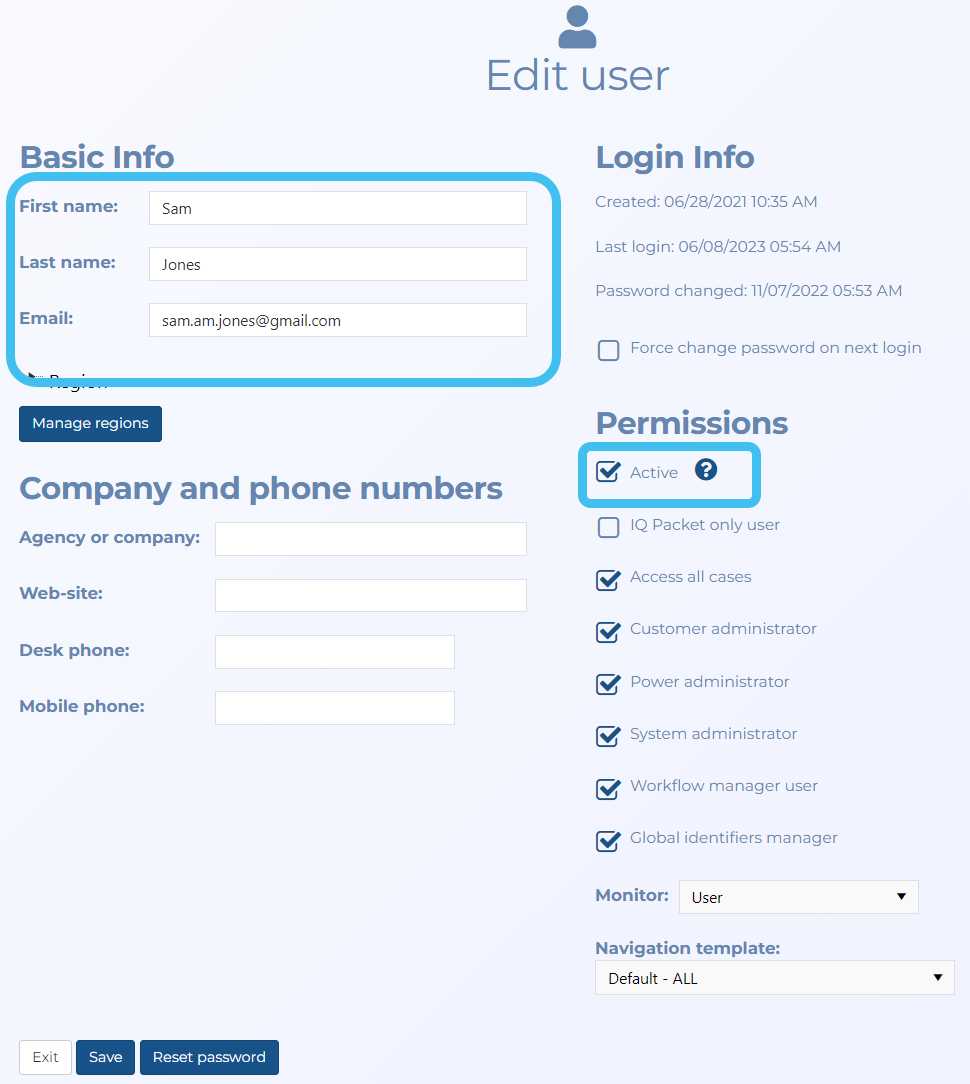
In Monitor, select Station.
-
Click Options.

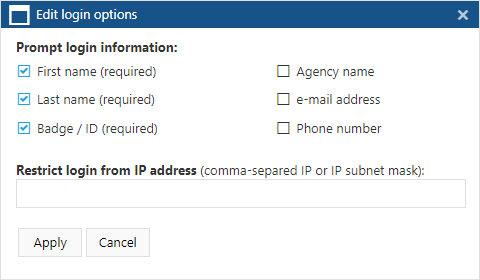
The Edit login options dialog box opens.
-
In Prompt login information, select which details the station users must enter immediately after they have logged into the station account. These individual user details are then stored by OSS-ESPA in the audit trail so that if required you can trace who was monitoring the subject at any point in time and any actions that they too.
In Restrict login from IP address, you can enter optional IP data if you want to restrict the access of the station account.
The station account is now set up and can monitor i-cases which you have given the station account permission to monitor using the Create new monitoring queue screen and Editing queue screen.
-
In Navigation template select the appropriate template for the monitor.