Understanding location analytics
In OSS-ESPA there are two types of locations you can enter:
-
the first is referred to as a View location and is simply a location that is of interest that displays on the ESPA analysis center screen and the IQ packet report's map views. This requires you to enter the location's Latitude and Longitude. These can also be added by entering the Street address, Postal code then clicking Locate.
-
the second is referred to as an Analysis location, for example a crime scene, that compares the wireless records against the location producing a number of analyses that use the location. If you want the location included in analyses you must set the Time buffer, Event Start, Event end, Location buffer, Latitude and Longitude. You must also also select Include this location in analytics if you want to:
-
include the location in the analysis results on the Mission set preview screen.
-
ensure that OSS-ESPA verifies you have completed all the settings required for the location to be included in all other analyses when you click Save. The settings required are: the Time buffer, Latitude, Longitude, Event start, Event end and Location buffer.
-
If you select a location to be an analysis location then OSS-ESPA can perform a variety of analyses on it which can help you determine if the target phone was near the target location during the event. If it was, then OSS-ESPA identifies all contacted phone numbers, and if it was not then it identifies the phone’s location during the event. In either situation it also:
-
identifies the tower’s distance to the target location.
-
identifies if the target phone was near the target location before and after the event.
-
identifies if the target phone was near the target location at the same time on a previous day.
-
plots out the phone’s whereabouts before and after the event of interest.
How to configure and view location analytics the Mission set preview screen
-
On the Manage case screen click New location.
The Location of interest screen opens.
-
Edit the settings as required ensuring you select Include this location in analytics.
Ensure you enter the Event Start, Event end, Time buffer, Location buffer, Latitude and Longitude.
-
For Event Start and Event end enter the time range in which the incident occurred.
-
You may wish to use Time buffer to enter a buffer around the start and end times to include the number of hours prior to and after the location's incident, that you believe device information is relevant for your case. For example, if you entered a start time of 7 pm, an end time of 8 pm and a time buffer of 1 hour, then your analysis is performed over 6 pm to 9 pm.
-
For Location buffer enter the distance around the location that you want to include in your analytics. Any sector radius or geolocation confidence radius that have coverage within the analysis location's buffer area are then included in the analytics. Ensure the location buffer you select takes into consideration the average coverage area of cell sectors in the area of interest.
-
-
Click Save.
-
Once complete, you can view the analysis results in either an IQ packet report or the Mission set preview screen.
-
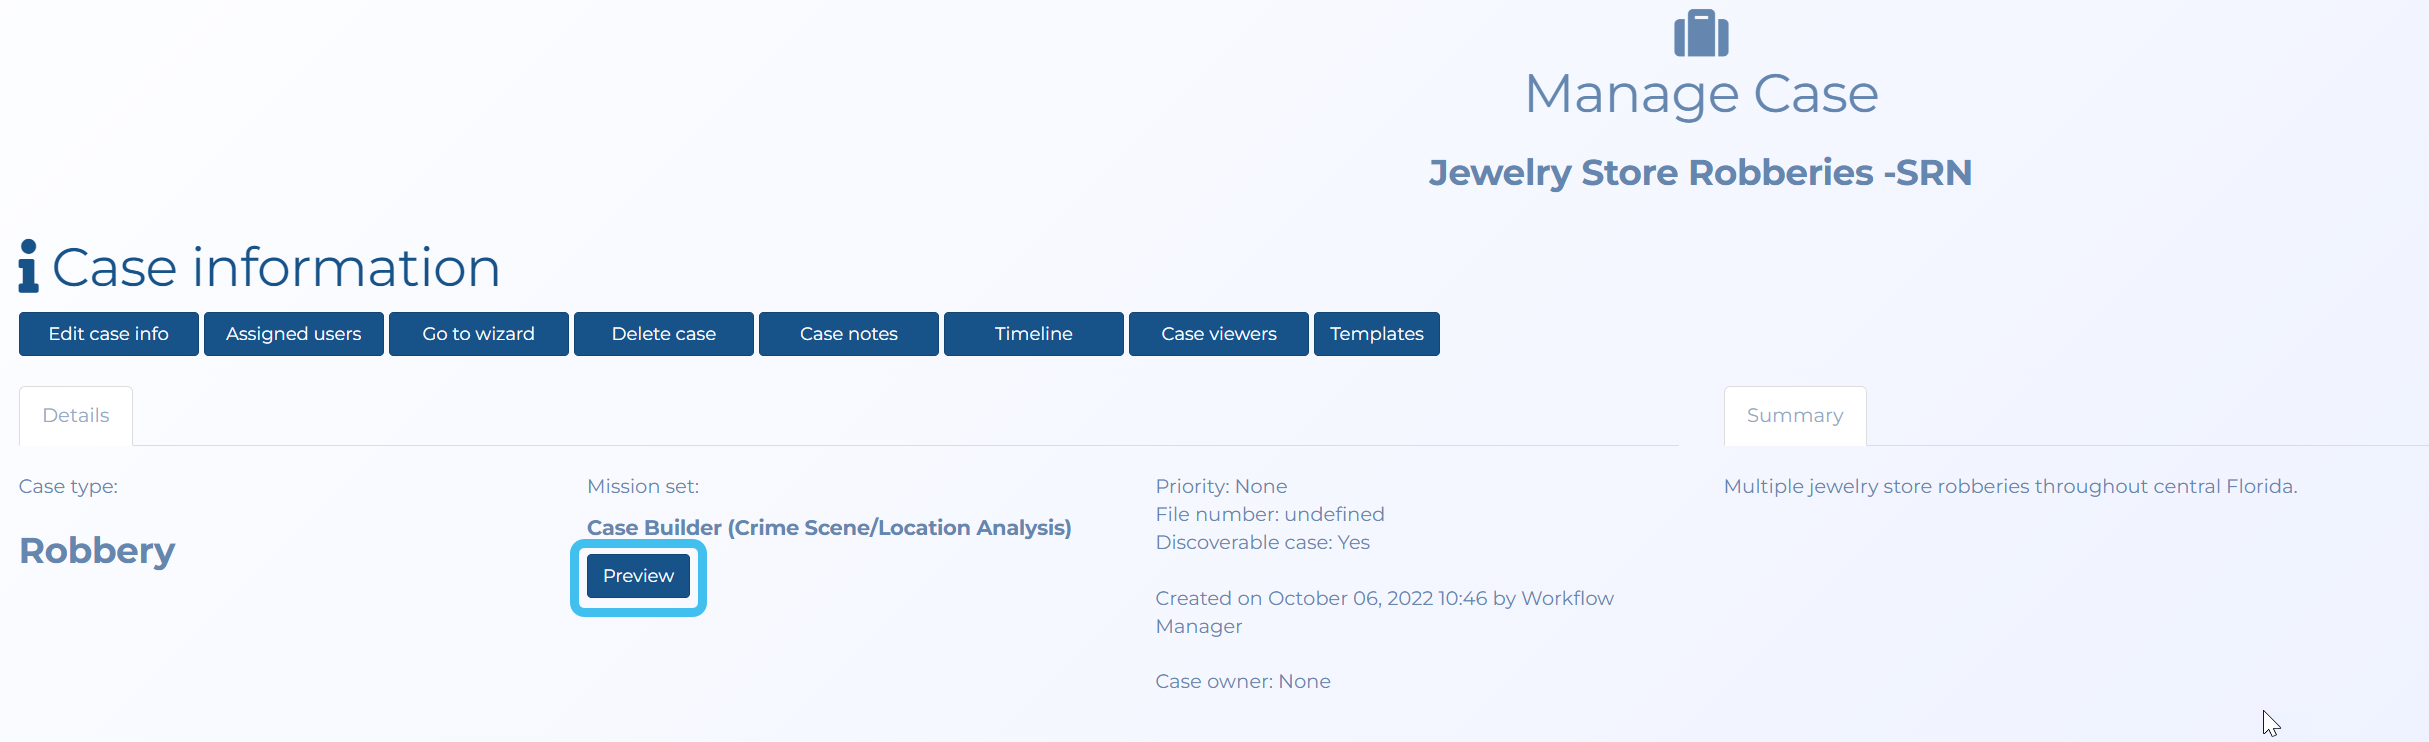
To view on the Mission set preview screen, click Preview on the Manage case screen.
-
Click show details to display the analysis result.

-
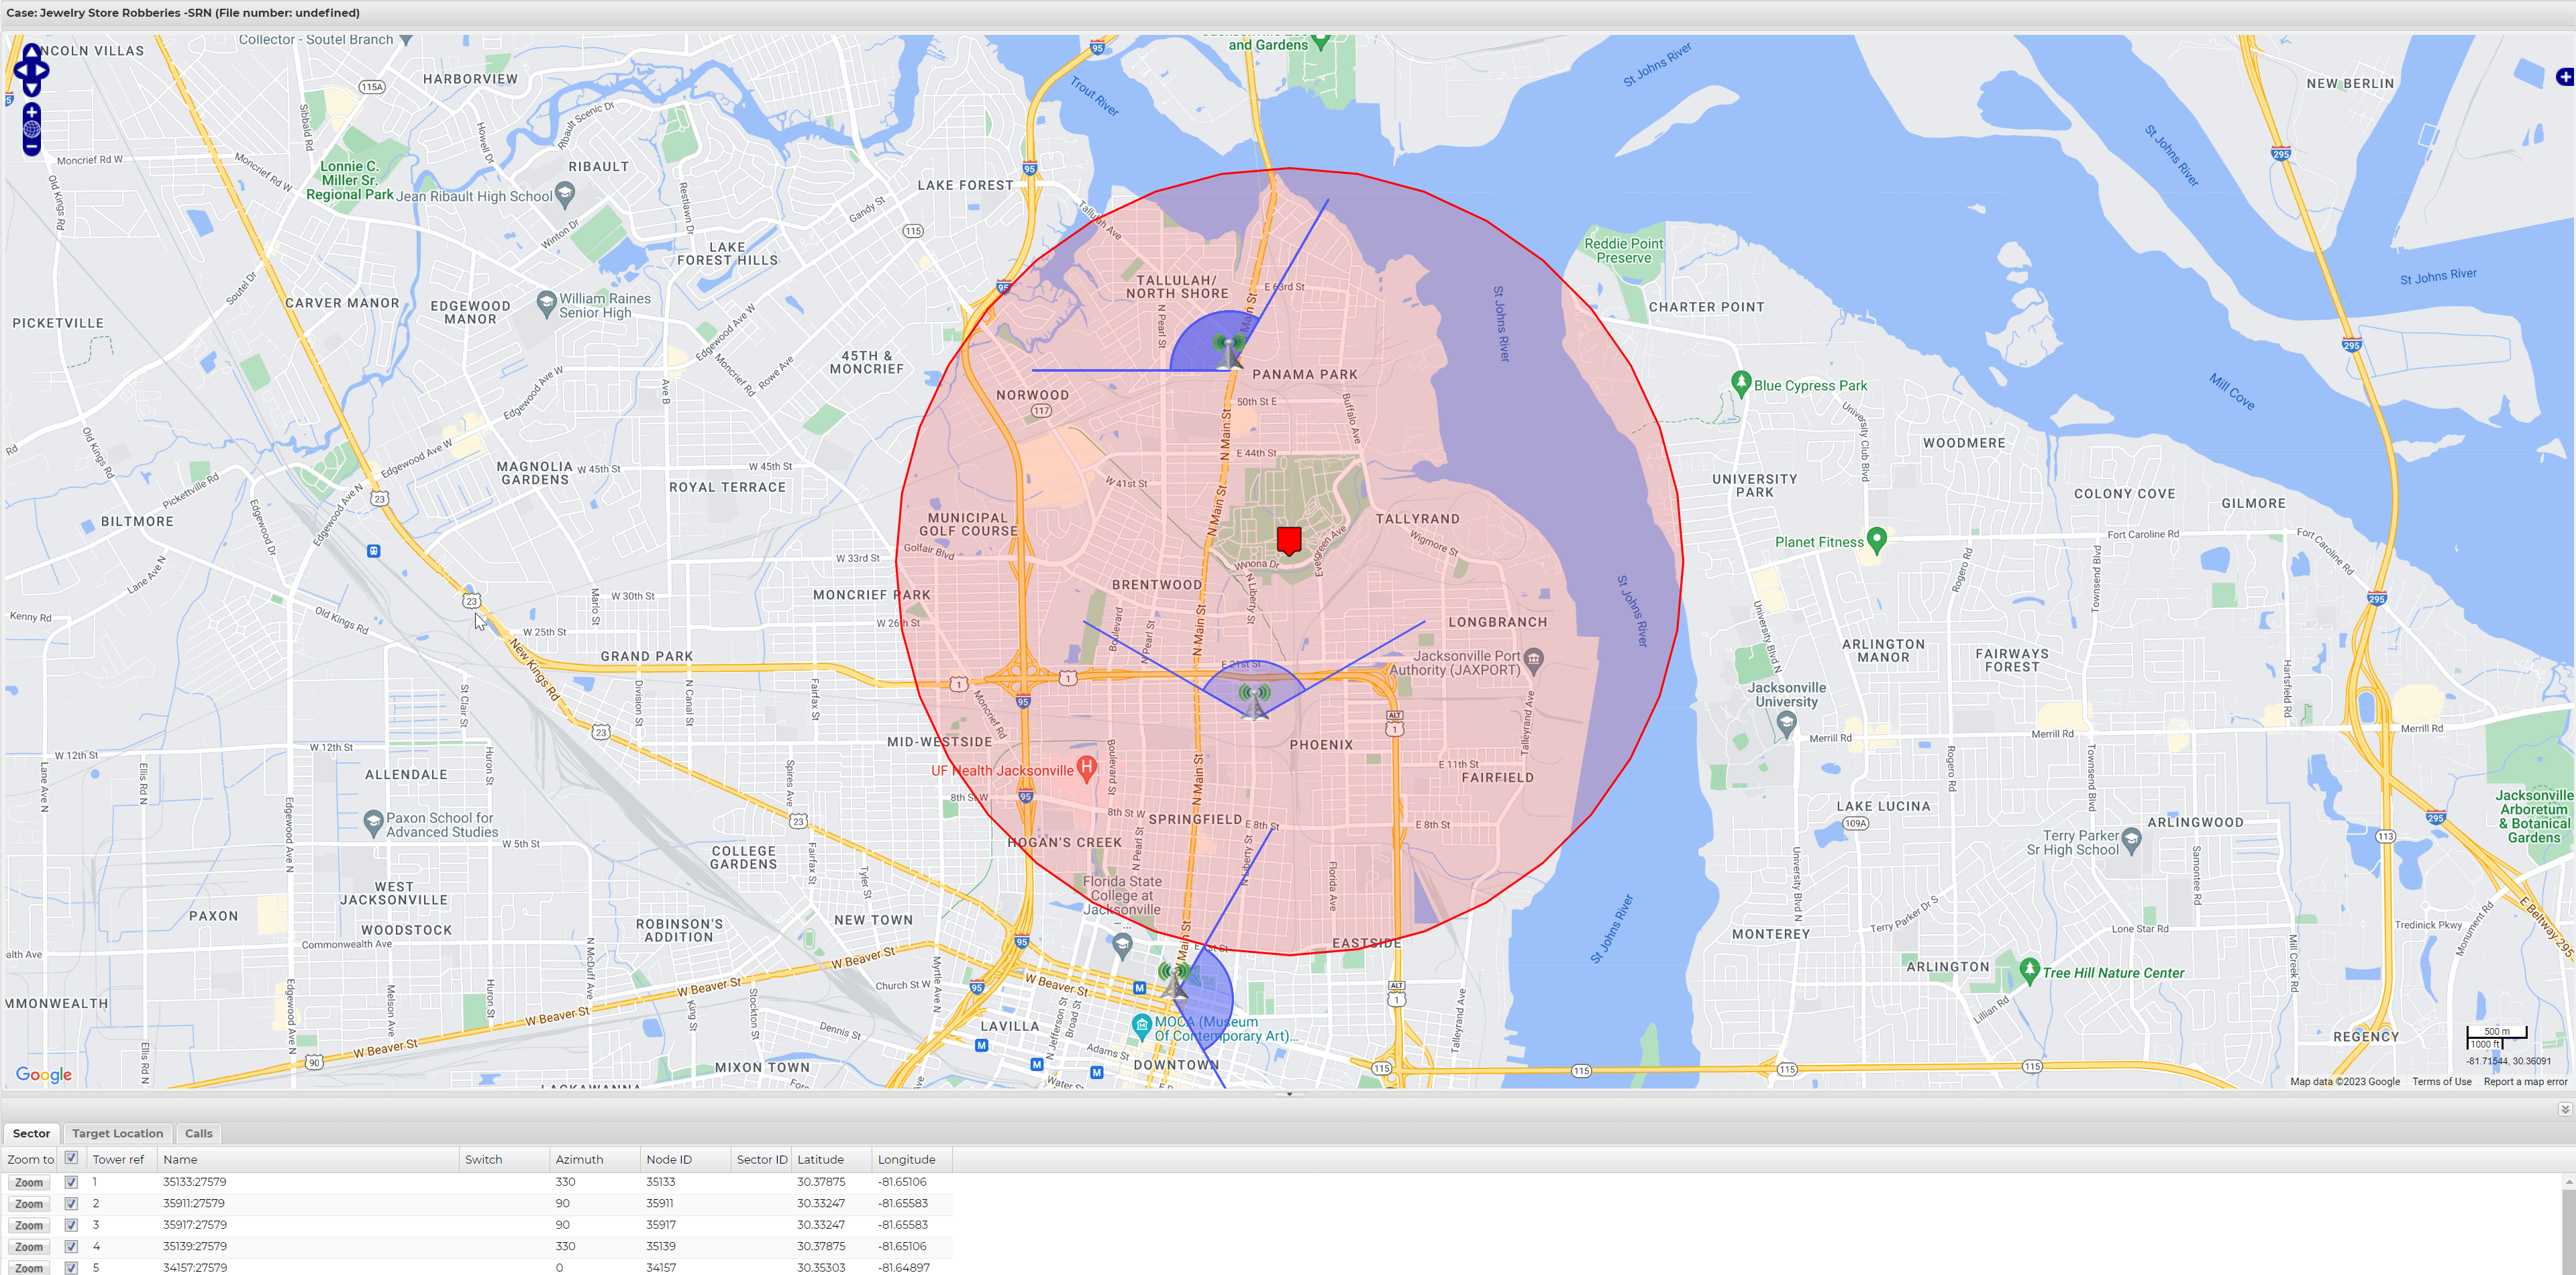
If you want to view an interactive map map of the calls in relation to the analysis location then click Click here to view on map.