Saving the map view
This topic describes how to save the current configuration of the ESPA analysis center screen. For further information on what features are saved refer to Save map view.
NOTE: The cell coverage and WiFi coverage maps are not saved along with these details. To save coverage maps use Save cell coverage and Save WiFi coverage.
To save the details of the map that you currently have displayed use either of the following procedures:

-
Click
then select Save map view. Note, if you are using WNF analysis center, then depending on the style of theme you have selected you may need to close another view to access this button.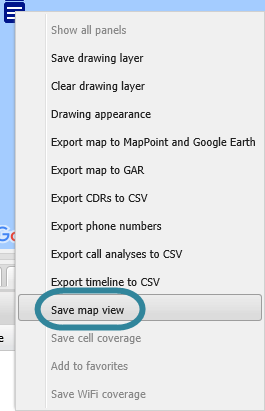
The Save map view dialog box opens.
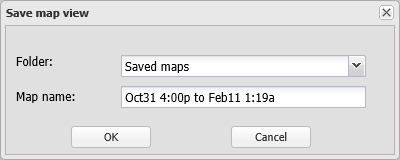
- In Folder select which folder you want to save the map configuration to. The folders that are available to select are those you manually created on the Call analyses tab. There is also a folder named Saved maps which creates a new folder with that name if it is not already created or you can enter your own folder name.
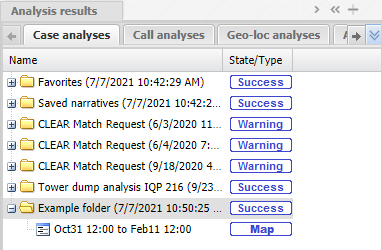
- In Map name if you want to change from the default name of date and time then enter a name for your map view then click OK. Your new map view is saved and displayed in the Case management view on the Case analyses tab under the folder you selected.
-
In the Case management view ensure the Case analyses tab is selected then click
 . For WNF analysis center, is located at the top-right of the Case management view, and for ESPA analysis center, it is located at the bottom-right.
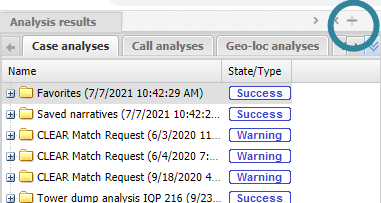
The Add folder dialog box opens.
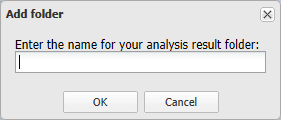
-
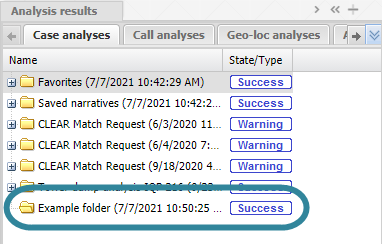
Enter a name for your folder then click OK. Your new folder is displayed in the Case management view.
-
Left-click the folder and select Save map view.
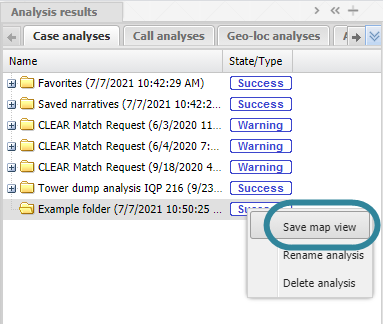
The Save map view dialog box opens.
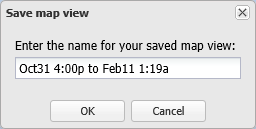
-
If you want to change from the default name of date and time then enter a name for your map view then click OK. Your new map view is saved and displayed in the Case management view on the Case analyses tab.