Printing the map view
This topic describes how to print the map view on the ESPA analysis center screen.
To print a map use the following procedure:
-
On the map, click
 . Note, if you are using WNF analysis center, then depending on the style of theme you have selected you may need to close another view to access this button.
The print map screen opens with the map location you were viewing on the normal ESPA analysis center screen.
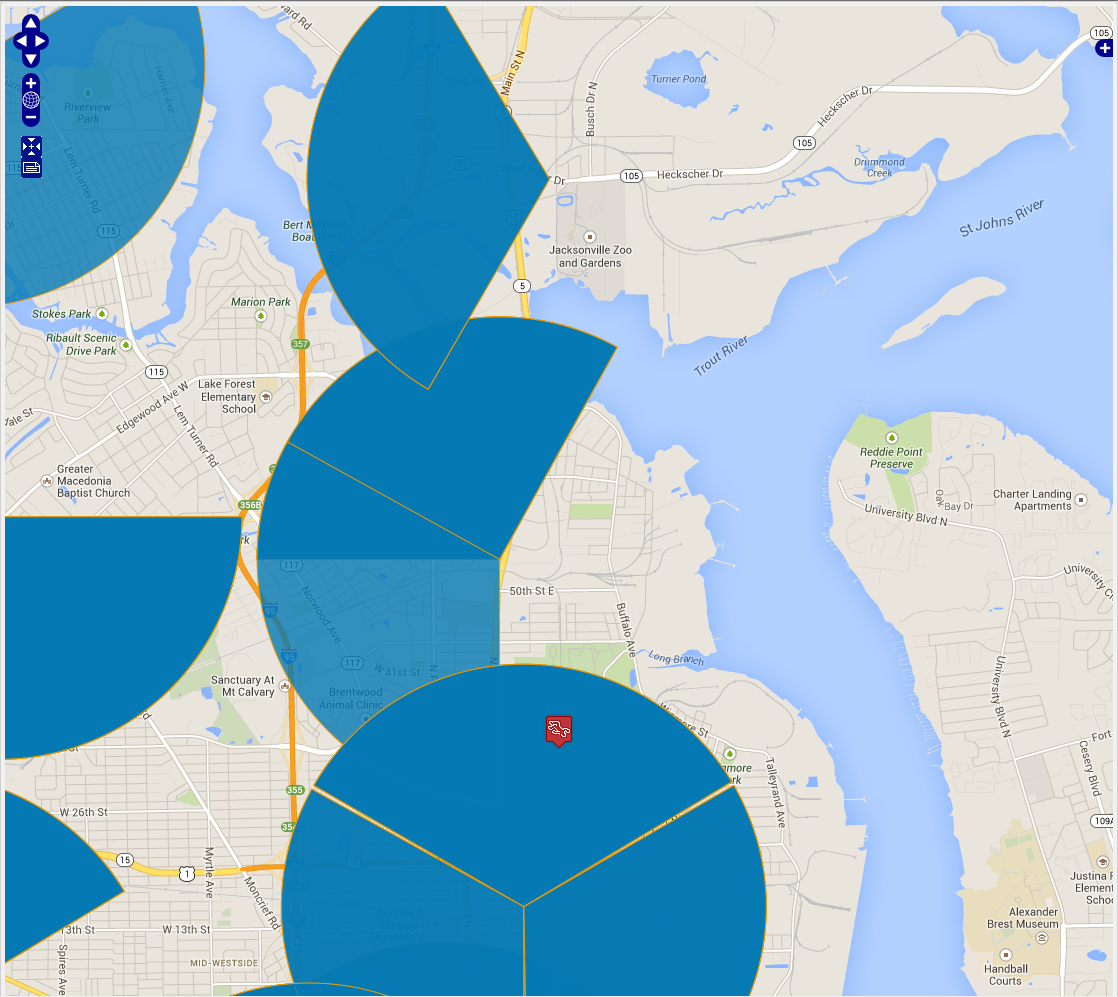
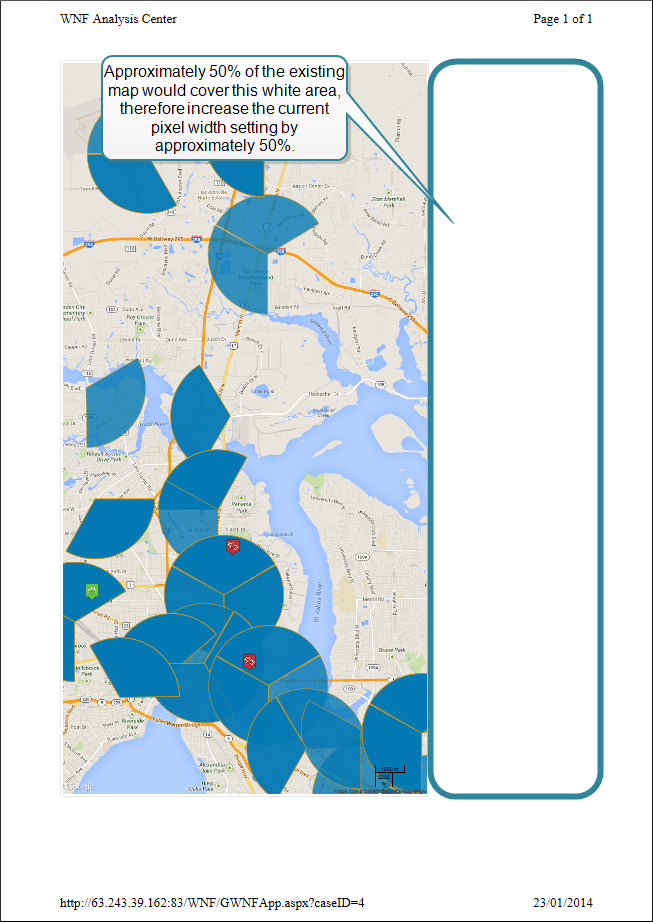
- If required adjust your browser's zoom setting so that you can view the complete map's height and width. When you are seeing the complete map it is surrounded by a thin white outline as shown in the following graphic.

- If required you can adjust this map to display different details. For example, you can zoom in and out of the map, pan across the map, display the target location details, and select and deselect calls from sectors.
-
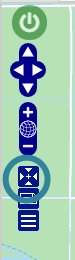
Ensure the orientation of the map is what you require, either portrait or landscape. To change the orientation click either
 or
or  . Note, if you are using WNF analysis center, then depending on the style of theme you have selected you may need to close another view to access this button.
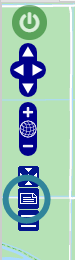
-
On your browser open the print preview screen.
Ensure the paper size is set to Letter and the orientation is set the same as you set on the print map screen in step 4.
-
If the map displays as you require you can print it. After printing to restore the views click
 .
.
If the map does not display as you require continue with the following steps.
-
OSS-ESPA's default print width and height settings work for the majority of printers when used as described in the previous steps. However if your map does not display as expected then you must adjust the default print width and height settings using the following steps:
-
Firstly you must determine by what percentage you should adjust these settings by examining your browser print preview.
-
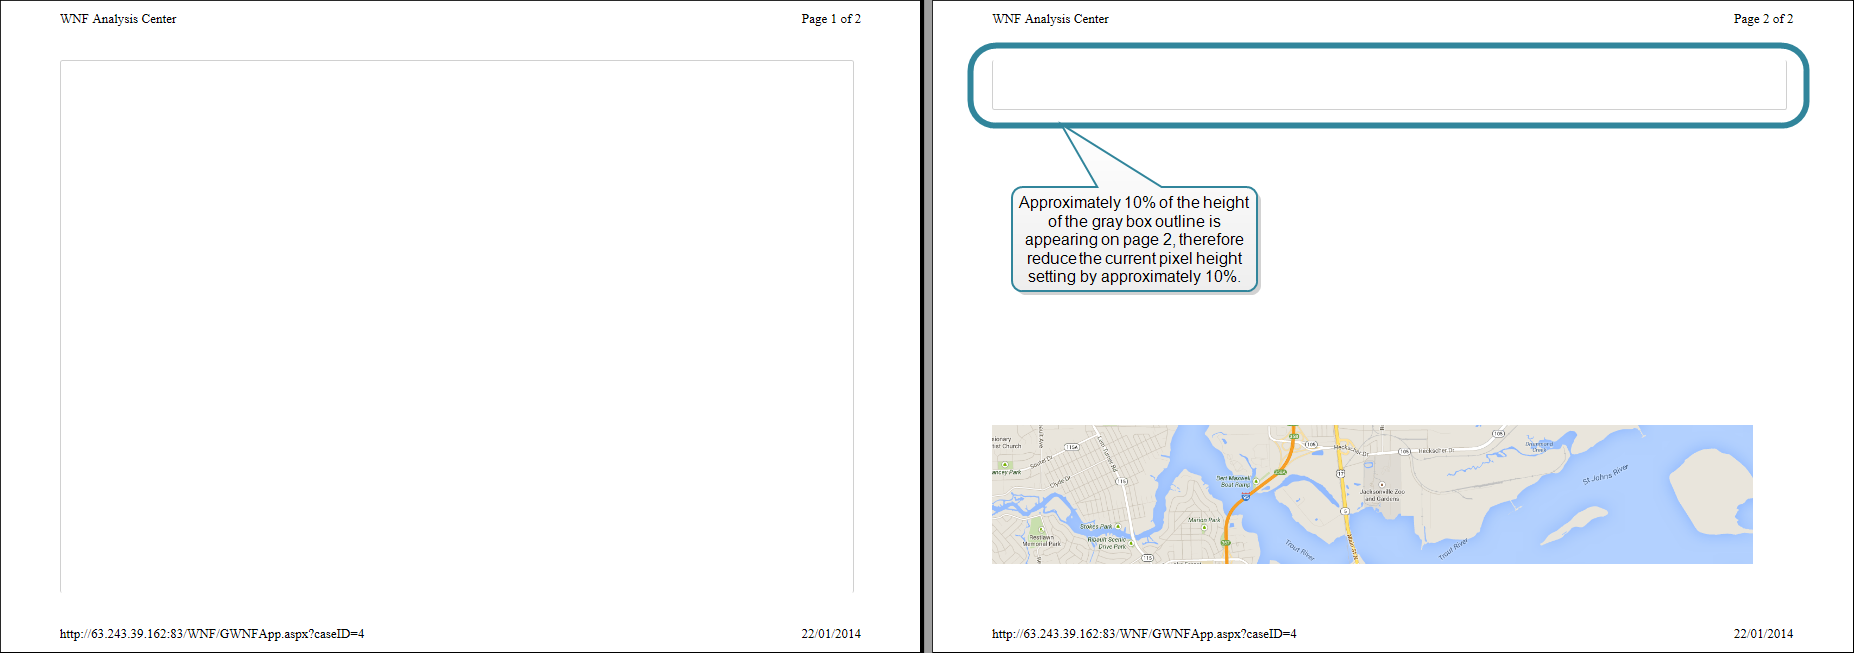
If your print preview displays multiple pages then you must determine what percentage of the map is attempting to display outside of page 1. You can do this by viewing the gray box outline that indicates the area that the map is attempting to display in. For example, in the following graphic there is approximately 10% of the height of the gray box outline appearing on page 2. This indicates that the height setting should by reduced by approximately 10%.
-
If your print preview contains a lot of white space you could increase the relevant print width and height settings. For example, in the following graphic there is a significant amount of white space that could be used by the graphic by increasing the graphic's current width by approximately 50%. This indicates that the print width setting should be increased by approximately 50%.
The following steps describe how to change these settings.
-
- Close the browser print preview screen.
-
Click
.
-
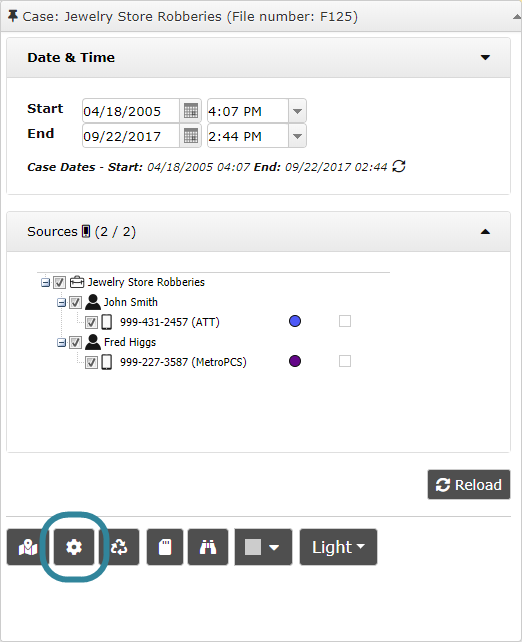
On the ESPA analysis center, open the Advanced options dialog box.
You can open the Advanced options dialog box from either the Input and settings view or the Map view.
- On the Input and settings view:
Click
 .
.
-
On the Map view:
- Hover over
 on the top-right of the map.
 -
Click
 then select Advanced options from the menu.
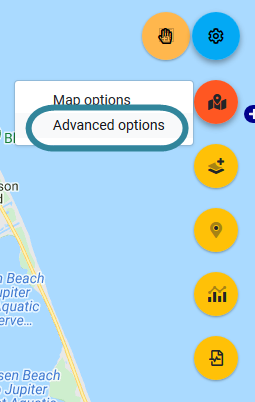
- Hover over
The Advanced options dialog box opens.
- On the Input and settings view:
-
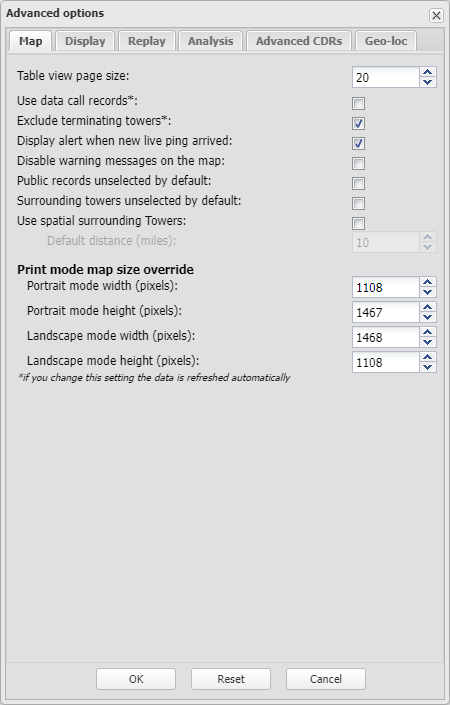
Edit the necessary Print mode map size override setting you determined needed changed then click OK.
Reopen the browser print preview screen using the above procedure to determine if the map is now printing correctly. If your percentage estimation was not quite correct then you may need to adjust the Print mode map size override settings again.
-