Preparing and viewing a precision location analysis
This topic describes how to run and view a precision location analysis using the information in the TA files and geo-location files to prepare evidence.
This feature requires option E7 Advanced CDRs. If you do not have this option this feature is not available.
You can also click here for a short video showing an example of running and viewing a precision location analysis. In addition click here for additional information on how to narrow down the possible location of a phone.
How to run a precision location analysis to prepare evidence
-
With your case open on the ESPA analysis center configure the screen for the geo-location data and TA data you want to run an analysis on. You can do this by either:
-
setting the map's boundaries to include all the geo-location data and TA data you want to analyze, or
-
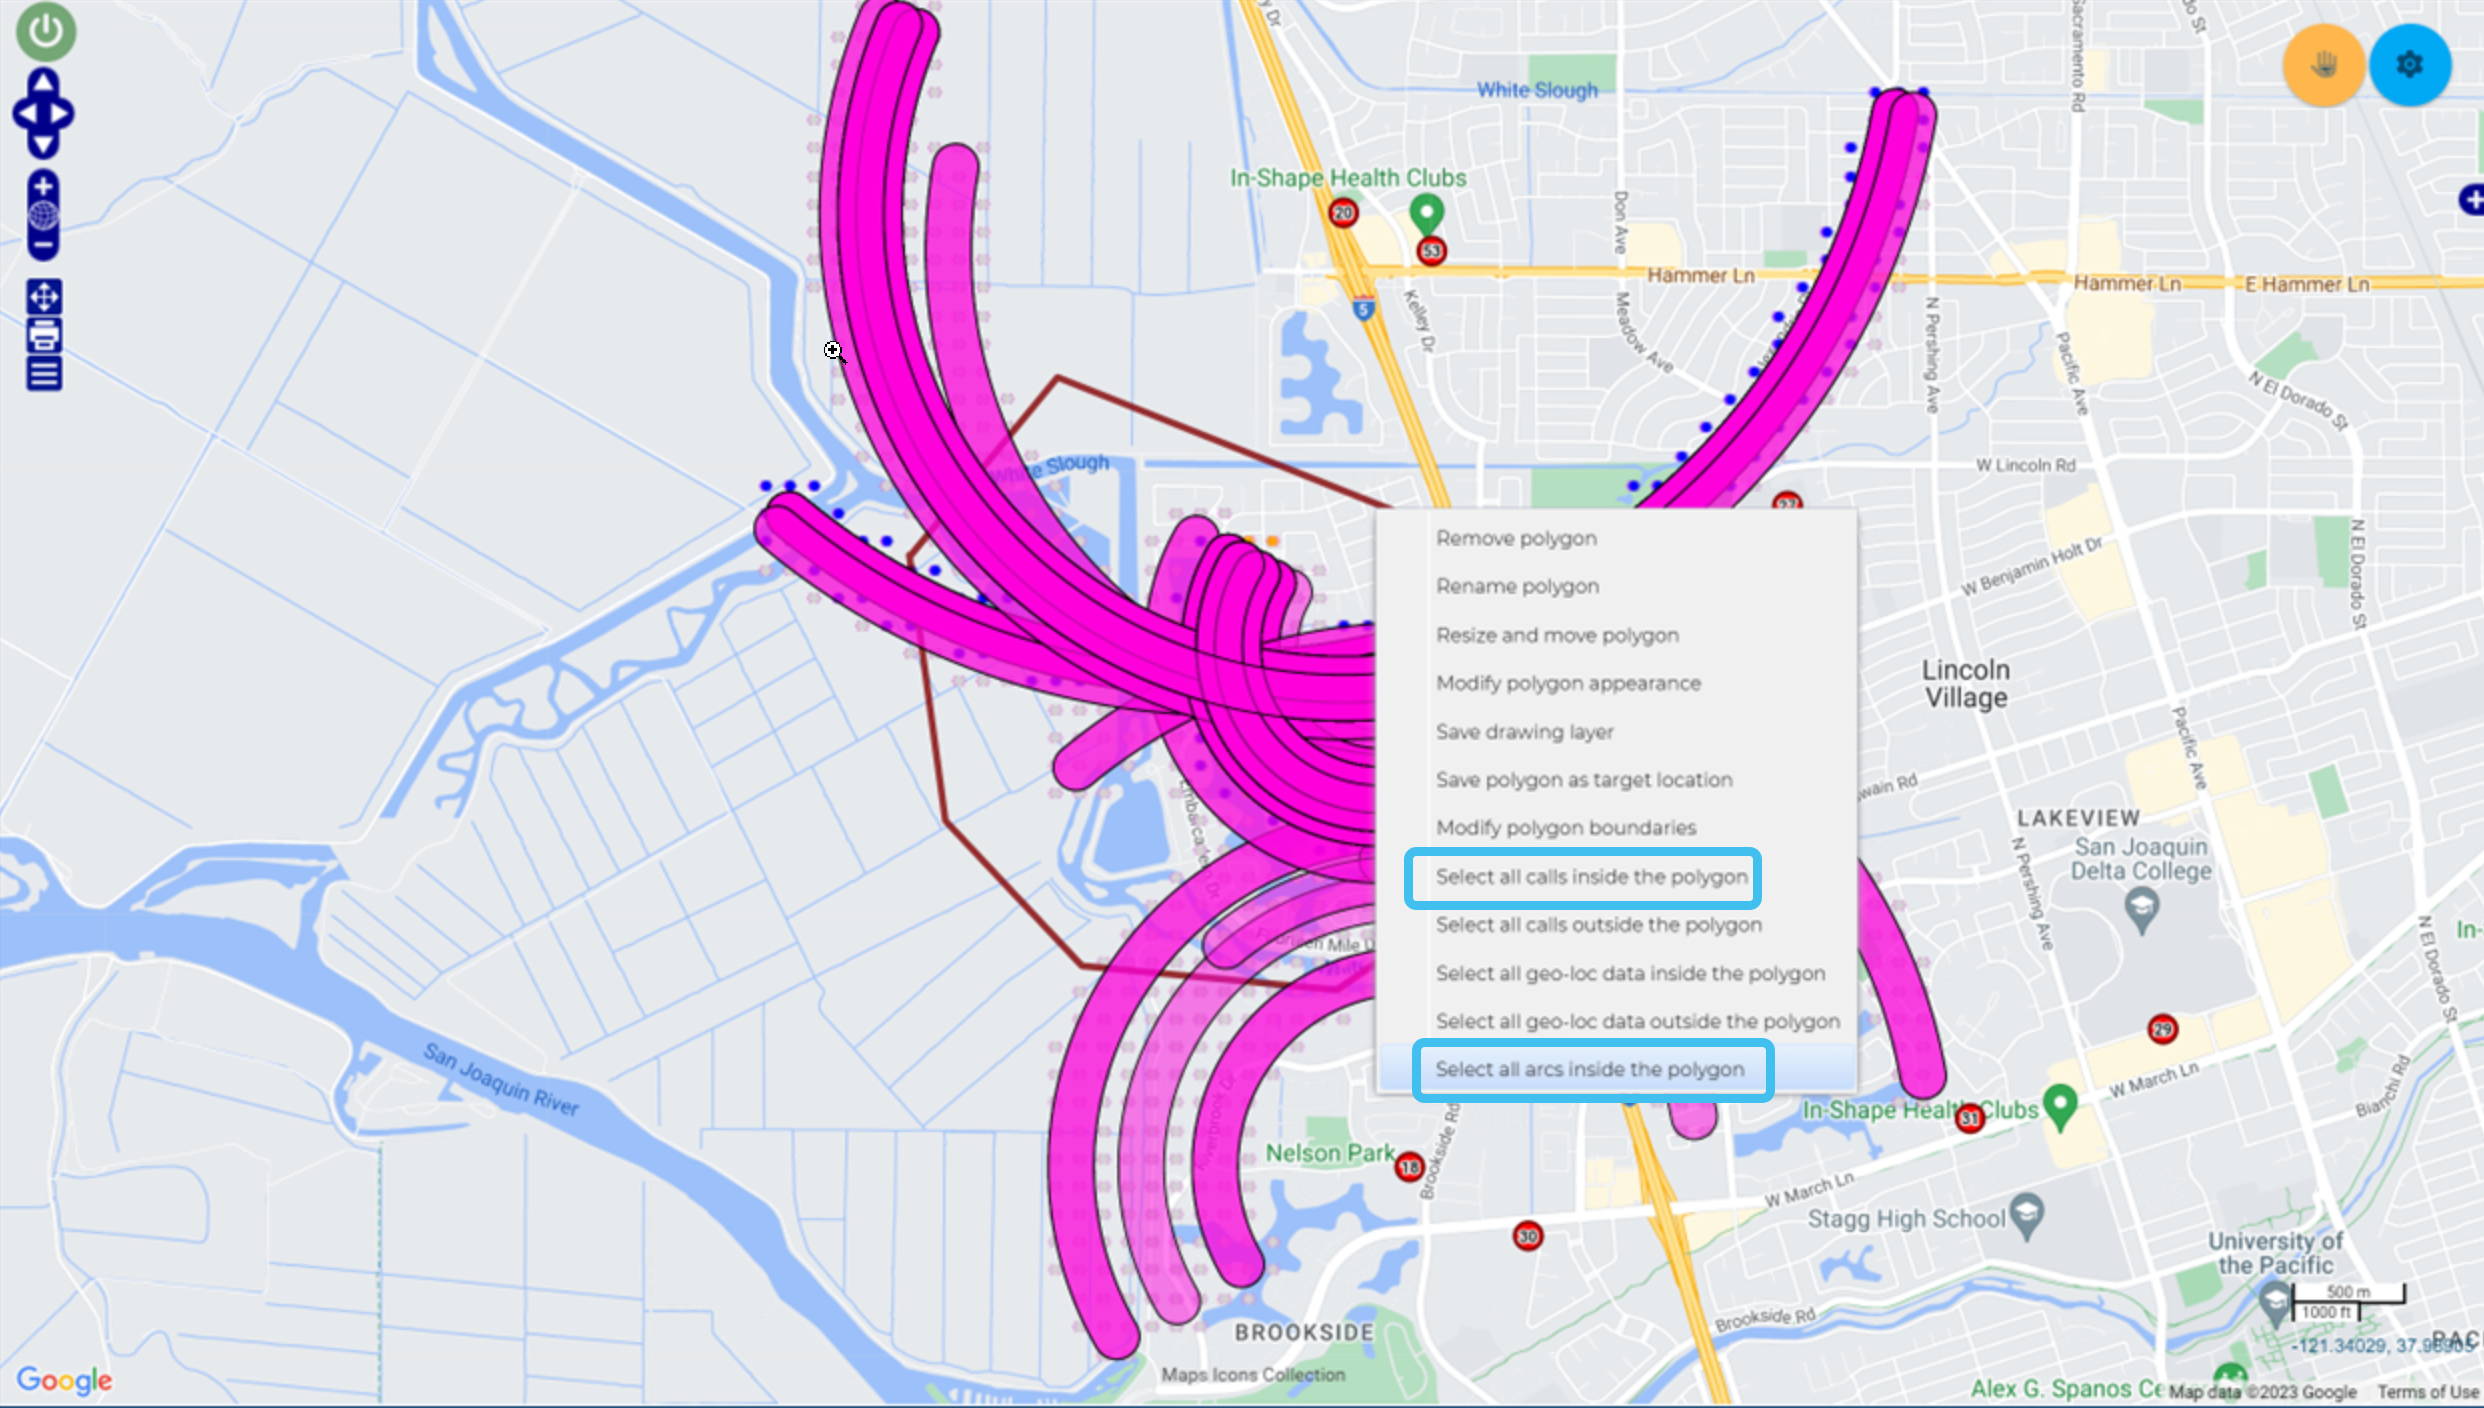
by selecting the geo-location data and TA data you want to analyze. You can do this by either selecting the data using the check-boxes on the Geo-loc data and TA data tabs or by using the map. To select the data on the map, you can either right-click a sector then from the pop-up menu click Select all arcs from this sector, or draw a polygon around the data then right-click the polygon and from the pop-up menu click Select all calls inside the polygon and Select all arcs inside the polygon.
-
-
Hover over
 on the top-right of the map.
 -
Click
 then select Precision loc. analysis from the menu.
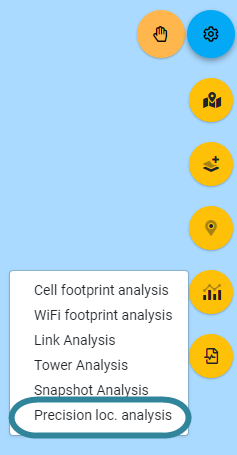
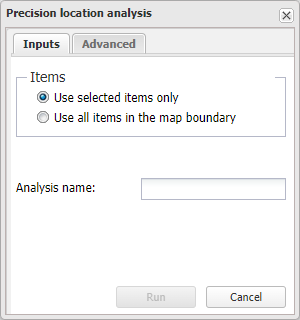
The Precision location analysis dialog box opens.
-
On the Inputs tab:
-
In Items select whether you are using the map boundaries or the selected data to run an analysis on.
-
In Analysis name, enter a name for your analysis that is useful to you.
-
-
On the Advanced tab, select the type of calculation you want used for your analysis. For further information refer to Calculation.
-
Click Run to start the analysis.
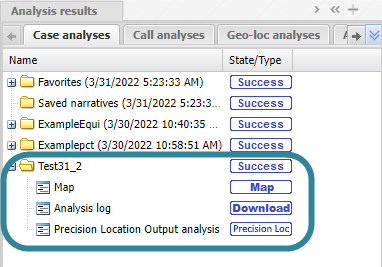
Your analysis report is listed in the Case analyses tab of the Case management view. Once the analysis is completed the state is updated. You can use the analysis results if the state is either Success or Warning.
When your analysis is complete you are automatically notified by email and then you can view the analysis results. For further information refer to How to view precision location analysis results.
After you have run your analysis as described in How to run a precision location analysis to prepare evidence you can view the results once the analysis has completed successfully. You will know when your analysis is complete when the state of your analysis on the Case analyses tab changes to Success or Warning.
- Open your case on the ESPA analysis center screen.
-
On the Case management view's Case analyses tab click the analysis folder you want to review the results for. The folder opens and displays the result outputs.
-
To display the precision location overlay on the map, right-click the Precision Loc output then select Open.
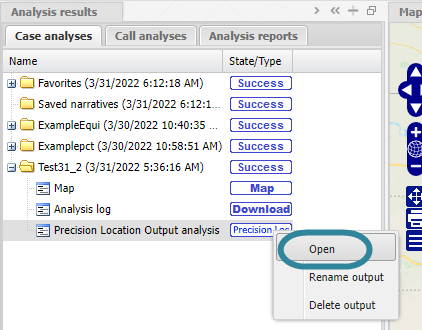
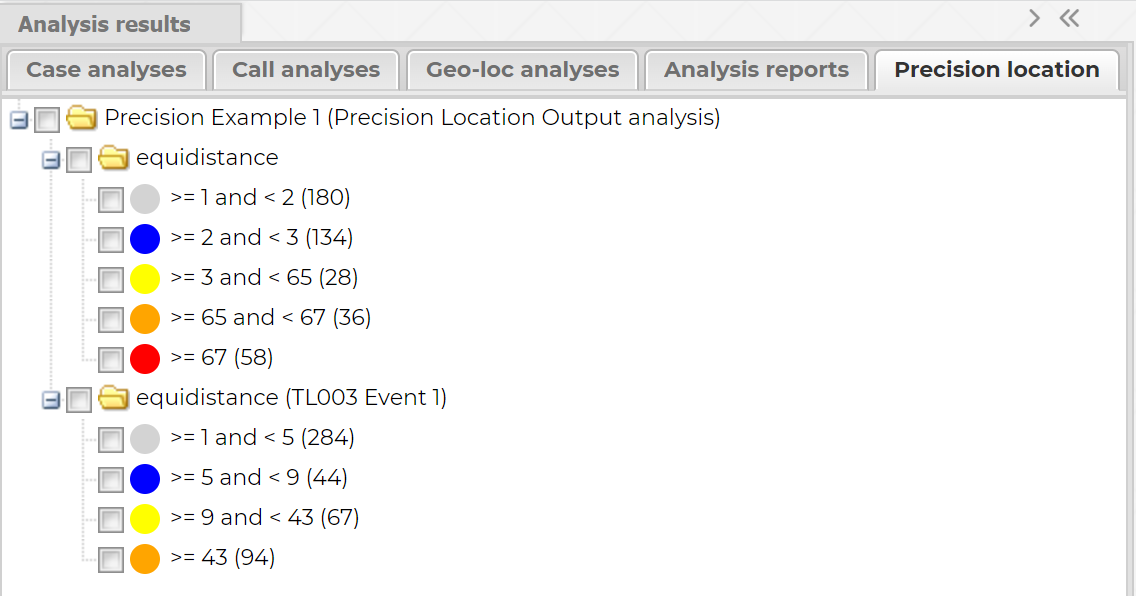
The precision location analysis opens on the Precision location tab.
-
Select the analyses you want to display on the map.
-
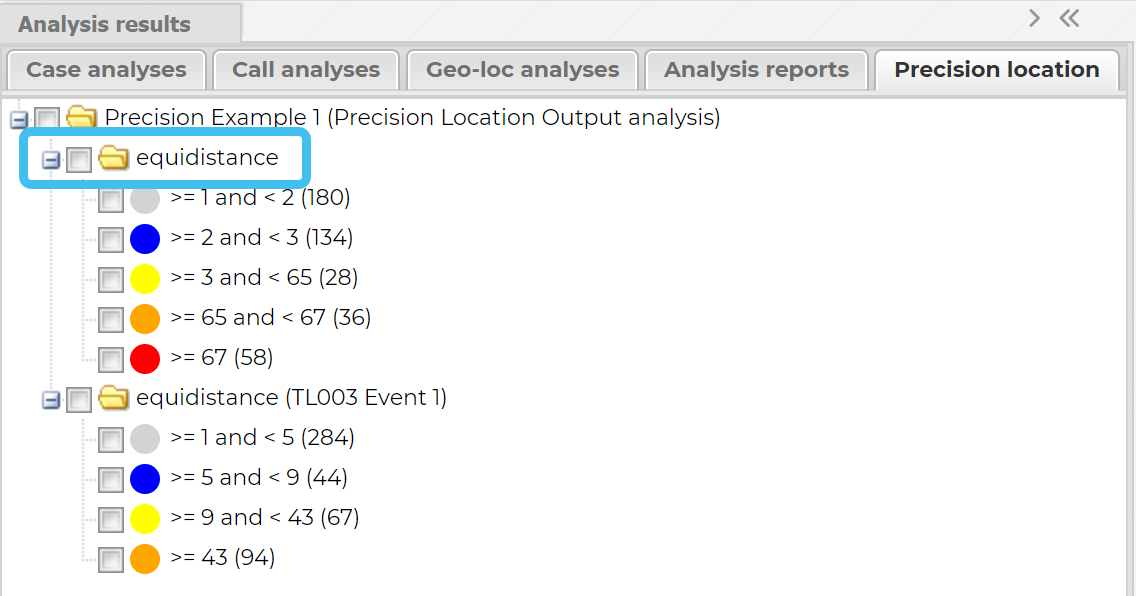
The first folder displays the default output which is based on the items you selected to run the analysis on.
-
The subsequent folders provide the analysis based on the data available during the event times.
-
-
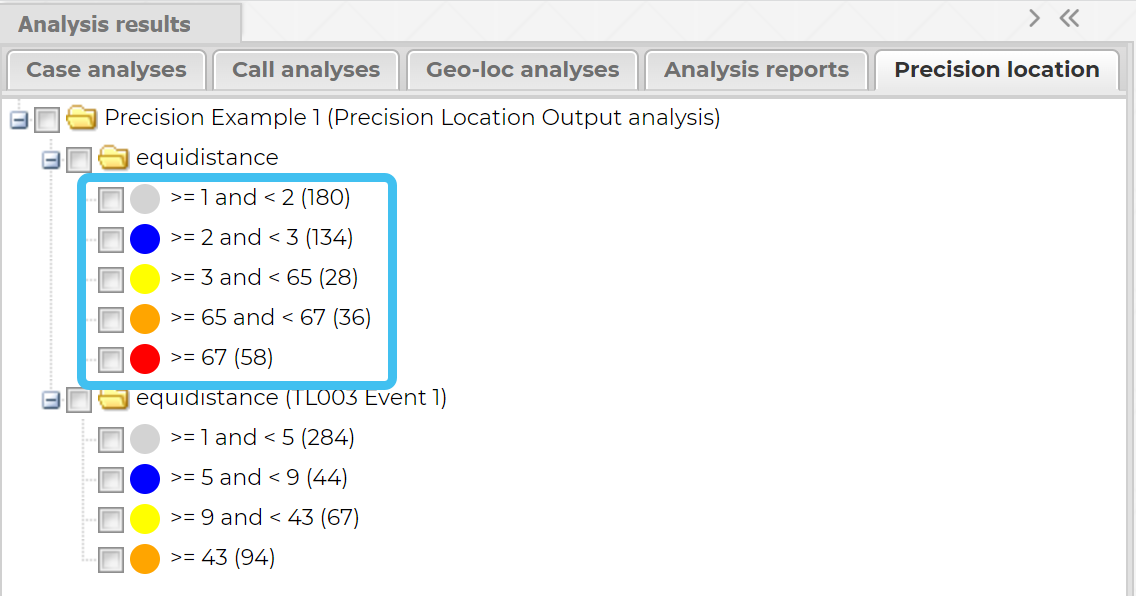
To view the analysis results more clearly:
-
you can select and clear the precision levels you want to display.
-
you may also wish to remove some of the screen layers, such as the network and TA layers.
-
You can also view a precision location analysis on the Sentinel screen, for further information refer to Exporting a precision location analysis from the ESPA analysis center to the Sentinel screen.