Setting up IAP alias and time zone
This topic describes how to setup and configure intercept access point (IAP) which is sometimes referred to as the network element identification (NEID) alias, and time zone.
This feature requires option E14 Sentinel. If you do not have this option this feature is not available.
NOTE: To set up the IAP alias and the time zone you must be an administrator. There must also be intercept messages containing IAP/NEID.
-
Open the Sentinel screen for the case. This screen can be opened in two ways, either:
-
If you are on the Advanced view cases screen, in the Actions column click
 to open the Sentinel screen.
 - If you are on the View i-cases screen right click either a case, person, phone number or i-case and select Open Sentinel view.
-
If you are on the Manage case screen for a case click
which is at the top-right of every screen to open the Sentinel screen. 
-
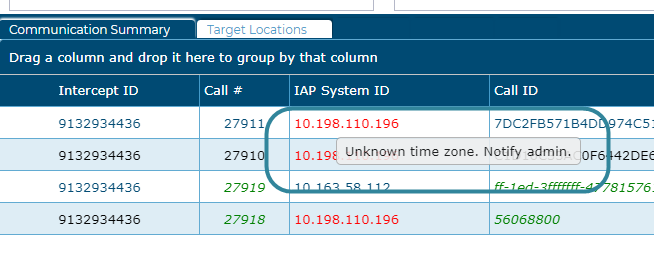
- View the Communication summary view.
-
If any results in the IAP System ID column are red then they are missing the time zone. If you hover over the red font a message displays informing you of the missing time zone.
If you are aware of the IAP alias and time zone, for example if you have been provided the information from the operator then you can update it using this procedure.
-
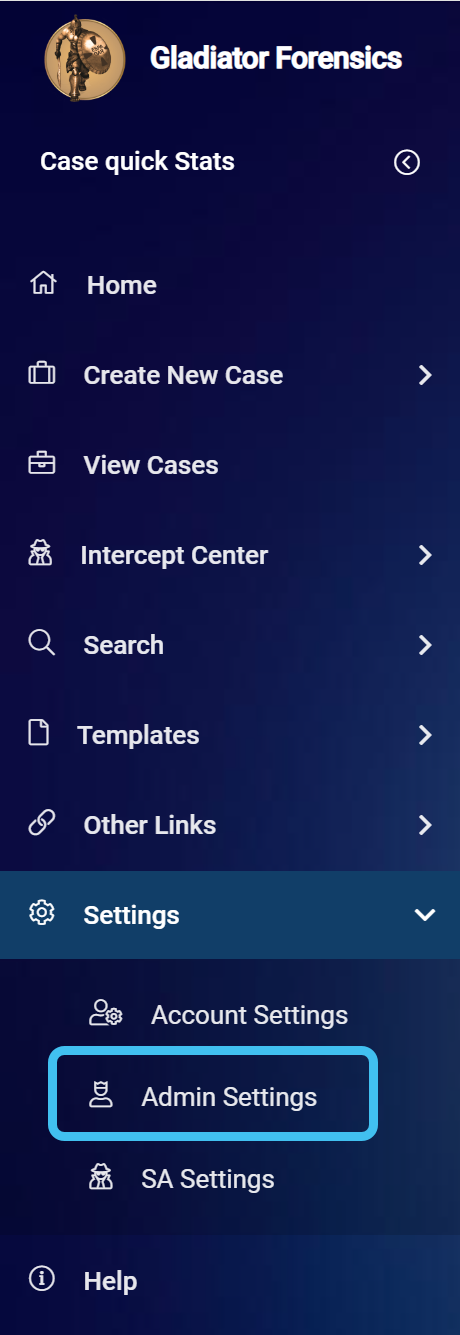
On the main menu click Settings, then click Admin settings.
The Admin settings screen opens.
-
In Global data click IAP System Manager. The IAP System Manager screen opens.
- Click
 on the IAP System ID column.
 -
In Show rows with value that select Contains then enter either part of, or the full, IAP System ID of interest then click Filter.
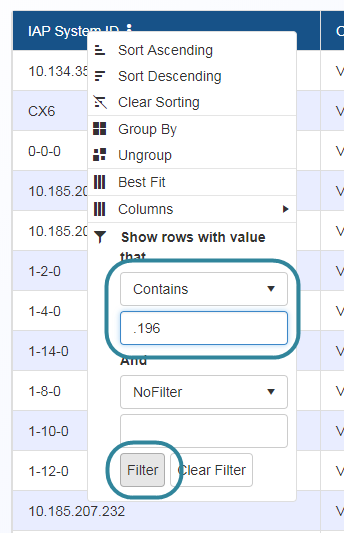
The table is updated to only display those IAP System IDs for the filter you entered.

-
For the IAP System ID of interest click Update.

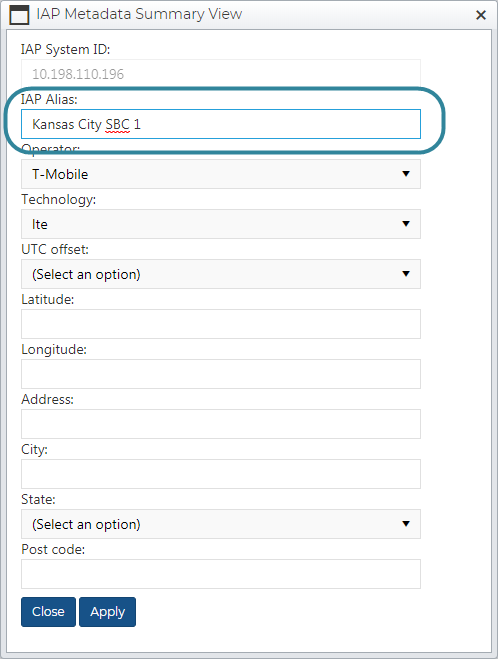
The IAP Metadata Summary View dialog box opens.
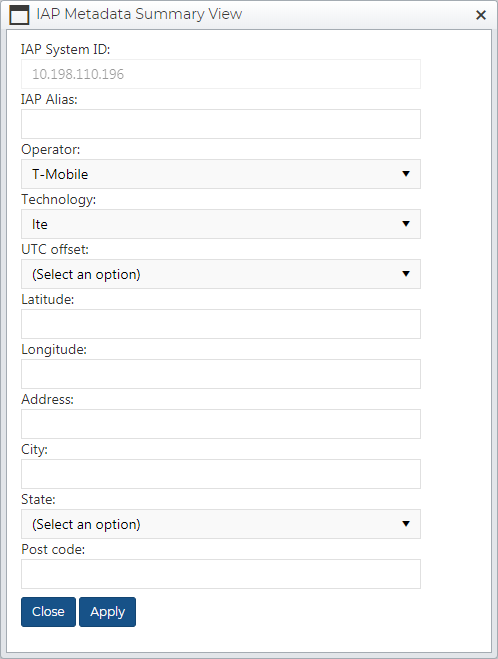
- Verify that IAP System ID displays the one you are interested in.
-
In IAP Alias enter the correct value.
-
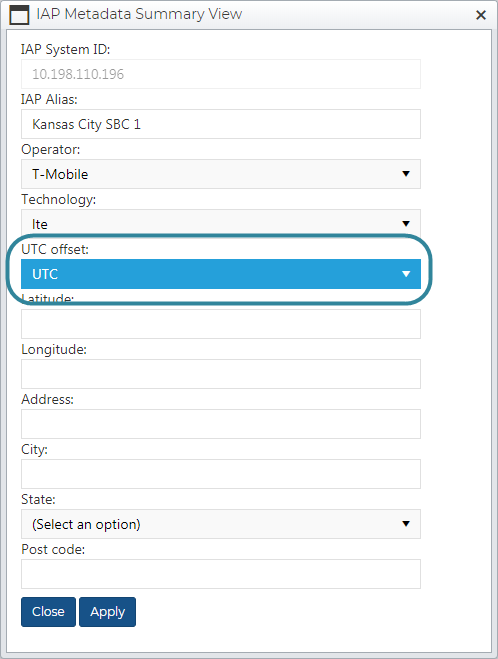
In UTC offset select the correct value.
-
Click Apply.
The settings you entered are updated and the dialog box closes.
-
Open the Sentinel screen for the case. This screen can be opened in two ways, either:
-
If you are on the Advanced view cases screen, in the Actions column click
to open the Sentinel screen. - If you are on the View i-cases screen right click either a case, person, phone number or i-case and select Open Sentinel view.
-
If you are on the Manage case screen for a case click
which is at the top-right of every screen to open the Sentinel screen.
-
- View the Communication summary view.
-
In the IAP System ID column verify the ones that you updated have changed from the old red value to the new value.

If required you can view the original IAP System ID and alias on the Message summary view and in Sentinel reports which contain the raw values.