Configuring access to missions on the G-Scout App
This topic describes how to provide access to missions on the G-Scout App.
All your OSS-ESPA users can by default use the G-Scout App using their OSS-ESPA login details, however if you want to give non-OSS-ESPA users access to your missions on the G-Scout App then you must provide them access using one of the following methods:
-
Define which domains you want to allow access, as described in How to allow external domains access to your missions on the G-Scout App.
-
Define which individual people you want to allow access, as described in How to allow individual people access to your missions on the G-Scout App.
NOTE: To configure the G-Scout App access and settings you must be an administrator.
How to allow non-OSS-ESPA users access to your missions on the G-Scout App
Administrators can allow both full external domains or individual email addresses access to your missions via the G-Scout App.
-
For full domains use the External domains screen. To open, click Settings, Admin settings, then Manage domains.
-
For individual emails use the Registered viewers screen. To open, click Settings, Admin settings, then Registered viewers.
Click the link below for further details.
-
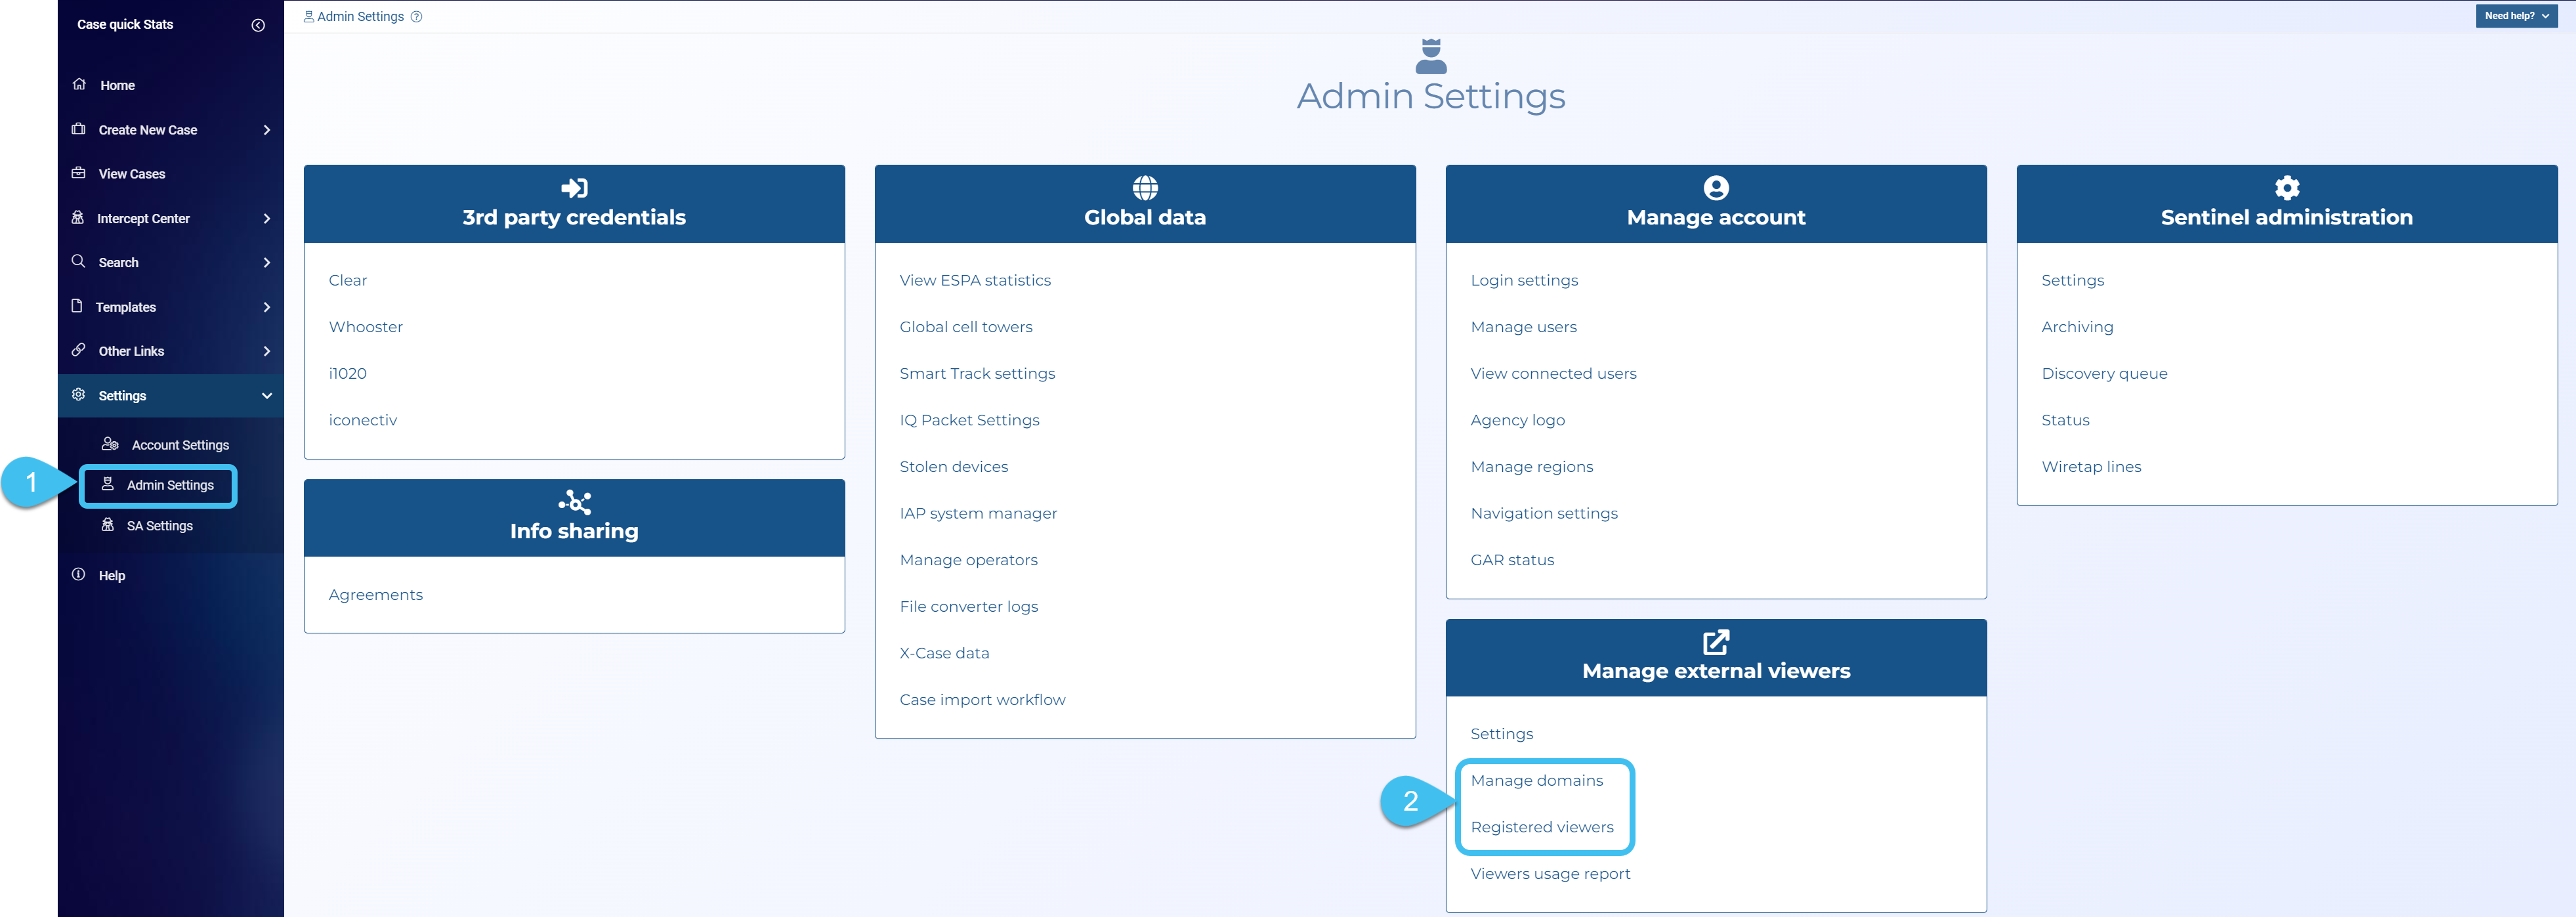
On the main menu click Settings, then click Admin settings.
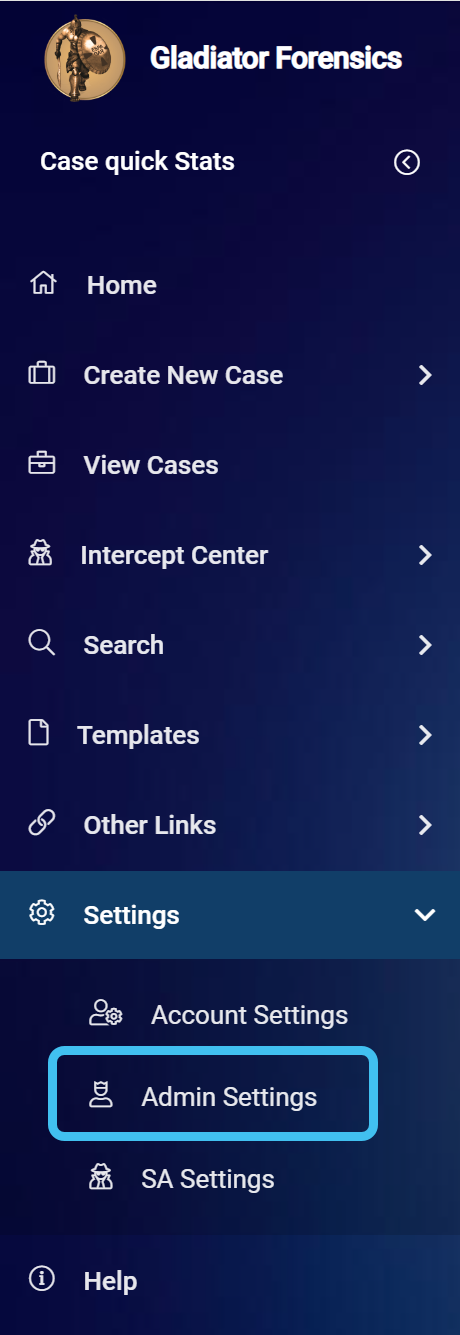
The Admin settings screen opens.
-
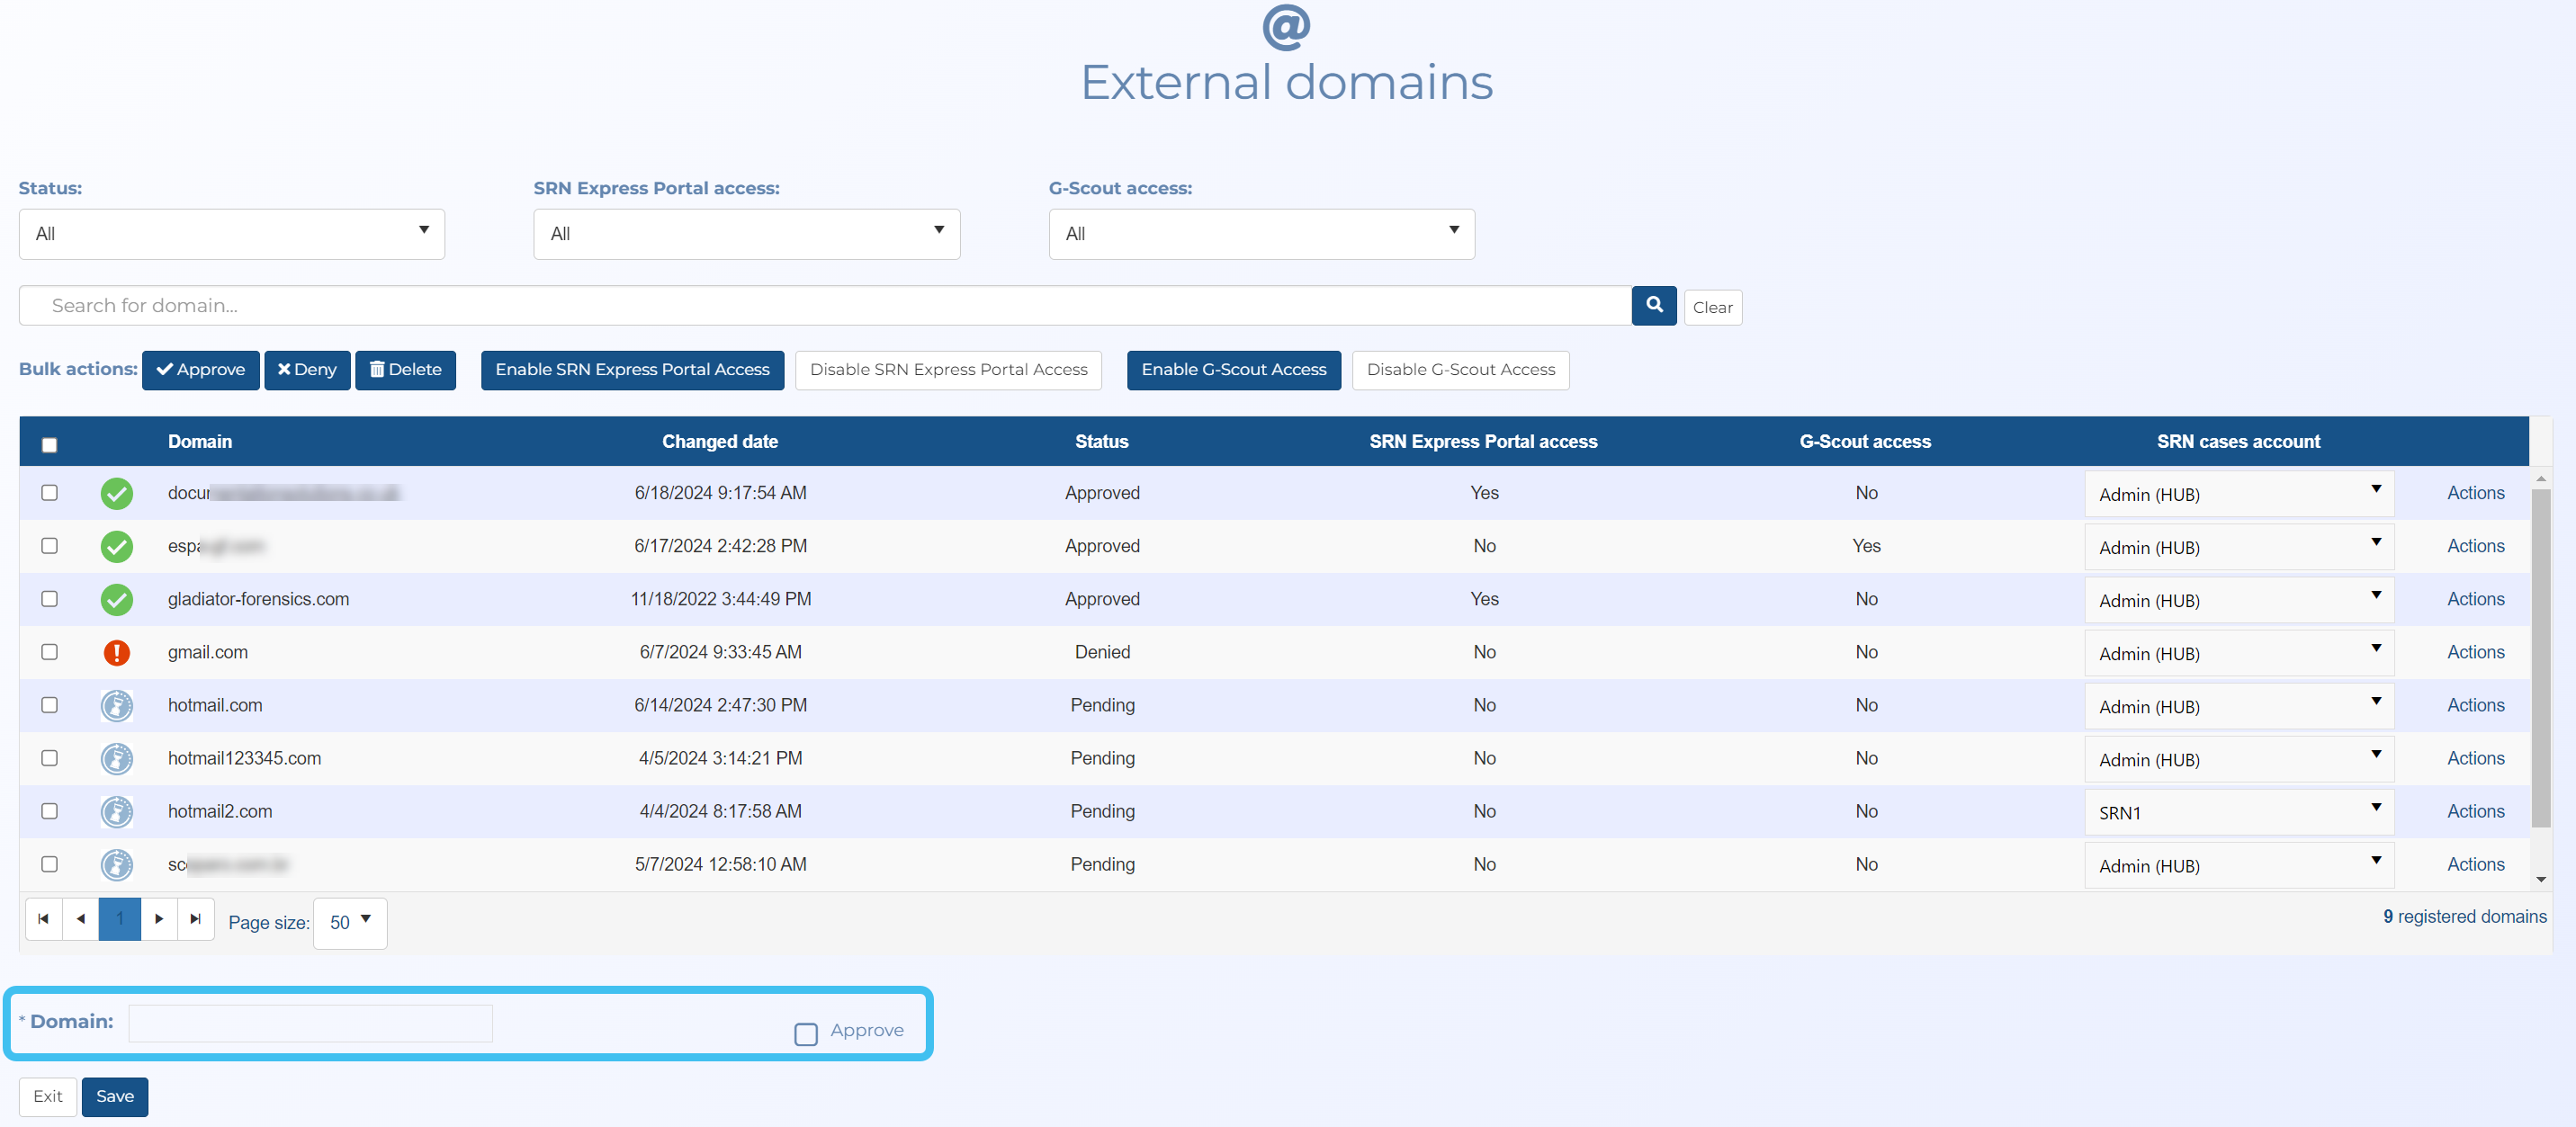
In Manage external viewers click Manage domains.
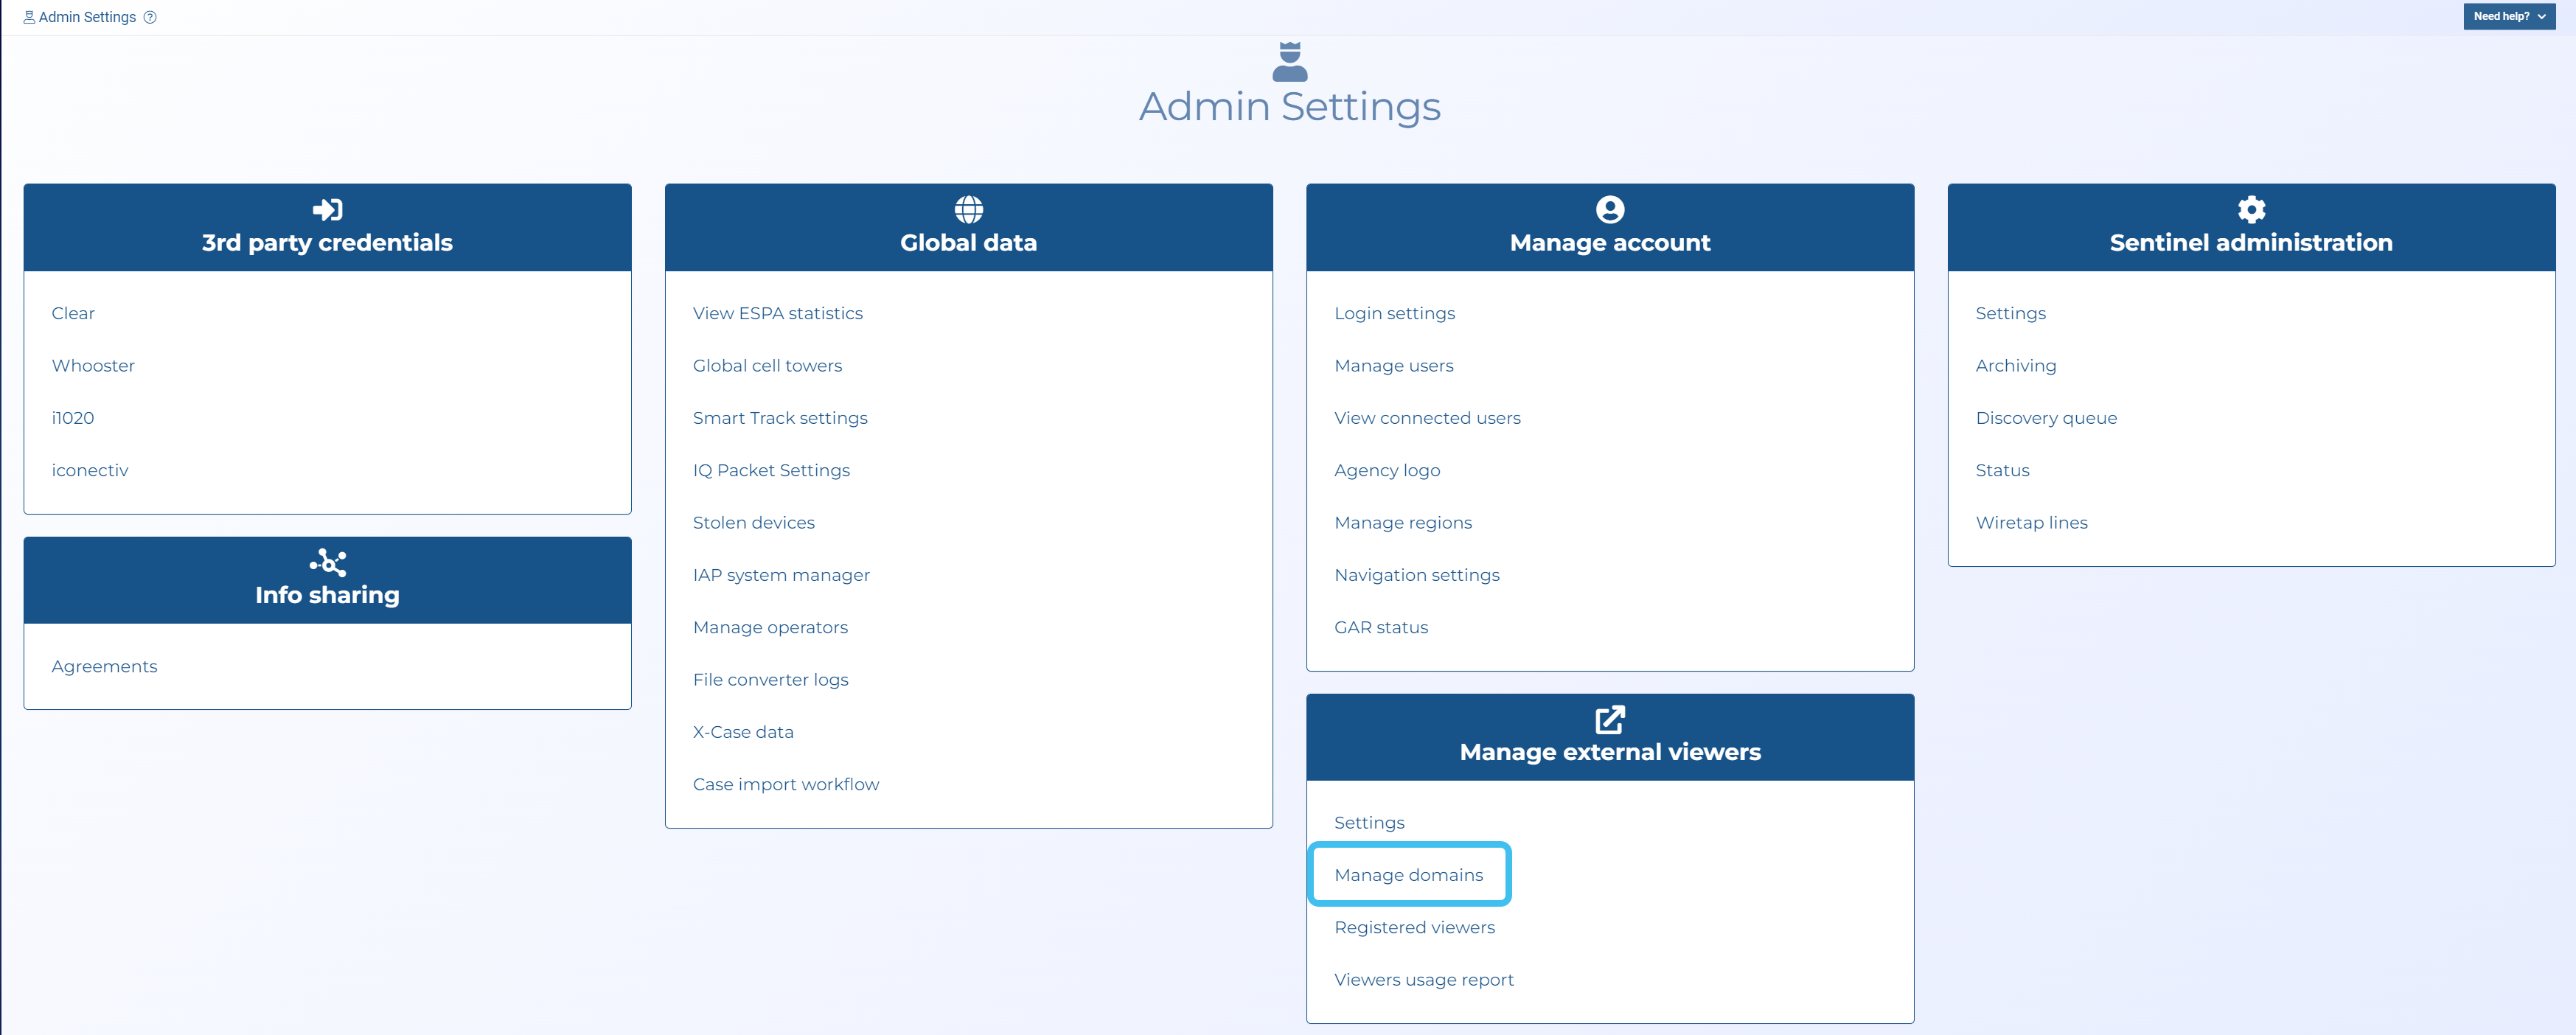
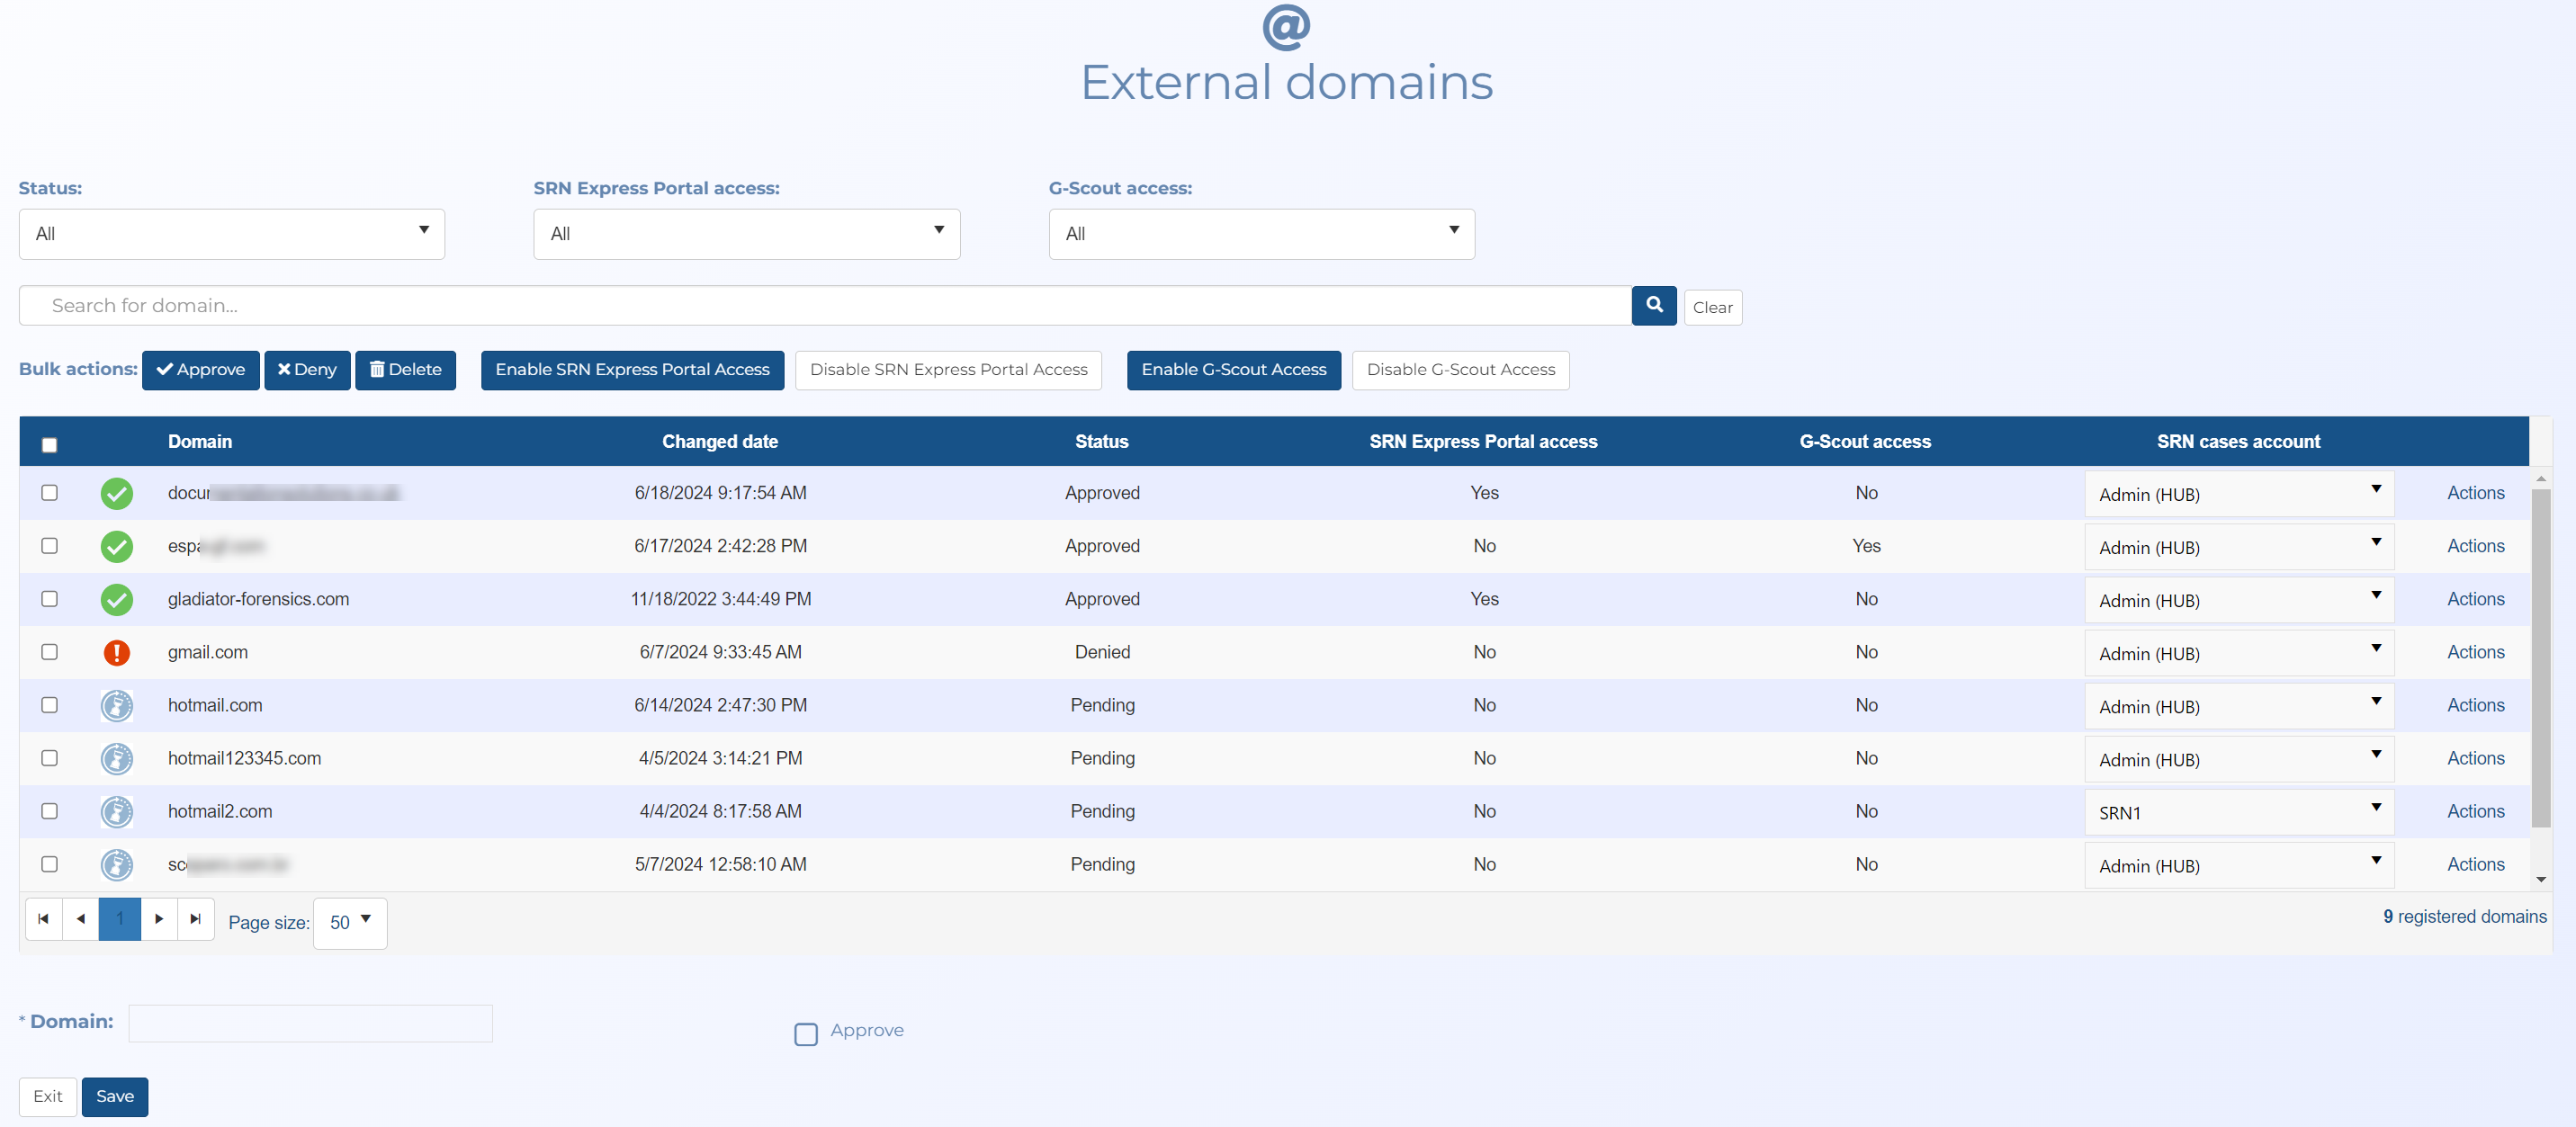
The External domains screen opens.
-
In Domain enter the domain you want to allow access, then select Approve to automatically approve the new domain.
-
Click Save.
-
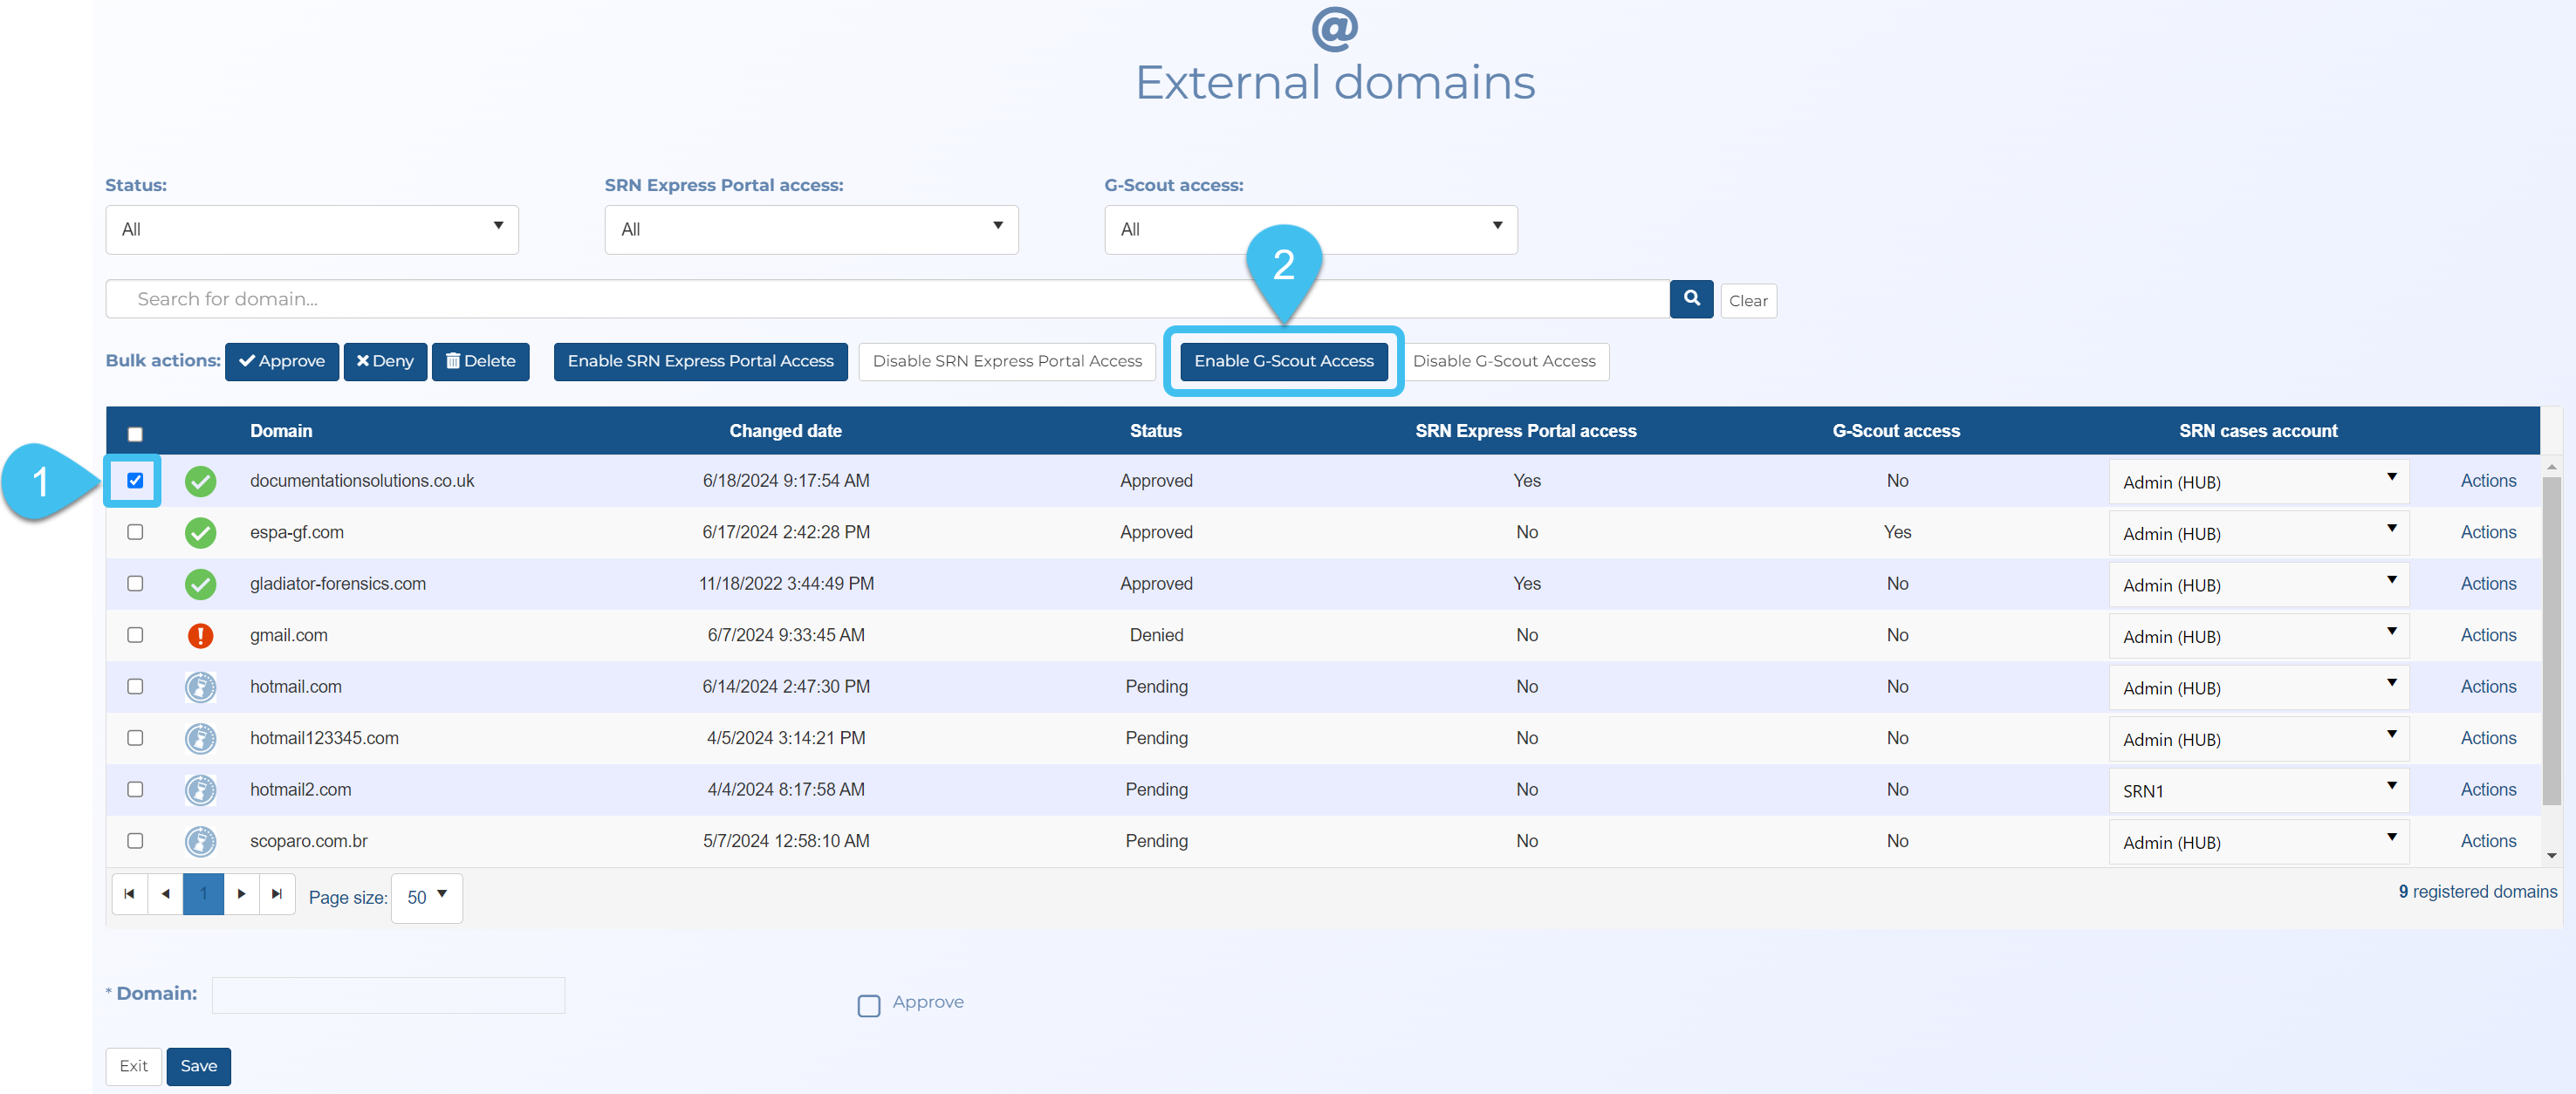
In the table, select the check-box next to the new domain then click Enable G-Scout Access.
-
Click OK on the confirmation box.

The table's G-Scout access column now displays Yes.
NOTE: If a person with an unrecognized domain attempts to sign into OSS-ESPA then you will receive an email requesting that you approve or deny the domain access. On the External domains screen, click Actions and select the appropriate menu item.
-
On the main menu click Settings, then click Admin settings.
The Admin settings screen opens.
-
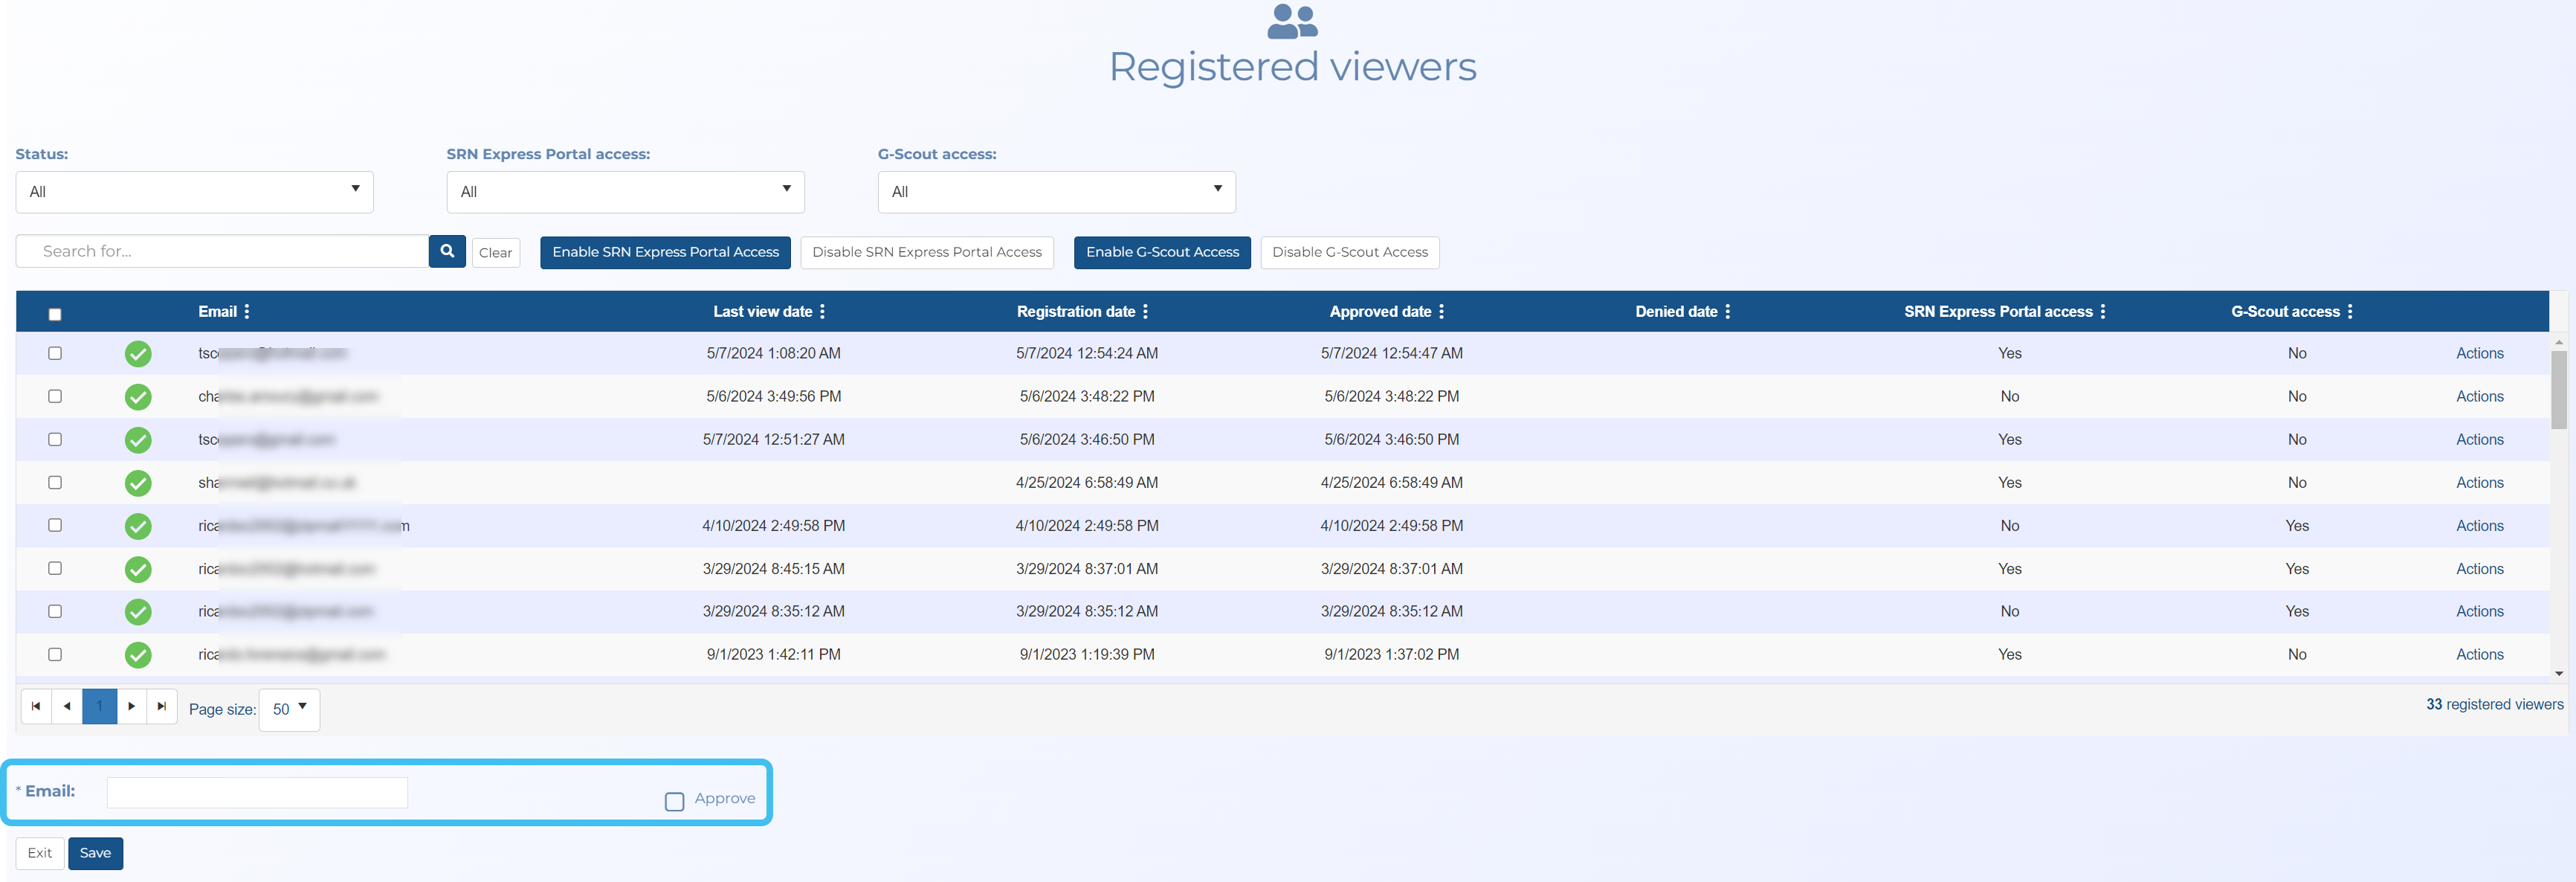
In Manage external viewers click Registered viewers.

The Registered viewers screen opens.

-
In Email enter the person's email address you want to allow access, then select Approve to automatically approve the new email.
-
Click Save.
-
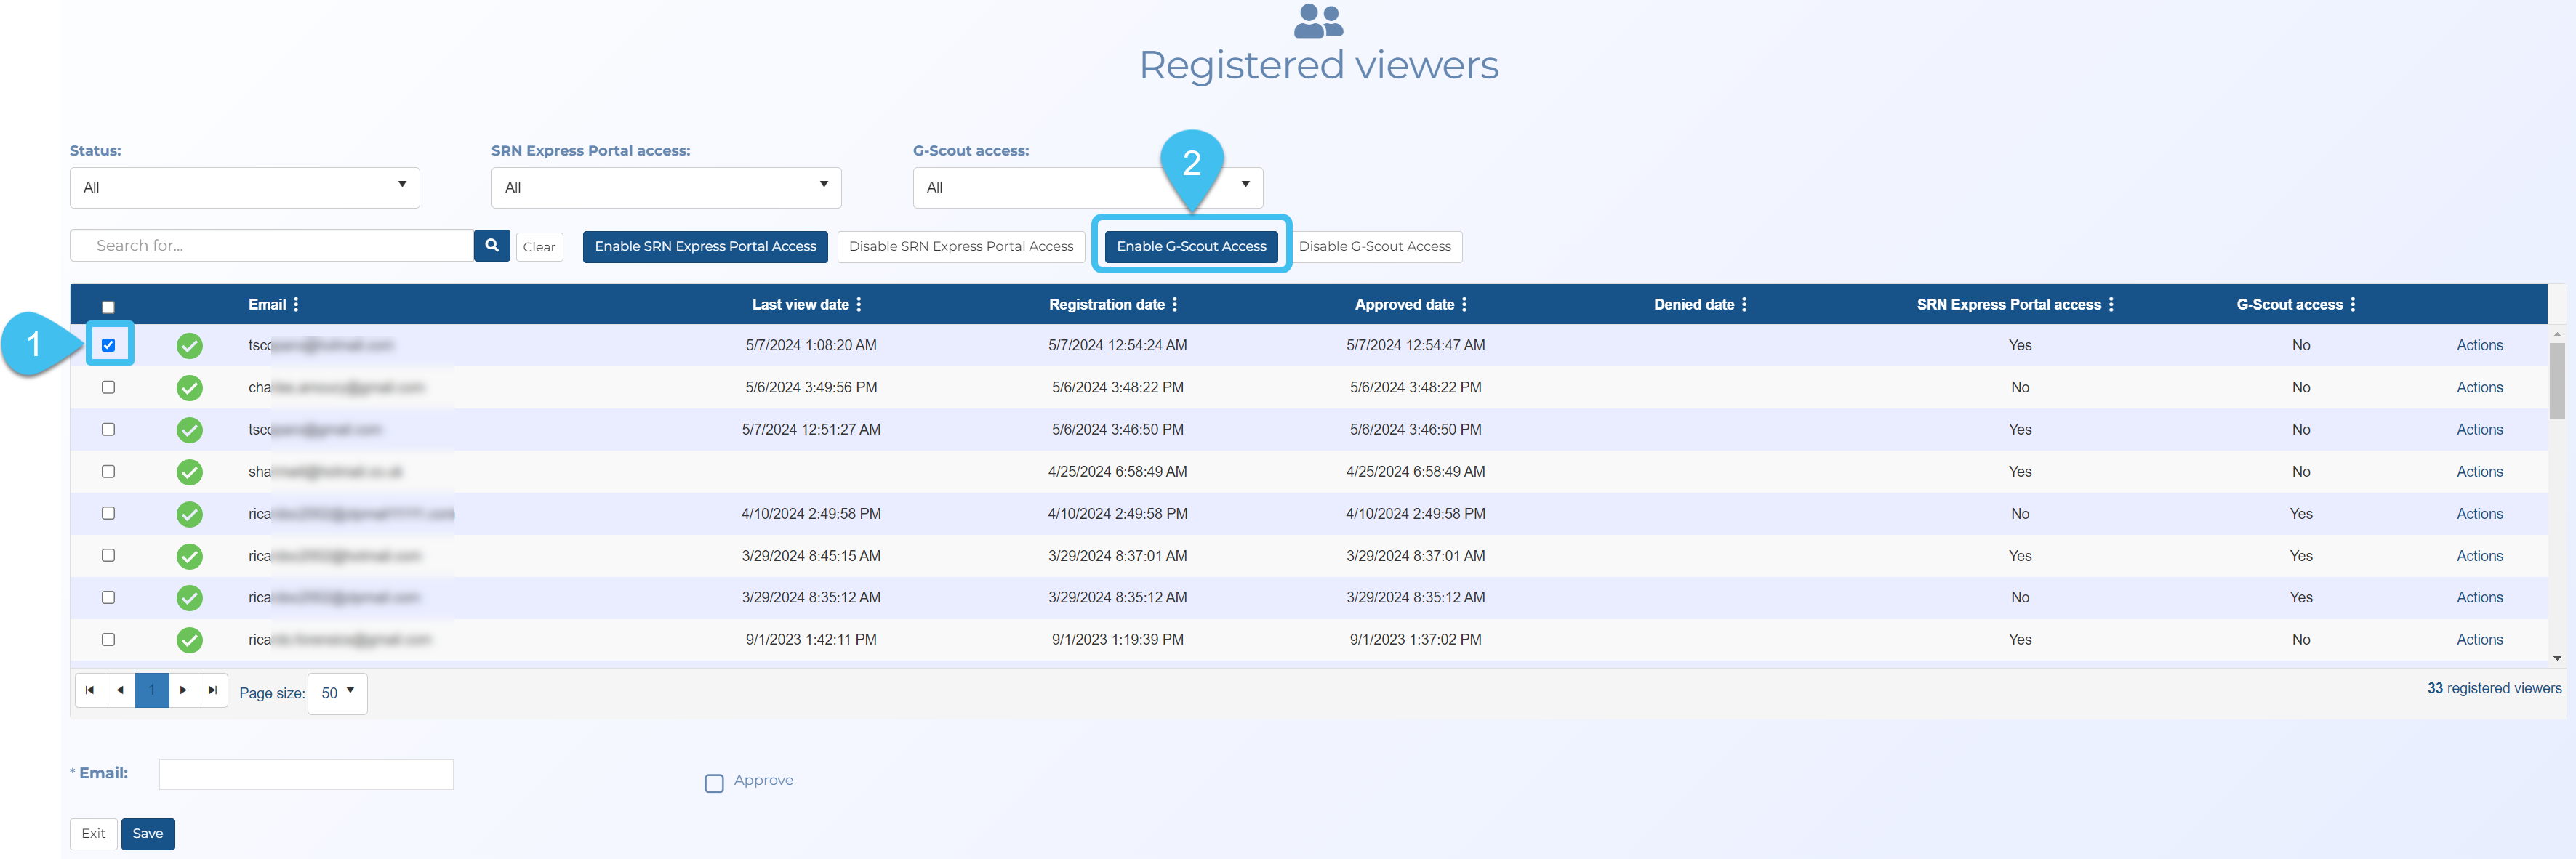
In the table, select the check-box next to the new email then click Enable G-Scout Access.
-
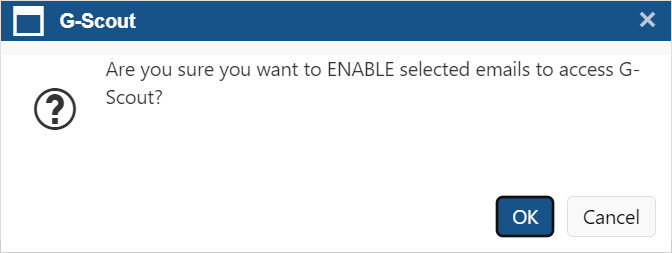
Click OK on the confirmation box.
The table's G-Scout access column now displays Yes.